How to separate Gmail emails by sender or category is one of the most useful skills for taming inbox chaos. If you’ve ever opened Gmail and felt instantly overwhelmed by a mix of promotions, reminders, social updates, and work threads, you’re not alone. For many, the inbox becomes a digital junk drawer that only grows messier with time.
This clutter isn’t just annoying, it slows you down. You waste minutes (or hours) scrolling, searching, and mentally sorting what’s important. Deadlines slip through, important updates get buried, and that dreaded unread count keeps climbing.
The good news? Gmail has built-in tools to organize everything. With filters, labels, and categories, you can separate emails by sender, topic, or type, and even train Gmail to do it automatically in the future. These aren’t advanced tricks; they’re simple steps anyone can set up in minutes.
In this guide, you’ll learn how to:
- Automatically separate Gmail emails by sender or category
- Use labels and filters to create a cleaner inbox
- Group similar emails to cut the noise
- Keep things organized across desktop and mobile
Whether you’re a student keeping track of class emails or a professional juggling client messages, these tips will help you turn Gmail into a tool that works for you, not against you.
Why Organizing Gmail by Sender or Category Works
A cluttered inbox slows you down. You waste time every day scanning for important updates, rereading the same messages, or just ignoring the mess entirely. But once you begin separating emails by sender or category, everything changes.
Let’s say you receive daily updates from your manager, project notifications from Trello, and newsletters from five blogs you follow. Without sorting, all of that ends up mixed in your inbox. You’ll probably miss something important. But when Gmail automatically labels messages from your manager and places newsletters in a “Reading” folder, you immediately know what to check; and what can wait.
This kind of organization offers several real-world benefits:
- Faster email processing: You spend less time deciding what’s urgent because your inbox already reflects your priorities.
- Fewer missed messages: Important senders are always visible and can be starred or pinned for quick access.
- Better mental clarity: A clean, sorted inbox reduces decision fatigue and makes email feel manageable.
- Improved project tracking: When all emails related to a client, class, or team are labeled consistently, you can pull them up in one click.
Gmail makes this possible through a combination of filters, labels, and categories. These features allow you to automatically group messages, skip the inbox when needed, and create a clear view of what matters most. It’s like having a personal assistant who pre-sorts your mail before you even open it.
Even if you only apply basic sorting by sender, the productivity gains are noticeable right away. Imagine getting a label called “HR” that automatically groups all company policy updates, or a label for “Family” that keeps personal messages away from work chatter. Gmail gives you the tools; you just need to learn how to use them.
How Gmail Filters and Labels Power Your Inbox Sorting
If you want Gmail to do the sorting for you, filters and labels are your best tools. These built-in features work together to create an automated system that separates emails based on rules you choose.
Filters are rules you set up that tell Gmail how to handle incoming messages. You can filter by sender, subject, keywords, or a combination of details. Once a filter is triggered, Gmail can do things like:
- Apply a label
- Skip the inbox (archive it)
- Star the message
- Forward it to someone else
- Mark it as read
These filters let you automate your organization. For example, you could set a rule that says: “If an email comes from newsletter@productivityblog.com, apply the ‘Newsletters’ label and archive it.” That way, the email doesn’t clog your main inbox, but it’s still available in your labeled folder.
Labels in Gmail work like folders; but with one big advantage: an email can have multiple labels. That means you can tag a message as both “Finance” and “Work,” and it will appear in both categories. This flexibility makes it easier to organize overlapping topics.
You can also customize labels with colors, making them easier to scan visually. Label your boss’s emails red, client updates green, and receipts blue. With just a glance, you’ll know what you’re looking at.
Filters and labels are your way of telling Gmail: “Here’s what matters. Here’s where it goes.” Once set up, they keep working automatically; and that’s a huge time-saver.
Step-by-Step: Create Filters to Separate Emails by Sender or Category
If you’re ready to create your first filter and label in Gmail, here’s how to do it. These simple steps walk you through creating a filter that sorts emails by sender or keyword; and applies labels or actions like archiving or marking as read.
- Open Gmail and click the settings gear icon
In the top-right corner of Gmail, click the gear icon and then choose “See all settings” to access advanced options. - Navigate to “Filters and Blocked Addresses”
Once in Settings, find the tab labeled “Filters and Blocked Addresses.” This is where all your current filters are listed and where you can create new ones. - Click “Create a new filter”
Click the “Create a new filter” link. A pop-up box will appear with fields to fill out. - Enter the sender’s email or keyword
In the “From” field, type the email address of the sender you want to filter. If you want to filter by topic, use the “Subject” or “Has the words” fields instead. You can also combine fields (e.g., messages from a specific person that include the word “invoice”). - Click “Create filter” to choose actions
After entering your filter conditions, click “Create filter.” You’ll see a list of actions Gmail can take when a message matches your criteria. - Choose actions like “Apply the label” or “Skip the inbox”
Check the boxes next to the actions you want Gmail to perform. Common choices include “Apply the label,” “Skip the Inbox,” “Mark as read,” or “Star it.” If you haven’t created a label yet, you can do that here. - Click “Create filter” again to save it
Once you’ve selected your actions, click “Create filter” to activate it. Gmail will now apply your filter automatically to all future messages that match the criteria.
These filters can be edited or deleted anytime. You can also apply them retroactively by choosing “Also apply filter to matching conversations” when creating it.
Once your filters are active, you’ll notice your inbox becomes more organized right away. Messages are sorted, clutter is reduced, and important emails stand out.
Label Like a Pro: Building Your Own Email Categories
Labels are one of Gmail’s most flexible features; and when used correctly, they turn a chaotic inbox into a set of easy-to-scan categories. Think of labels as digital tags you attach to messages so you can group them based on projects, topics, senders, or priorities. What makes Gmail labels even more powerful is their ability to nest, color-code, and apply across different types of emails automatically.
To get started, navigate to the left-hand sidebar in Gmail where you see your default folders (Inbox, Sent, Trash, etc.). Scroll down to “More,” click it, and then scroll to “Create new label.” You’ll be prompted to give it a name. Start with something simple and clear; like “Work,” “Invoices,” “Job Applications,” or “Class Notes.”
You can also nest labels under other labels, which helps create sub-categories. For example:
- Clients
- Clients/ABC Corp
- Clients/XYZ Group
This approach is perfect for organizing emails by project or customer, without cluttering your sidebar.
Now that you have labels, it’s time to give them color. Click the three dots next to any label, choose “Label color,” and select a color or create a custom one. This visual cue makes it much easier to scan your inbox and identify emails quickly. You might make urgent client messages red, newsletters grey, or financial documents blue.
Consistency in label naming also matters. Avoid vague or overly clever titles. Keep your system intuitive so you’re not guessing what “Miscellaneous 2” means six months from now.
Finally, remember you can apply multiple labels to a single message. This is what separates Gmail labels from folders in traditional email platforms. You don’t have to choose one category; you can label an email “HR,” “Training,” and “To Review” all at once. That flexibility helps you keep related messages grouped and easy to find, no matter how they overlap.
Used well, labels let you build a clear and personal email system that evolves with your needs; without overwhelming your inbox.
Sorting Through the Clutter: Marking, Archiving, and Grouping Emails
Separating emails by sender or label is powerful, but Gmail gives you even more tools to reduce inbox clutter and streamline communication. Actions like starring, archiving, and marking messages help you manage your inbox visually and mentally; even when you’re not creating new filters or labels.
Starring is one of the simplest but most useful tools. When you start an email, it stays in your inbox but also appears in the “Starred” view. Think of this as a quick “flag for later” system. It’s helpful for messages that don’t need a full label but still require attention.
You can also customize stars by enabling multiple types in Settings. This way, you can mark one message with a red exclamation point for urgency and another with a green checkmark for completed items. This turns your inbox into a task list; without needing another app.
Archiving is another essential practice. When you archive a message, it disappears from your main inbox but isn’t deleted. You can still find it using search or by viewing “All Mail.” Archiving is ideal for messages you’ve read but don’t need to see again unless you’re looking for them. It’s like clearing clutter off your desk.
Some users hesitate to archive because they fear losing track of important messages. But remember, Gmail’s search is incredibly strong. You’ll still find those emails whenever you need them; just not mixed in with active messages.
Marking messages as read is also a surprisingly effective tactic. When you see hundreds of unread messages, it creates anxiety; even if most are irrelevant. Sometimes the best way to declutter fast is to select a group of messages and mark them as read. This resets your inbox visually and mentally.
All these tools; stars, archive, read markers; don’t replace labels and filters. They enhance them. Together, they give you total control over how emails appear, when you see them, and how you prioritize them.
Scheduling and Organizing: A Winning Combo
Organization doesn’t stop at where your emails land; it also involves when they arrive. Gmail’s scheduling feature lets you control the timing of your messages. Combined with filters and labels, it creates a full communication workflow that’s intentional and organized.
Say you draft a project update at midnight, but you want it to land in your team’s inbox at 8:30 a.m. the next day. With Gmail scheduling, you can write the message now and have it sent later; no need to remember or be online in the morning. This avoids flooding people’s inboxes outside of work hours and ensures your message is seen when it matters most.
Scheduling is also great for planning follow-ups. You can write a client reminder email and schedule it to send in three days. While filters help you sort incoming mail, scheduling helps you control your outbound flow.
Combining these tools creates a clean, proactive inbox experience:
- Incoming messages are labeled and sorted by sender or subject
- Outgoing messages are timed for ideal delivery
- Everything stays organized, even when you’re not actively managing it
Smart organization is about more than structure; it’s about timing, too. And Gmail’s scheduler is one of the most underused tools that can dramatically improve how organized your inbox (and your communication style) feels.
Advanced Tips: Use Gmail Categories and Tabs Effectively
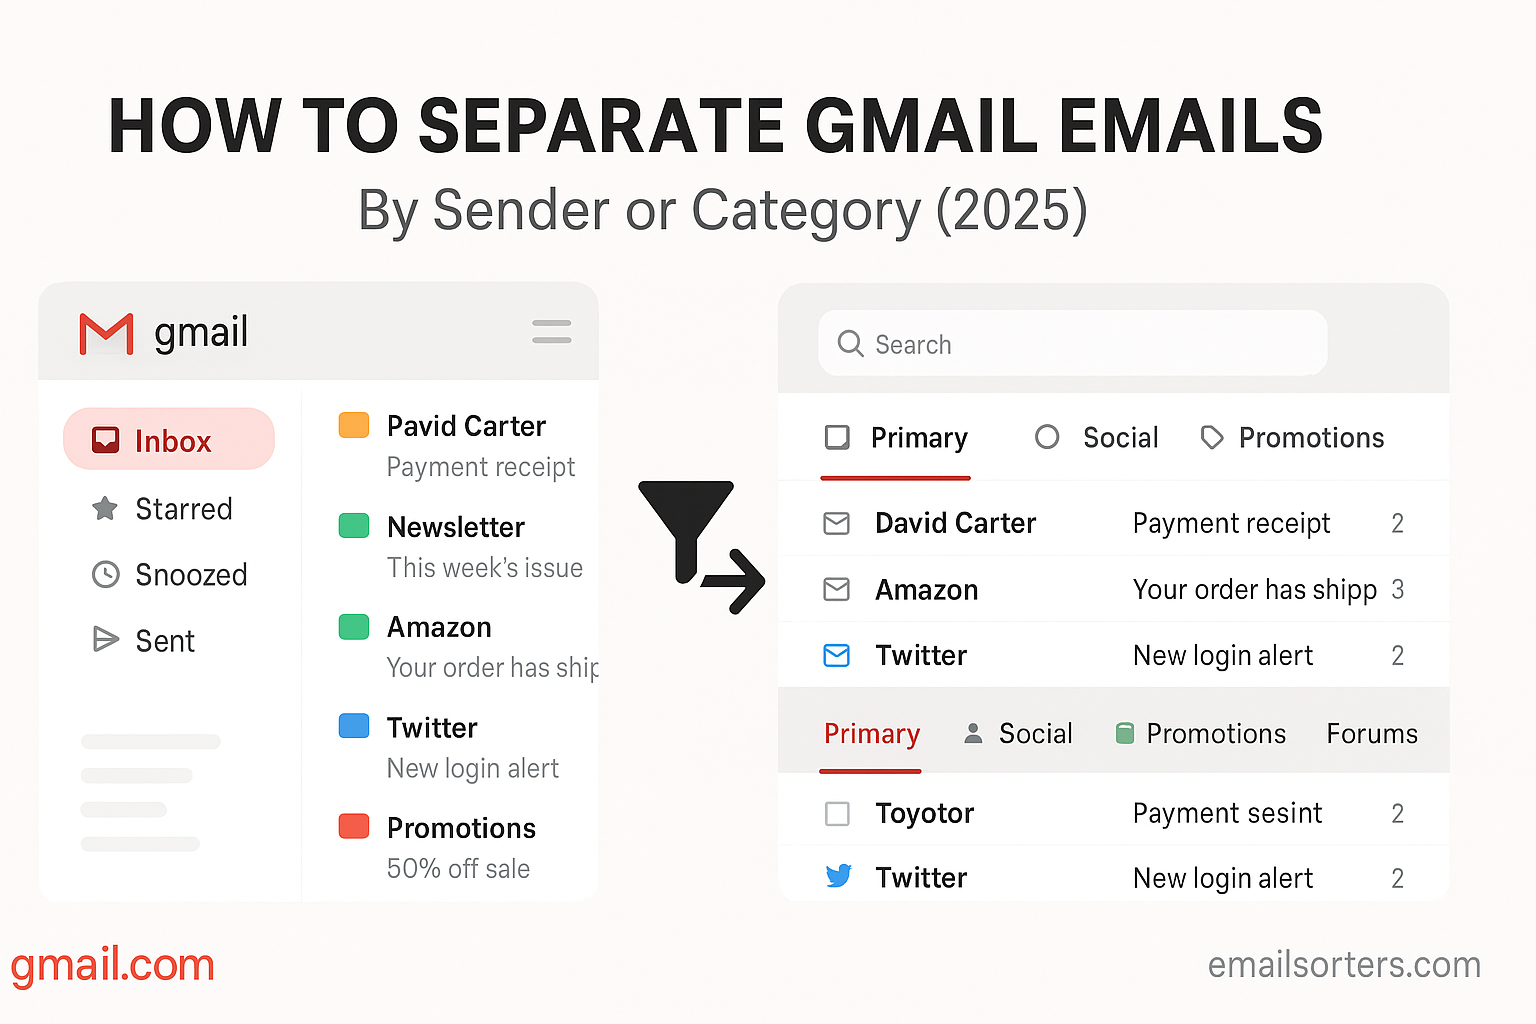
You’ve probably noticed Gmail’s default inbox tabs: Primary, Social, Promotions, Updates, and Forums. These are Gmail’s built-in way of separating emails automatically, and while they’re not as customizable as labels or filters, they can be very effective when set up right.
Here’s a quick overview of what each tab typically includes:
- Primary: Personal messages and emails from contacts
- Social: Notifications from Facebook, LinkedIn, Twitter, etc.
- Promotions: Deals, newsletters, ads, and other marketing content
- Updates: Order confirmations, receipts, invoices, and system messages
- Forums: Group discussions, community boards, mailing lists
Gmail uses algorithms to decide where each email belongs; but you can train it. If a newsletter you care about is landing in Promotions and you want it in Primary, drag it there manually. Gmail will ask if you want to always move messages from that sender to Primary. Click “Yes” and Gmail will remember your preference.
You can also enable or disable these tabs by going to Settings > Inbox > Categories. Uncheck tabs you don’t want and Gmail will collapse them into your main inbox view. For many people, disabling less useful tabs and using custom labels gives a cleaner experience.
These categories are particularly helpful if you don’t want to build out a full labeling system but still want a level of automatic sorting. Promotions and Social tabs keep less urgent emails out of your way, while Primary focuses your attention.
When combined with filters and custom labels, Gmail categories give you a dual system: a broad separation by type and a precise sort by sender or topic. This lets you scan, process, and respond more efficiently; without digging through an overflowing inbox.
Fixing Gmail Organization Issues and Attachment Clutter
Even with solid filters and smart labels, your inbox can get weighed down by one big problem: attachments. PDFs, images, contracts, and spreadsheets can make emails bulky, cluttered, and harder to scan. Worse, they take up space in your Google account and slow things down over time.
Attachment clutter is especially common in professional and academic inboxes. Think about how many copies of the same invoice, project file, or slide deck you’ve received over the past year. Now multiply that by every sender you deal with; and you’ve got a major mess.
Fortunately, Gmail gives you ways to manage it.
First, use Gmail’s search bar to filter attachment-heavy emails. You can type:
makefile
CopyEdit
has:attachment larger:10M
This shows all messages with attachments larger than 10MB. From there, you can archive, delete, or move them into a dedicated label like “Attachments to Review.”
If you use Google Drive, consider saving important files there and deleting the original email. This frees up space without losing the content. You can also forward key attachments to yourself with a specific label so they’re easy to find later.
Managing email isn’t just about text; it’s about what’s in those emails, too. Keep attachments organized and your inbox will feel lighter, faster, and easier to use.
Gmail on Mobile: Sorting on the Go
Staying organized in Gmail isn’t just something you do at your desk. In fact, for many users, email is managed primarily on their phones. The Gmail mobile app supports most of the features you use on desktop, including labels, starring, archiving, and searching with filters. But there are a few things to keep in mind when you’re sorting on the go.
When you open an email in the mobile app, look for the three-dot menu in the top-right corner. From there, you can apply labels to messages. If you’ve already created filters and labels on the desktop, those labels will show up here too. This makes it easy to organize messages during spare moments; while commuting, standing in line, or waiting for a meeting.
To manually label an email:
- Open the message
- Tap the three-dot menu
- Select “Label”
- Choose one or more labels, then tap the checkmark to apply
You can also archive emails with a simple swipe, mark messages as important, or use the search bar to filter emails by sender or keyword. If you’ve built a solid system using google desktop Gmail, the mobile experience becomes a seamless extension of that structure.
Gmail’s mobile app even respects your filter rules; emails that are labeled or archived on desktop will appear in those categories on mobile. If a newsletter skips your inbox on the web, it will do the same on your phone.
One thing to note: you can’t create new filters from the mobile app. That’s a task best handled from a desktop browser. But for day-to-day sorting, applying labels, and keeping things under control, the mobile app is highly effective.
When your Gmail setup works well across devices, email becomes something you manage; not something that manages you.
Conclusion:
A messy inbox isn’t just annoying; it’s a barrier to clear thinking, timely responses, and a sense of control in your digital life. But Gmail, despite its surface-level clutter, offers everything you need to take that control back.
By learning how to separate emails by sender, apply meaningful labels, and use filters to automate the process, you can transform your inbox into a clean, navigable workspace. Add in strategies like scheduling messages, using built-in categories, and managing attachment overload, and you’ve built a system that works with you; not against you.
This isn’t about reaching perfection or maintaining zero unread emails at all times. It’s about knowing that every message has a place; and that you’re in charge of where it goes. Whether you’re a student balancing school emails, a professional managing clients, or someone simply trying to reduce digital stress, Gmail gives you the tools. You just have to use them.
Start small: create one label. Build one filter. Unsubscribe from one newsletter. Then build from there.
Your inbox doesn’t have to be a mess. With a few thoughtful changes, it can become one of the most organized parts of your day.
FAQs
Can I create Gmail filters on mobile?
No, Gmail filters must be created from the desktop version of Gmail. However, any filters you set up on desktop will apply automatically on your mobile app as well.
What’s the difference between archiving and deleting in Gmail?
Archiving removes the email from your inbox but keeps it stored in your account under “All Mail.” Deleting moves it to the Trash, where it’s permanently removed after 30 days.
How do I automatically label incoming emails?
Use Gmail filters to apply labels based on sender, subject, or keywords. Once set up, Gmail will automatically tag new emails that match your criteria.
What if Gmail keeps sending important emails to Promotions?
You can drag those emails to the Primary tab and confirm that Gmail should always send messages from that sender to Primary. Gmail will remember your choice.
Can I undo a filter or label once applied?
Yes. You can edit or delete filters from Gmail settings. Labels can be removed from individual emails or deleted entirely without affecting the emails themselves.