Create Outlook Group and suddenly team communication feels a whole lot easier. No more messy email chains, lost replies, or juggling endless CCs. Instead, one shared space keeps messages, files, and updates in sync for everyone.
With Outlook Groups, your team gets a built-in hub for collaboration, perfect for quick chats, shared calendars, or project updates. Think of it as an inbox upgrade that works for teamwork.
In this guide, I’ll show you how to create an Outlook Group step by step, so you can streamline conversations and keep everyone on the same page. Let’s get started.
What Is an Outlook Group?
Definition and How It Works
An Outlook Group is a cloud‑based collaboration space linked to a Microsoft 365 environment or Exchange. When you create a group, you get a shared email address (e.g. team@yourcompany.com), a shared inbox and calendar, a document library, and integrated chat features. All members have access to group messages and files. It functions as a common hub: when someone sends email to the group address, the message appears in each member’s group folder and optionally in their personal inboxes.
Messages are threaded by topic, making team conversations easier to follow. Members can browse history, search for past threads, or refer to shared files. It’s more structured than a shared mailbox, with additional tools like Planner integration, Teams chat support, and SharePoint storage.
Differences Between Outlook Groups, Distribution Lists, and Teams
Many people confuse Outlook Groups with distribution lists or Teams channels. Distribution lists are simply email aliases that forward messages to multiple users; they don’t include shared applications or storage. Outlook Groups add a shared inbox, calendar, files, and permissions controlled through Microsoft 365.
Teams is a broader collaboration tool built around real‑time chat, video calls, and integration with Office apps. When you create a team in Microsoft Teams, a corresponding Outlook Group is created under the surface. You may use both tools together, but Outlook Groups work well even for email‑centric collaboration without needing full Teams functionality.
Why Use Outlook Groups for Team Messaging?
Centralized Communication
With Outlook Groups, all messages sent to a team address go into a central stream. That avoids fragmented threads or missing replies. Team members join the group and instantly have access to past conversations and shared content without relying on forwarded emails or manual cc’ing.
This centralization reduces duplication; not everyone needs to be cc’d on every email individually. Access control remains within group membership; people who join later can see historic discussions. It simplifies onboarding and reduces email collisions.
Shared Resources and Collaboration
Groups offer shared resource features, including calendars for deadlines or team events and document storage in integrated SharePoint or OneDrive. Everyone in the group can access files, collaborate on edits, and use version control. Documents placed in the group’s “Files” tab automatically sync to members’ OneDrives (depending on permissions). You can also pin important messages or files for quick reference.
These features make Groups ideal for projects, client teams, or recurring working groups. They combine messaging, scheduling, and content sharing in one consolidated workspace without relying on multiple tools.
Requirements to Create an Outlook Group
Outlook Versions That Support Groups
Outlook Groups are supported in Outlook 2016, 2019, Outlook for Microsoft 365 (desktop and web), and Outlook Mobile. Older versions like Outlook 2013 or early standalone installs may not include the Group creation tools. To ensure compatibility, use the updated Microsoft 365 version or Outlook Web Access that includes Group features.
Microsoft 365 Subscription and Admin Permissions
Because Outlook Groups rely on Microsoft 365 services and SharePoint sites, your organization needs an active Microsoft 365 subscription that allows group creation. Basic plans like Business Basic or Standard support Groups. However, creation rights may be restricted by administrators; especially in larger enterprises. If Group options are missing in your Outlook, you may need permissions adjusted in the Microsoft 365 Admin Center.
Group creation may also depend on SharePoint access policies or compliance settings. Some organizations enforce data retention or naming conventions. Checking permissions and guidelines beforehand ensures your group will function properly and align with corporate policies.
How to Create Outlook Group in Web App
Step-by-Step Process for Outlook Web
Creating a group from the web interface is straightforward:
- Sign into Outlook on the web at outlook.office.com.
- In the folder pane on the left, scroll down and click “New Group” (or find “Groups” and choose “+ New Group”).
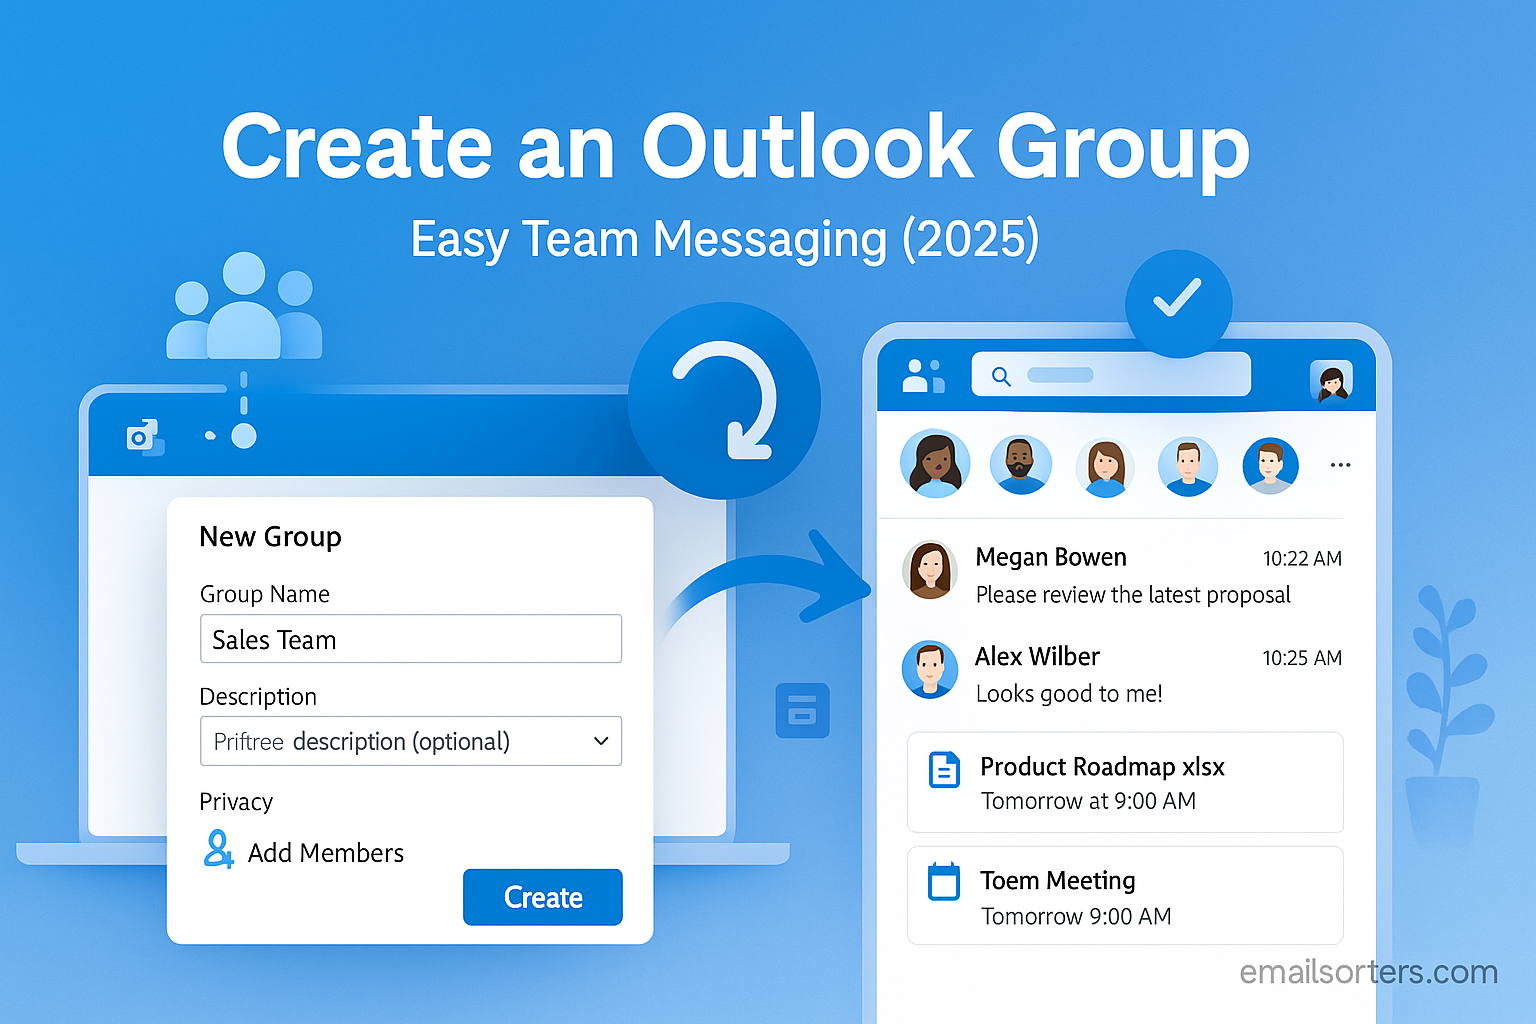
- A setup form appears where you name the group (e.g. “Marketing Team”), assign a group email address, and add a description.
- Select privacy: either Public (anyone in your organization can view messages and join) or Private (membership requires owner approval).
- Choose if members get copies of group emails in their inbox and if they receive daily summary digests.
Once created, Outlook generates a group space that includes Inbox, Calendar, Files, Notebook, and Planner tabs. Owners can manage membership, permissions, and settings from the group settings panel.
Choosing Privacy Settings and Group Type
Choosing between public or private impacts visibility and membership control. Public groups are discoverable in the directory, and anyone in the org can join or view files. Private groups require owner approval to join, which helps protect sensitive team discussions.
Other options may include whether the group is named, pinned, or hidden from individuals. These options help tailor group visibility in larger organizations. Choosing correctly ensures the right balance between accessibility and confidentiality.
How to Create Outlook Group in Desktop App
Setting Up from Outlook Client
To create a group from desktop Outlook (Windows):
- Go to the Home tab.
- Click the “New Items” dropdown.
- Choose “Group” to launch the group setup wizard.
- Fill in the group name, email alias, description, and privacy setting.
- Add members right away if desired, and set whether they receive copies of group email.
Outlook synchronizes the new group across desktop and web views. You’ll see the group under the Groups section in your folder list, accessible alongside your other mailboxes.
Customizing Group Options During Creation
During setup, you can configure options like auto subscription to new members, who can invite others, whether the group shows in the global address list, and what branding or prefix is applied to the group email address.
Finalizing the group lets you schedule events in the shared group calendar, upload reference documents, or start thread-based conversation in the shared inbox. These custom settings ensure the group matches your organizational workflow from the start.
Managing Outlook Group Members
Once the group is created, managing its membership becomes a key responsibility. As a group owner, you can add or remove members at any time through the Members tab in group settings. Adding members is as simple as entering their names or email addresses and confirming. Removing members requires navigating to the list, selecting the individual, then clicking Remove. In addition, you can assign owner roles to trusted team members, granting them permission to update group settings and membership independently. This structure allows organizers to scale group management without overloading a single individual. For shared accountability and group governance, owners should maintain clarity over who has administrative access and edit permissions.
Setting Group Privacy and Access
When configuring privacy for your Outlook Group, you’re determining who can discover, join, and participate. Public groups are visible in your organization’s address book, and anyone within the company may join or read content; useful for open working focuses or casual teams. Private groups require membership approval by an owner, hiding email threads and files from non-members. Additionally, owner-controlled settings manage whether non-owners can invite others. Controlling visibility and access ensures the right balance of openness and confidentiality; especially important in sensitive or cross-functional teams.
Using Outlook Groups for Messaging
Outlook Groups streamline team communication by offering a shared group inbox. When someone emails the group address, the message lands in each member’s group folder, and optionally their personal inbox. Conversation threads are organized by topic and visible to all members, reducing duplicate replies or message forwarding. This enables group-wide messaging without staggering individual recipient entries. Members can reply from the group email to maintain consistent identity or reply from their personal address depending on preferences. Group inboxes operate like project-specific communication hubs; containing threads, attachments, and remarks, accessible to every group member from desktop or web platforms.
Shared Calendars and Files in Outlook Groups
Beyond messaging, Outlook Groups include collaborative tools like shared calendars and file storage. The group calendar allows members to schedule events visible to the team, such as project updates, deadlines, or recurring meetings. These events automatically populate group members’ personal calendars unless disabled, ensuring visibility without manual invites. For file collaboration, Groups leverage SharePoint or OneDrive; any file added to the group’s Files tab is accessible to all members and automatically permissioned based on group access. Version control, co-authoring, and folder organization are supported. Together, shared calendar and file features turn Outlook Groups into multipurpose collaboration hubs.
Integrating Outlook Group with Microsoft Teams
Integrating a Group with Microsoft Teams enhances real-time communication. When you link an Outlook Group to Teams, the existing group membership and files sync seamlessly. Channels in Teams become conversation venues linked to the group inbox. This integration allows chat, video meetings, and document co-editing while maintaining a unified membership base. You can continue emailing the group address and have messages stored in Teams threads, or vice versa, fostering a cohesive flow between asynchronous and instant collaboration. This hybrid setup suits teams comfortable with both email and messaging workflows.
Managing Notifications and Group Settings
Group notification settings help reduce overload while retaining awareness. As a member, you can choose whether group messages appear in your personal inbox or only in the group folder. Owners can configure settings that control who can post to conversations, whether members can reply via email, and posting restrictions (like moderators-only). Notification controls help tailor the group experience: you can limit alerts for general threads but enable them for calendar changes or specific channels. This control helps prevent distraction while keeping team updates accessible.
Outlook Group Limitations to Be Aware Of
Outlook Groups have limitations. Microsoft sets a maximum number of members (often 10,000 for enterprise-level subscriptions), and group size may impact performance if overloaded. Some advanced features; like customizing group membership visibility or assigning guest/special roles; require higher subscription tiers. Additionally, mailbox quotas, storage constraints, or integration limits may apply based on your Microsoft 365 plan. Recognizing these boundary conditions helps set realistic expectations and plan group usage strategically.
Troubleshooting Outlook Group Issues
Occasional group-related hiccups can occur. Sometimes groups fail to sync immediately across Outlook desktop and web; likely due to refresh delays or cached changes. If group options like membership lists aren’t appearing, check your permissions and Microsoft 365 roles. After changes, logging out and back into Outlook or refreshing the web interface often resolves stuck states. If you can’t send as the group address, verify that you’ve set up “Send As” permissions properly. When sync problems persist, clearing Outlook’s local cache or verifying Exchange server connectivity often corrects issues.
Best Practices to Maintain a Productive Outlook Group
Maintaining productivity requires consistent group hygiene. Start with clear naming conventions; e.g., “Team-Marketing-Q2-2025”; to ensure new members understand the group’s purpose instantly. Use group descriptions to outline goals, membership rules, and file organization guidelines. Conduct periodic reviews; archive old conversations, update member lists, and reorganize file folders. Owners should audit members quarterly, removing inactive users and confirming access remains appropriate. Pin or highlight important messages or files for faster navigation and establish guidelines for file naming and reply etiquette to keep the group efficient.
Outlook Groups vs Shared Mailboxes
Choosing between Outlook Groups and shared mailboxes depends on team needs. Shared mailboxes grant multiple users access to a single inbox but lack shared calendars, file libraries, or threaded conversations. Outlook Groups offer richer collaboration tools and identity clarity but do not support full mailbox delegation. If your team primarily exchanges email-based communication at the project level, Outlook Group is more powerful. Shared mailboxes are better when a centralized response point is required (e.g., support@ or billing@), without the need for integrated calendars or file libraries.
Conclusion
Knowing how to create Outlook group transforms team communication from scattered emails into intentional collaboration spaces. From setup, privacy settings, messaging flows, and shared resources, groups offer rich functionality designed for teams aiming to operate with clarity and structure.
Maintaining membership, permissions, notifications, and usage hygiene ensures the group remains relevant and functional. When integrated with tools like Teams and OneDrive, groups multiply your ability to communicate, share, and act; all within a single Microsoft 365 ecosystem.
Use these capabilities to move your team from disjointed email threads into a shared environment where messages, files, and events live in harmony; and everyone stays aligned.
FAQs
1. How many owners can a group have?
You can assign multiple owners; this ensures backup for administration and flexibility for large teams.
2. What happens to group emails if a member is removed?
Group messages remain intact. Removal only revokes access going forward; historic messages remain available to existing members.
3. Can I convert a distribution list into an Outlook Group?
Direct conversion isn’t available. You’ll need to create a new group and manually migrate members and files.
4. Who controls group content moderation?
Group owners manage posting permissions, file moderation, and member joins, ensuring content norms are enforced.
5. Can external users join an Outlook Group?
Yes; if allowed by admin settings. External guest access is supported in Microsoft 365 groups with proper configuration.