Outlook email signature is more than just a sign-off; it’s your digital handshake. A polished signature makes your emails look professional, helps people remember you, and can even share useful details like your job title, phone number, or website.
The best part? You don’t need fancy tools to set one up. Outlook gives you everything you need to create and customize a signature that fits your style, whether it’s simple text or a design with links and logos.
First impressions matter even in emails. Whether you’re sending messages for business or personal use, your Outlook email signature acts as a polished sign-off that reinforces your identity and professionalism. From your name and role to social links and branding elements, setting up the right signature in Outlook ensures your communication leaves a lasting impression.
What Is an Outlook Email Signature?
Why It’s More Than Just Contact Info
An email signature is more than just your name and phone number at the bottom of a message. In Outlook, your signature is an extension of your brand whether that brand is personal, corporate, or entrepreneurial. A well-designed signature offers important context for your emails: who you are, where you work, and how someone can follow up. It can also help establish credibility at a glance. Recipients often scan for job titles, company names, and website links, especially in first-time conversations.
Signatures can also help standardize communication across a team. If you manage multiple email accounts or communicate with clients regularly, using a consistent format adds a layer of professionalism and helps streamline how others interact with your emails.
Where It Appears and Why It Matters
In Outlook, your signature automatically appears at the bottom of every new message, reply, or forward depending on your settings. It’s the last thing people see before clicking away, which makes it a powerful space. Done right, your signature leaves the door open for continued engagement, a visit to your website, or even a phone call.
For internal teams, it helps identify departments or project roles without digging through the thread. For external contacts, it offers quick access to your LinkedIn or Calendly. If you’re consistent and thoughtful in how you build your signature, it becomes part of your communication toolkit, not just a closing phrase.
How to Create a Signature in Outlook
Using Outlook for Windows
Outlook for Windows gives you the most robust options for managing email signatures. Here’s how to get started:
- Open Outlook and go to the “File” tab.
- Click “Options,” then select “Mail” in the left menu.
- Under the “Compose messages” section, click on the “Signatures…” button.
- A pop-up window opens where you can create a new signature or edit an existing one.
This editor supports formatting, images, and hyperlinks. Once created, you can assign your signature to new messages, replies, or both. Outlook also allows you to switch signatures manually while composing, making it flexible for users with multiple roles or addresses.
Outlook for Mac Setup
Outlook for Mac follows a similar structure but with slight interface differences. Go to the “Outlook” menu at the top, then select “Preferences” and find “Signatures.” Here, you can build and assign your signatures for specific accounts.
You’ll get access to formatting tools like font color, size, bold/italic styling, and the ability to insert images. Though not quite as customizable as the Windows version, it’s more than enough for most professional users.
If you use Microsoft 365, signatures may sync across devices depending on admin settings. Always double-check how your signature looks after setup, especially if you work across Mac and PC.
Setting Signatures in Outlook Web (OWA)
Outlook Web App (OWA) is the browser-based version and is widely used across organizations, especially those using Microsoft 365 or Exchange. To create a signature in Outlook Web:
- Click the gear icon (top right), then select “View all Outlook settings.”
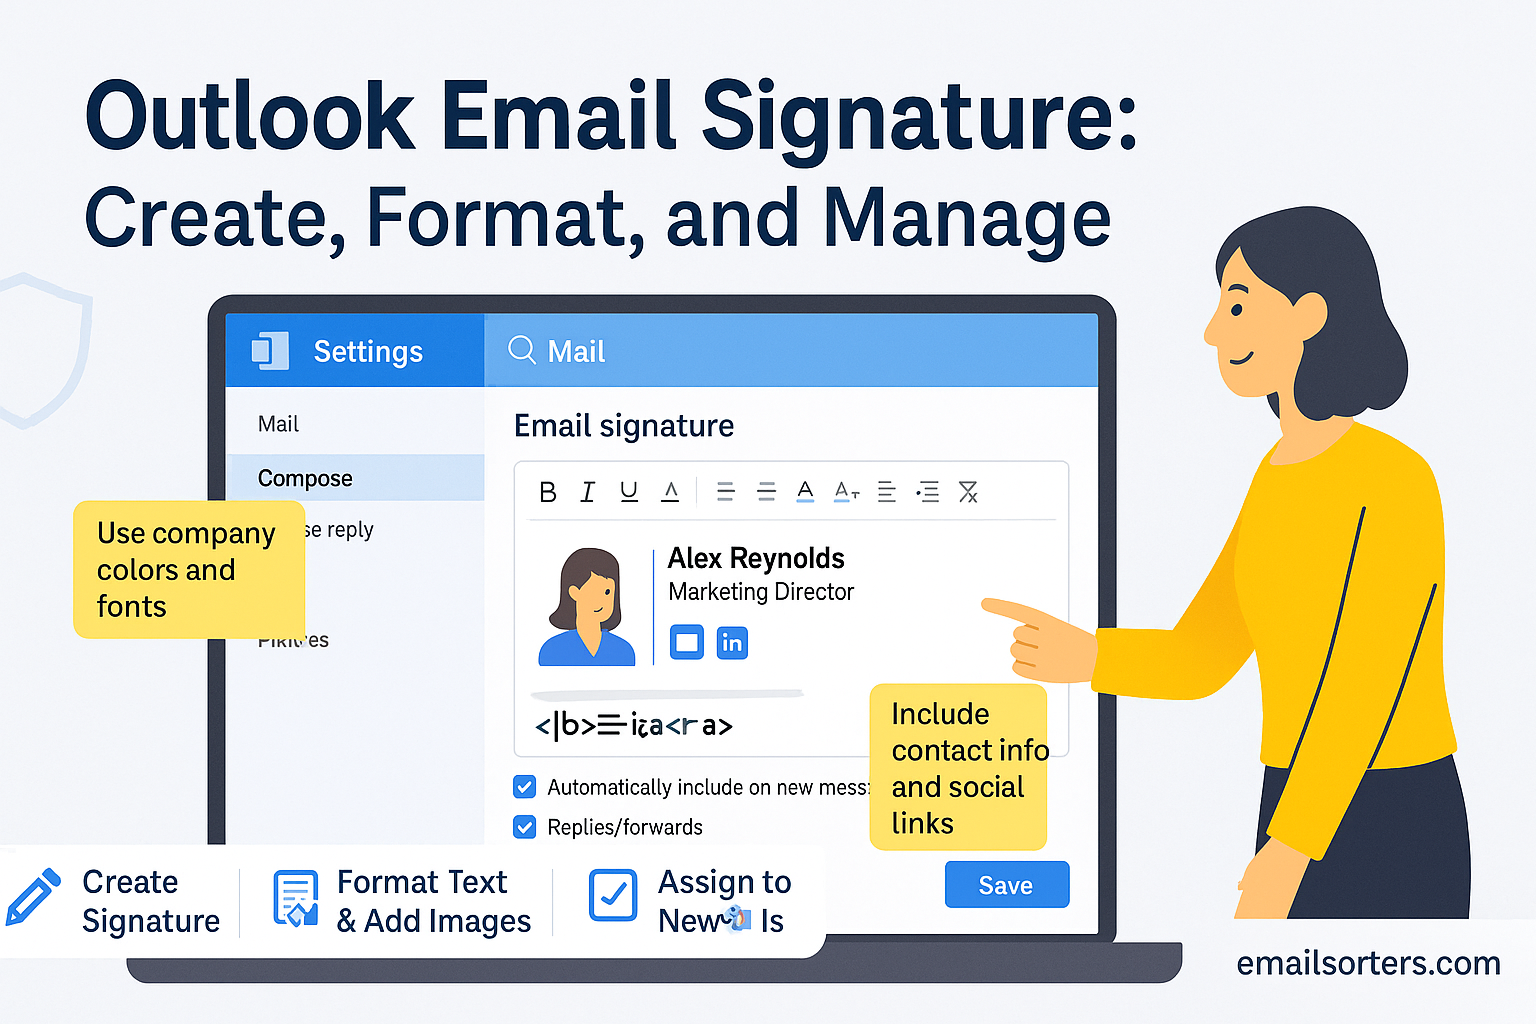
- Under the “Mail” category, go to “Compose and reply.”
- Enter or paste your signature into the provided text box.
- Use the editor tools to apply formatting or insert a logo.
- Set it to appear in new emails, replies, or both.
- Click “Save.”
While OWA doesn’t offer as much design freedom as desktop apps, it’s accessible from anywhere and ideal for light editing or managing accounts remotely.
Formatting Your Outlook Email Signature
Font Choice, Size, and Style
Consistency is key when formatting your Outlook email signature. Stick with web-safe fonts like Arial, Calibri, or Times New Roman these display well across all devices and clients. Avoid decorative or script fonts, which may render poorly or look unprofessional. Keep font size between 10 and 12 points for readability, and use bold or italic styles sparingly to emphasize only key details.
Using too many colors or font variations can make your signature look cluttered. Aim for a simple color scheme ideally your company’s brand colors and apply them consistently. Black or dark gray for body text and one accent color for titles or links is a reliable formula.
Color Use and Branding Consistency
Your email signature should match your company or personal branding. If you use a specific blue for your logo, use that same color in link text or section dividers. Too many mismatched colors can make the signature feel patchy or amateurish.
Use the same color for all links and make sure it’s visible against your email background. Avoid low-contrast shades like light gray on white. You can also underline links to make them more recognizable.
If your brand guidelines include logos or taglines, integrate them cleanly into the layout without making the signature too tall. Vertical space is limited in email previews keep the signature to four or five lines where possible.
Line Spacing and Signature Layout Tips
Spacing can make or break the look of your signature. Add line breaks between each section name, job title, company, contact info, and links to improve readability. Avoid long, single paragraphs or placing everything on one line.
If you’re including multiple contact methods (phone, mobile, email), list them vertically. Group social media icons in a single horizontal line at the bottom to keep things compact.
Tables can be used to structure more complex signatures, like two-column layouts with a logo on one side and contact info on the other. Just be sure to test across devices, as some email clients interpret tables differently.
How to Add a Logo to Outlook Signature
Inserting Images in Desktop Outlook
Adding a logo or image to your Outlook signature is straightforward. In the signature editor, place the cursor where you want the image to go, then click the image icon. Choose a file from your computer and insert it. Make sure the image is sized properly around 100px tall is standard to avoid overwhelming the layout.
After inserting, click the image to adjust alignment or resize. Always preview how it looks with the rest of your content. The goal is to support your brand, not distract from your message.
Hosting Images for Web Compatibility
One problem with adding logos is that Outlook sometimes turns them into attachments. This clutters the email and can lead to display issues. To avoid this, consider hosting your image online and inserting it via its URL.
Some companies host logos on their official website and link them directly. If you’re doing this, make sure the image is publicly accessible and hosted over HTTPS. Embedding via URL works best in Outlook Web or with supported HTML.
Avoiding Attachment Issues with Embedded Logos
If Outlook keeps turning your logo into an attachment, check your email format settings. Use HTML format not plain text or Rich Text Format (RTF) as these other formats can cause display issues or separate image files from the email body.
You should also avoid dragging and dropping images from web browsers into Outlook. Instead, download the image, save it properly, and insert it through the image tool. Keeping your signature clean helps improve email deliverability and ensures your logo actually shows up on the recipient’s screen.
Step-by-Step: Update or Edit Your Signature in Outlook
If you’ve already created a signature and just need to update a detail like your title, number, or job role Outlook makes the process straightforward. Here’s how to edit or replace your signature across platforms:
- Open Outlook and navigate to the settings:
- On desktop, go to File > Options > Mail > Signatures.
- On the web, click the gear icon > View all Outlook settings > Mail > Compose and reply.
- Select the signature you want to edit from your list.
- Make the necessary changes in the text editor. This can include updating contact info, adjusting the formatting, or swapping out an outdated image or logo.
- Check the assignment settings to ensure your updated signature applies to new messages, replies, or both.
- Click “Save” or “OK” when finished. Then, compose a new email to confirm the signature appears as expected.
If you’re using Outlook with multiple email accounts, be sure you’re editing the correct account’s signature. Each account can have different defaults, and the signature must be assigned manually for each if you’re using more than one profile.
Outlook Signature Not Showing? Here’s What to Check
A common issue users face is updating their signature only to find it doesn’t appear when composing emails. Several settings could be causing this.
First, confirm that the signature is assigned to the correct account. If you create a signature but don’t assign it under the default options for “new messages” or “replies/forwards,” it won’t automatically appear. Double-check this in the signature settings menu.
Next, verify your email format. Outlook supports signatures only when your email is in HTML format. If your message is set to plain text or rich text, images and formatting won’t appear and neither might your signature. In the compose window, look for the “Format Text” tab and switch to HTML if needed.
If you’re using Outlook Web and the signature isn’t showing up, ensure that the browser isn’t blocking scripts or content, which might prevent the full editor from displaying correctly. Refresh the page, check your browser settings, or try composing from another browser to rule this out.
For synced environments, especially in Microsoft 365 accounts, delay in signature syncing could also be an issue. If your desktop signature isn’t syncing to Outlook Web or vice versa, try logging out and back in. Signatures saved locally in desktop versions do not automatically update across web or mobile versions unless you’re using a centralized management tool.
Using Multiple Outlook Signatures
Many professionals use Outlook for different types of communication personal emails, internal team messages, external client correspondence, or side projects. Outlook allows you to create and manage multiple signatures for different contexts.
Start by going to your signature settings and clicking “New” to create a second or third signature. Label each clearly (e.g., “Work Signature,” “Client Version,” “Personal Email”). You can design each version with unique content depending on your audience.
For example, your client-facing signature might include a company logo, social links, and scheduling link. Meanwhile, your internal team signature could be simpler just name, role, and extension number.
When composing an email, Outlook allows you to switch between saved signatures from the message toolbar. Click the “Signature” dropdown and select the appropriate version.
You can also assign a default signature per account. This is helpful if you use Outlook to manage multiple email addresses. Under the signature settings, assign a default for new messages and replies for each account individually.
Keep in mind that switching signatures during a reply may require manual intervention. If Outlook inserts a signature by default, you’ll need to delete it before inserting another to avoid duplication.
Managing multiple signatures works best when each is organized, named clearly, and periodically reviewed. This keeps your communication clean and your image consistent no matter who you’re emailing.
Signature Best Practices for Business Use
For teams, consistency in email signatures is just as important as the message itself. A disjointed mix of styles, fonts, and formats from different employees can create confusion and dilute your organization’s brand. That’s why companies often implement signature standards guidelines or templates that employees are expected to follow.
Start with the basics: name, title, company, phone number, and email. This core information should be identical in format across departments. Keep job titles updated and accurate, and avoid using nicknames or nonstandard formatting unless your company allows it.
Then add company branding. This includes the logo, a uniform color palette, and consistent font choices. Use the same logo file, ideally hosted online for faster loading. Avoid color combinations that are hard to read, such as light text on white or overly bright accents. Stick with readable, professional colors that match your branding kit.
Links matter, too. Include links to your website, social profiles, or booking platforms if relevant but don’t overload the signature with unnecessary URLs. Three to five links is a good upper limit. If you use social icons, ensure they’re visually aligned and don’t overpower the content.
Avoid quotes or personal taglines in business signatures unless your company encourages them. While inspirational quotes may seem harmless, they can clutter your signature or distract from the core message.
For legal or compliance-driven industries, it’s also smart to include a disclaimer. This can be placed at the bottom of the signature in a smaller font. It might reference confidentiality, email privacy, or data compliance policies.
Finally, less is often more. A clean, compact signature looks more professional and is easier for recipients to navigate. It also reduces email load times, which is useful in long threads or when opening emails on mobile devices.
Final Tips for Managing Your Outlook Email Signature
Once your signature is built, reviewed, and implemented, ongoing management keeps it effective. Your role, contact details, or branding assets may change over time. Make it a habit to check your signature every few months or anytime you change jobs, phone numbers, or email addresses.
If you’re using an HTML signature especially one built with tables or hosted images consider saving a backup file. That way, if you switch devices, re-install Outlook, or run into syncing issues, you won’t need to rebuild it from scratch. Simply paste the HTML into your new signature editor.
Test how your signature appears in different environments. Email yourself using different clients like Gmail, Apple Mail, or Outlook Web. Open the message on desktop, tablet, and phone to confirm readability and formatting. If images aren’t showing up, check that they’re hosted correctly and that your message is using HTML format.
When sending emails to international contacts, ensure your contact information is easy to understand globally. Include the country code in phone numbers and avoid abbreviations that may be unfamiliar outside your region.
If you’re managing a team, centralize control of signature templates. This can be done manually by sharing the same HTML file or, for larger companies, through a signature management tool integrated with Microsoft 365. This ensures that new hires and department changes always follow the same format.