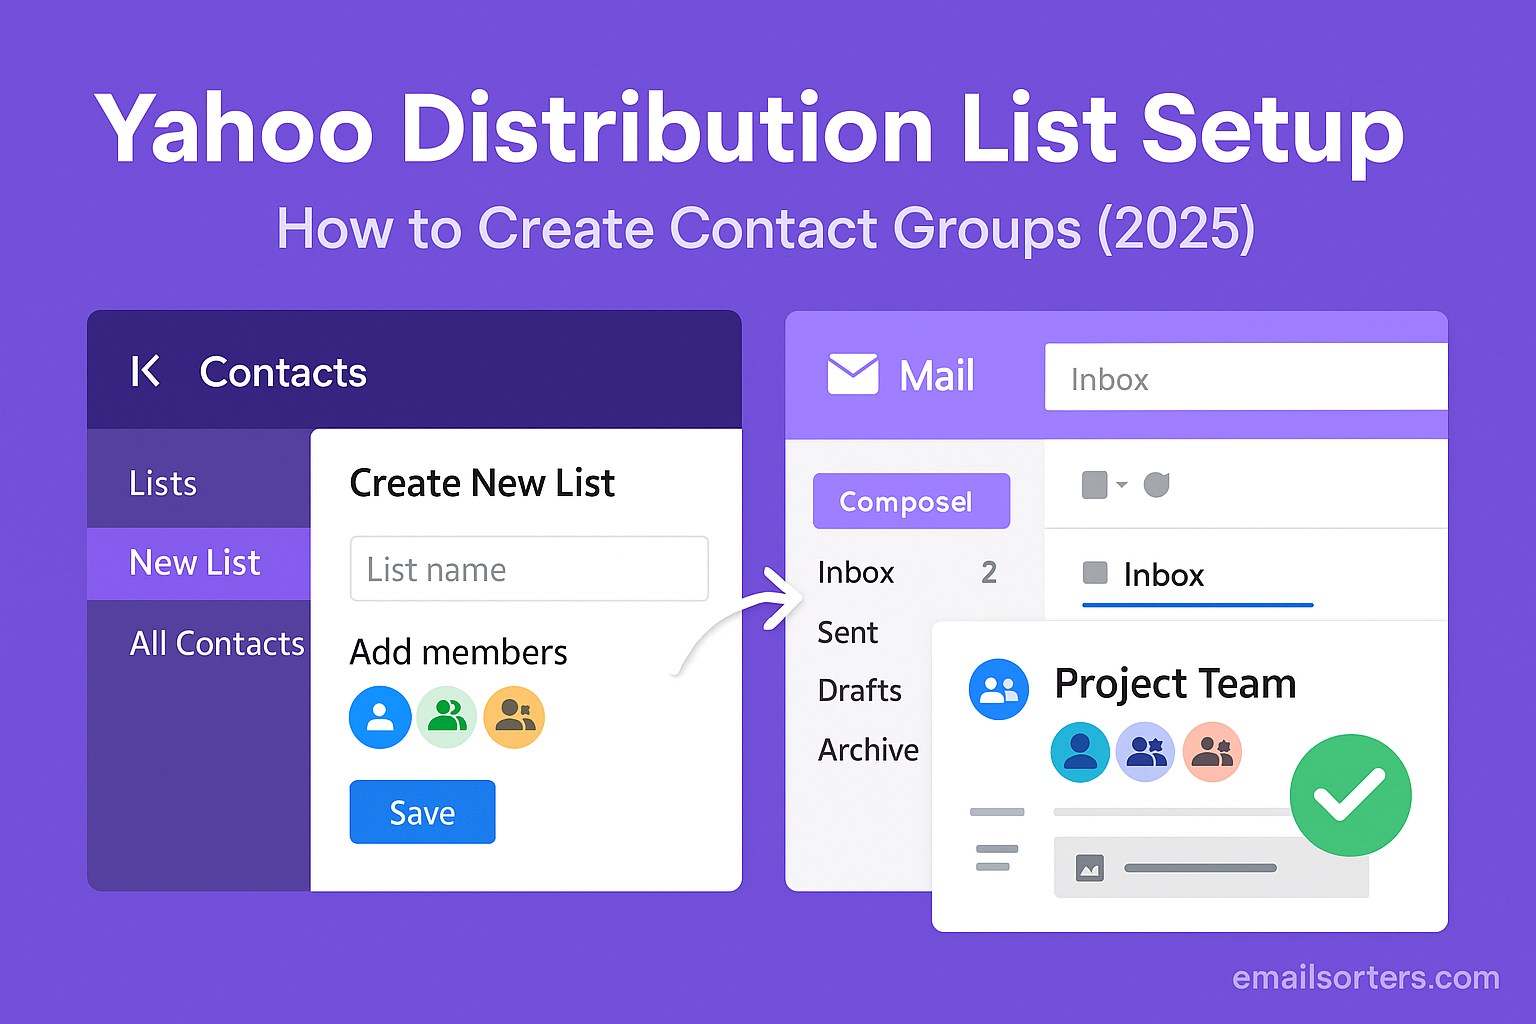
Create an Outlook email alias and instantly make your inbox more flexible. Need a separate address for shopping, newsletters, or side projects, but don’t want a whole new account? That’s exactly what an alias is for.
With one Outlook account, you can set up multiple email addresses that all land in the same inbox. It’s simple, it’s organized, and it keeps your main address safe from clutter (and spam).
Outlook makes it easy to manage different parts of your life using one email account. One of the most effective tools it offers is the ability to create and manage email aliases. These alternate addresses allow you to receive and send email without needing to create multiple accounts. Whether you’re handling personal and business communication, managing subscriptions, or protecting your primary email from spam, Outlook aliases are a flexible and practical solution.
What Is an Outlook Alias
An Outlook alias is an additional email address that links to your main Microsoft Outlook account. It works as an alternate identity within the same mailbox. When someone sends an email to your alias, it arrives in the same inbox as your main address. You can also use it as the “From” address when sending emails, which makes it useful for managing different email purposes under a single login.
The best part about aliases is that they do not require a new password or account. They are completely managed through your existing Microsoft account, and you can have multiple aliases tied to the same inbox. This setup keeps everything centralized while allowing you to separate activities for clarity or privacy.
Aliases can use the outlook.com, hotmail.com, live.com, or other Microsoft domains, depending on availability. You choose which alias to use when sending messages, and Outlook tracks replies accordingly. Aliases can be changed, removed, or renamed as needed, all without affecting your original account.
Why People Use Multiple Aliases
There are many reasons why people choose to set up and use Outlook aliases. One of the main motivations is email organization. Instead of signing up for everything with your main email address, you can use different aliases for shopping, newsletters, work, and personal use. This helps sort incoming messages and control your digital presence.
Privacy is another major reason. If you’re concerned about exposing your real email address, especially on websites you don’t fully trust, using an alias gives you an extra layer of protection. You can delete the alias later without losing access to your main account.
For people running side projects, freelancing, or managing small teams, aliases allow them to present different identities while keeping all communication under one umbrella. This eliminates the hassle of logging in and out of multiple accounts or managing separate inboxes.
Benefits of Using Outlook Aliases
Simplifying Email Organization
Outlook aliases make it easier to manage your emails by helping you divide them into categories. For example, you can create an alias like shopping@example.com for all retail and promotional messages. Another alias like freelance@example.com could handle your freelance clients or job inquiries. This structure means you know what to expect when an email arrives, based on the address it was sent to.
This organization makes it easier to apply email rules. You can set up automatic filters that move messages sent to a specific alias into a dedicated folder. That way, your main inbox stays clean, and you can focus on important messages without being distracted by non-urgent emails.
Aliases also help during events or one-time sign-ups. Let’s say you’re attending a conference or entering a giveaway. Create an alias just for that purpose, and delete it after the event. This prevents follow-up spam and reduces the number of unwanted emails you receive.
Maintaining Privacy and Reducing Spam
Every time you give out your email address online, there’s a risk it could end up in marketing databases or even fall into the hands of spammers. Using aliases gives you control. You can provide an alias to a vendor, service, or event and avoid exposing your primary email.
If the alias starts to receive spam or messages you didn’t sign up for, just delete it. You won’t lose any important data or affect your main inbox. This kind of control is valuable in a time where online privacy is harder to protect.
Aliases can also protect your real identity in online communities. If you’re participating in forums, beta tests, or temporary projects, using an alias instead of your main name helps you keep a professional distance or maintain privacy without sacrificing email access.
Who Can Use Outlook Email Aliases
Compatibility with Microsoft Accounts
Outlook aliases are available to anyone with a Microsoft account. This includes users who signed up using outlook.com, hotmail.com, live.com, or msn.com addresses. It also includes those who use a Microsoft account for Windows, Xbox, Office 365, or OneDrive. You don’t need a paid subscription to use aliases; this feature is available for free accounts as well as premium Microsoft 365 users.
The alias system is managed through the Microsoft account dashboard, not directly inside the Outlook interface. This means you need to access your Microsoft account settings in a browser to add or remove aliases. Once created, the alias will work immediately in Outlook’s web, desktop, and mobile apps.
Aliases work across the Microsoft ecosystem. If you use Microsoft services like Skype or Teams, your aliases can also serve as alternate sign-in methods. However, only one alias can be your “primary” username; the rest function purely for email and sign-in flexibility.
Outlook Alias Availability by Region or Service Tier
Outlook aliases are generally available in most regions where Microsoft offers consumer services. However, domain availability may vary. Some domains like @hotmail.com or @live.com are no longer offered for new aliases in certain regions, depending on Microsoft’s domain retirement policies.
In terms of service tier, all Microsoft account users can add up to ten aliases. There is no need for a paid subscription to access this feature, but Microsoft 365 subscribers may benefit from extra security, spam protection, and integration tools that enhance the use of aliases.
Certain features, like email rules and alias filtering, are easier to manage on the desktop version of Outlook or in Outlook Web App with a premium subscription. While the core alias functionality is free, power users may find the Microsoft 365 environment more efficient for advanced use.
Setting Up an Outlook Alias (Step-by-Step)
Accessing the Alias Settings in Microsoft Account
To create an Outlook alias, start by signing in to your Microsoft account at account.microsoft.com. Use your current Outlook or Microsoft credentials. Once you’re logged in, go to the Your Info tab at the top of the page. Scroll down and look for Account aliases or Manage how you sign in to Microsoft.
Clicking that link will take you to the page where all of your email aliases and linked usernames are listed. This page shows your primary alias and any secondary addresses that are connected to your account. From here, you can add a new alias, set one as primary, or remove aliases you no longer want.
This settings page is where you control your Microsoft identity. Any changes here affect how you sign in to services, where your email is delivered, and how you appear when sending messages from Outlook.
Adding a New Outlook Alias
To add a new alias, click Add email on the alias management page. You’ll get two options: create a new Outlook.com address or link an existing one. If you choose to create a new alias, type the name you want and select the domain (e.g., @outlook.com or @hotmail.com, if available). Then click Add alias.
If you already have another Microsoft email you’d like to use as an alias, select the Add an existing email address option. This lets you link another address you control without creating a new mailbox.
After adding the alias, it will appear in your alias list. You can now use it to send and receive email in Outlook. To make it your primary alias, click Make primary next to the alias. This changes how you sign in to Microsoft services, so use it only if needed.
Keep in mind that Microsoft limits how often you can change your primary alias; no more than twice per week. So choose your primary identity carefully and don’t make unnecessary switches.
Managing and Using Multiple Outlook Aliases
Switching Between Aliases for Sending Emails
Once you’ve added one or more aliases to your Microsoft account, you can start using them to send emails. In Outlook on the web, compose a new email and click the From field. If it’s not visible, click the three-dot menu and enable the Show From option. Then click the drop-down next to your current email address and choose one of your aliases.
If the alias doesn’t appear, you can manually type it into the From field. Outlook will recognize it as long as it’s attached to your account. This allows you to send emails under different identities without switching accounts.
In the Outlook desktop app, the process is similar. Start a new message and click the From button. Your aliases will show in the drop-down list. Choose the one you want before sending the email. Outlook remembers your selection for future use.
Receiving Emails via Different Aliases
Any email sent to your alias will arrive in the same inbox as your main email. You don’t need to check multiple inboxes or log into separate accounts. This makes aliases perfect for managing multiple purposes while keeping all your communication in one place.
If you’re using aliases to organize your digital life; such as having separate aliases for job applications, newsletters, and online accounts; then each one becomes a filter. You can set up rules in Outlook to move messages based on the address they were sent to. This keeps your inbox clean and organized.
Outlook aliases can also be helpful for tracking where your email address is used. If you use a specific alias to sign up for a service and later receive spam on that alias, you’ll know exactly where the breach happened. You can delete or block the alias and move on without affecting your main account.
How Outlook Handles Alias Replies and Forwards
Choosing the “From” Address When Replying
When someone sends an email to one of your Outlook aliases, the way you reply can either preserve that alias or default back to your primary account. Outlook gives you the choice, but it depends on how you manage your settings and which app or interface you’re using. In Outlook on the web, if someone emails your alias, and you click “Reply,” the default behavior is to reply from the same address the message was sent to. That means Outlook will use the alias as the sender, maintaining the original conversation identity.
In the desktop version of Outlook, the behavior can vary depending on your setup. If the From field is visible and manually set, it typically remembers the address used in the original message. However, if it’s hidden or not specified, the reply may default to your primary email address, which could confuse recipients if they reached out to a different one.
To keep replies consistent with the alias address, always double-check the From field before sending. If needed, expand the message options and manually choose the alias again. Outlook doesn’t automatically force replies to always come from the alias unless it was used in the original message.
How Forwarding Works with Aliases
When forwarding emails received via an alias, Outlook treats the message like any other. The act of forwarding doesn’t reveal which alias the original message was sent to; unless that alias is visible in the message header or content. The From address used during forwarding depends on what you select when composing the message. If you want to maintain consistency, you should set the alias as the sending address in the new message window.
It’s also important to note that forwarding an email does not transfer the alias functionality. The person receiving the forwarded message won’t be able to reply to the alias unless you explicitly choose it as the From address. For organized workflows, especially when managing customer service or client-facing messages through an alias, always ensure you’re forwarding or replying using the correct sender address.
Organizing Outlook Inbox with Rules for Aliases
Creating Email Rules Based on Alias Address
One of the most powerful features available when using Outlook aliases is the ability to automate inbox organization using email rules. You can create a rule that sorts messages based on the alias they were sent to. This is helpful when managing emails from different parts of your life; work, school, personal, online shopping, and more.
In the Outlook desktop app, go to the Rules section and select Manage Rules & Alerts. Click on New Rule, and when prompted, choose the condition “with specific words in the recipient’s address.” Enter your alias email address, then assign an action such as “move it to the specified folder.” You can also add additional actions like flagging the message or marking it as important.
In Outlook on the web, go to Settings > View all Outlook settings > Mail > Rules. Create a new rule, add the condition “to” contains [your alias], and assign the desired action. This setup takes only a few minutes but greatly reduces the time you spend sorting messages.
Keeping Alias-Related Emails in Separate Folders
Using folders to keep emails organized by alias is one of the cleanest methods for managing multiple activities under one account. You can create folders for each alias; such as “Job Search,” “Shopping,” or “Travel”; and use your email rules to send incoming messages directly to the correct place.
This setup allows you to stay focused. You can check each folder based on priority, rather than being overwhelmed by a single stream of mixed emails. For users who rely on aliases heavily, this organization method turns Outlook into a powerful personal email management tool without the complexity of multiple logins.
Folders also work well with notifications. You can mute alerts from less critical folders, like one used for newsletters, while keeping alerts active for folders tied to work or finance. It’s an efficient way to prioritize your inbox without missing important updates.
Using Outlook Aliases for Personal and Professional Separation
Managing Work, Shopping, and Subscriptions Separately
Keeping your inbox clean is much easier when you use aliases to divide your activities. Instead of using one address for everything, Outlook allows you to set up multiple identities within the same inbox. You can use one alias for shopping, another for signing up for subscriptions, and a third for professional communication. This prevents your work emails from getting lost between order confirmations and sale announcements.
When you register for websites or newsletters using an alias, you immediately know where a message came from. If the alias ever starts receiving unwanted mail, you know exactly which source shared or sold your address. You can remove that alias, ending the spam instantly without affecting your main email.
This method also gives you more mental clarity. Checking emails becomes faster when you know which address a message was sent to. You’re less likely to get distracted when you know that one alias handles only personal errands while another manages your job-related messages.
Benefits for Freelancers and Small Business Owners
Freelancers and small business owners often juggle multiple roles; sales, billing, support, and client communication. Creating aliases for each of these functions lets you present a professional front without the burden of managing separate accounts.
For example, you might have aliases like sales@yourdomain.com, billing@yourdomain.com, and support@yourdomain.com. Each one directs to your main inbox but allows you to handle replies under the appropriate identity. This improves client trust and helps you stay organized as your business grows.
When your team expands, you can transition these aliases to full accounts for new hires. Until then, you maintain control while giving the appearance of a larger, more structured operation.
Outlook Alias Limits and Restrictions
How Many Aliases You Can Create
Microsoft allows you to create up to ten aliases per Outlook or Microsoft account. This includes all aliases ever added, even if some are deleted later. While ten may seem like a small number, it’s generally enough for most users managing different types of communication such as personal, work, subscriptions, freelance, and temporary registrations.
Each alias must be unique and not already in use by someone else. You can choose from different domain options like outlook.com, hotmail.com, or live.com, depending on what’s available. If your desired alias is already taken, you’ll need to modify it slightly by adding numbers or extra characters.
These aliases are tied to your main account. You cannot transfer an alias to a different Microsoft account or reuse an alias immediately after deleting it. Microsoft places these limits to protect user identity and reduce potential confusion between active and recycled aliases.
Rules for Deleting or Changing Aliases
You can remove an alias at any time through your Microsoft account settings. Once removed, that alias is permanently deleted and cannot be recovered. Be sure to double-check before removing any alias you use regularly for communication. Microsoft does not allow reactivation of deleted aliases or transferring them to another user or account.
If the alias you want to remove is set as your primary alias; the one you use to sign in to Microsoft services; you’ll need to switch to a different alias first. Only after changing the primary alias can you delete the original. This safeguard prevents accidental lockouts and ensures you always have a valid address for logging in.
Microsoft restricts how often you can change your primary alias. You can only change it twice per week. This limit is meant to protect against security issues and abuse, so plan changes accordingly and don’t make frequent switches unless absolutely necessary.
Troubleshooting Common Alias Issues
When You Can’t Add an Alias
There are several reasons why Outlook might not allow you to add a new alias. First, you may have already reached the maximum number of aliases allowed for your account. If that’s the case, you’ll need to remove one before adding another.
Another reason could be that the alias you’re trying to add is already in use. Microsoft does not allow duplicate aliases, even if the account using it is inactive. You’ll need to try a different name or add variations like numbers or underscores.
Sometimes Microsoft temporarily blocks alias creation due to unusual activity or repeated attempts in a short time. If this happens, wait 24 hours and try again. Make sure you’re signing in from a secure location and device, as suspicious sign-ins may limit account changes.
Also, keep in mind that not all domains are available in every region. If you’re trying to use an older domain like hotmail.com or msn.com, you may find that it’s no longer supported in your area.
Email Delivery Problems with Aliases
While aliases generally work seamlessly, there are times when emails sent to an alias don’t show up in your inbox. This is often due to rules that automatically move or archive messages based on the alias address. Check your filters and rules to make sure nothing is misdirecting the message.
If you’re using a desktop mail client or mobile app, syncing issues could be the cause. Sometimes the app needs to be refreshed, or the account re-synced, to properly recognize alias activity. Make sure you’re running the latest version of the app and that your Microsoft account is properly configured.
Another issue may involve spam filters. If you’ve used an alias for online registrations or untrusted sites, emails sent to it might get flagged and sent to the junk folder. Periodically check your spam folder and whitelist important contacts.
Outlook Alias vs. New Outlook Account
Comparing Features and Use Cases
Choosing between an alias and a new Outlook account depends on your needs. Aliases are great for people who want to manage multiple email identities from a single inbox. They don’t require separate logins or management and are easy to set up and remove. Everything comes to the same inbox, and you can reply from any address.
New accounts, on the other hand, offer complete separation. They’re useful if you need entirely different mailboxes for different businesses, teams, or personal use. With a new account, you get separate storage, calendars, OneDrive access, and contact lists.
Aliases are better for streamlining communication, while new accounts are better for independence and full control. If you’re juggling more than one identity but want everything in one place, aliases are the better choice. If you’re running two unrelated operations or want full privacy between them, go with separate accounts.
Pros and Cons of Each Option
The main benefit of aliases is convenience. You don’t need to remember multiple passwords, switch accounts, or manage multiple inboxes. Everything lives in one place, which saves time and mental energy. Aliases also offer flexibility; use them for a project, then remove them when you’re done.
The downside is that aliases aren’t completely independent. You can’t assign different calendars, storage, or app settings to each alias. If your inbox gets too full or disorganized, aliases might not offer enough separation.
Creating a new Outlook account gives you full autonomy. It’s better for managing completely different workflows, like personal vs. business communication, or roles in different companies. But managing multiple accounts can be time-consuming, especially if you need to keep track of various login details and app settings.
Security and Outlook Aliases
Securing Your Aliases with Two-Factor Authentication
Your Outlook aliases are only as secure as your Microsoft account. All aliases share the same password and security settings, so it’s crucial to enable two-factor authentication (2FA) for your account. This adds a layer of protection in case your password is ever compromised.
To enable 2FA, sign in to your Microsoft account, go to Security > Advanced security options, and follow the steps to set up a secondary verification method. You can use a phone number, email address, or an authenticator app. Once enabled, any sign-in attempts from a new device or location will require confirmation through your second method.
Aliases don’t weaken your account’s security, but they increase your public exposure. More addresses mean more chances someone may try to exploit them. That’s why 2FA is critical when managing multiple aliases; especially those used in public or high-risk environments.
Monitoring Unusual Activity on Alias Addresses
Microsoft provides basic tools to monitor sign-in and activity history. If someone tries to access your account through an alias, you’ll see the attempt listed under your sign-in logs. You can view this by going to Security > Sign-in activity in your Microsoft account dashboard.
If you notice any unusual access or messages sent from an alias you didn’t authorize, change your password immediately and review any connected apps or services. You can also temporarily disable email access until you’ve secured the account.
Using a unique alias for sensitive communication helps you track whether an account has been compromised. If only one alias is getting spam or odd replies, that tells you where the breach or issue occurred.
Outlook Mobile App and Alias Support
Sending Emails from an Alias in the App
Using Outlook aliases on the mobile app isn’t quite as smooth as on the desktop or web version, but it’s still possible with a few steps. By default, the Outlook mobile app does not provide a visible dropdown menu to switch the “From” address like the desktop version does. However, you can still send messages from an alias by manually typing the alias in the From field when composing a new message.
To do this, start a new email in the mobile app. Tap the From address, and if your alias is not listed, select “Other” or manually type in your alias email address. Outlook will send the message using that alias if it’s connected to your Microsoft account. This works best if the alias was already used before on the desktop, as the app tends to remember previously used addresses more easily after that.
Some users prefer to set their alias as the primary Microsoft alias if they plan to use it frequently on mobile. This ensures all messages from the mobile app automatically use that address, though it changes the sender identity across all services, which may not always be ideal.
Reading and Filtering Alias Emails on Mobile
Reading emails sent to an alias on mobile works exactly the same as for your main address. All messages arrive in your single Outlook inbox, so there’s no need to toggle between addresses. The challenge comes when trying to identify which alias received the message.
Since mobile apps often hide recipient details in compact views, you may not immediately see which alias the message was sent to. To find out, open the message and look at the email header or the full recipient list. Some apps, including the Outlook mobile app, allow you to expand message headers to see detailed address information.
Filtering alias-based messages is trickier on mobile. You can’t create advanced rules directly from the app, but any rules set on the desktop or web version will still function. For example, if you’ve created a rule that directs all messages sent to newsletter@youralias.com into a folder named “Promotions,” that rule will apply automatically; even on mobile.
Using folders and push notification settings can help optimize this experience. You might want to turn off alerts for certain folders tied to lower-priority aliases, keeping your main inbox clean and reducing unnecessary distractions.
Best Practices for Managing Outlook Aliases
Naming Conventions and Organizational Tips
When managing multiple aliases, clear naming conventions help keep everything structured. Avoid vague or generic aliases like abc123@outlook.com unless you’re using them temporarily. Instead, choose names that reflect their purpose; like travelbookings@, clientsupport@, or newsletters@. This makes it easier to remember what each alias is for and helps you track where spam or leaks originate from.
If you use aliases for managing online accounts, try adding the service name into the alias; like netflixalerts@ or shoppingdeals@. This improves traceability and lets you organize messages with minimal effort. You’ll instantly know which alias is tied to which activity, and if you ever need to remove or change it, there’s no confusion.
Regularly update a master list of your aliases and their purposes. This can be stored securely in a password manager or document for reference. When you stop using an alias, review all accounts or contacts linked to it and update them before deletion.
Periodic Review and Cleanup of Aliases
Over time, your aliases might accumulate beyond what you need. If you’re not reviewing and managing them occasionally, you could face disorganization or even security risks. Set a schedule; every six months, for example; to review your aliases and decide which ones are still relevant.
During cleanup, look for aliases you no longer use, especially if they’re tied to old projects, expired subscriptions, or one-time registrations. If those aliases start receiving spam or junk, consider removing them completely. Deleting an alias doesn’t delete any emails already received; it simply stops new emails from arriving at that address.
If you’re using rules and folders with your aliases, this is also a good time to update or remove any that are no longer needed. Keeping your alias system tidy ensures it stays efficient and useful without becoming a burden.
Conclusion
Outlook aliases are a flexible, efficient way to manage multiple identities from one email account. Whether you’re separating business from personal communication, organizing incoming messages, protecting your privacy, or handling temporary sign-ups, aliases offer a smart alternative to managing multiple accounts.
You don’t need to sacrifice convenience for structure. With up to ten aliases available, each with its own purpose and identity, you can simplify your digital communication while maintaining full control. Outlook makes it easy to send, receive, and organize emails without juggling multiple logins or inboxes.
By following best practices; like creating clear naming conventions, setting up inbox rules, and cleaning up unused aliases; you ensure your email stays focused and secure. Aliases not only enhance your productivity but also protect your primary address from spam and clutter. For freelancers, professionals, and everyday users alike, this is a feature worth mastering.
Frequently Asked Questions
How many Outlook aliases can I create
You can create up to ten aliases per Microsoft account. This includes all current and previously deleted aliases. Once you reach the limit, you must delete an existing alias to add a new one.
Can I send from an alias using the mobile app
Yes, but the process is manual. You must type the alias in the From field when composing an email. Previously used aliases are easier to reuse in future messages.
Do aliases have separate inboxes
No, all emails sent to any alias arrive in the same inbox. You can use rules and folders to sort emails based on which alias they were sent to.
Can I remove an alias without losing emails
Yes. Deleting an alias does not remove any emails already received. It only stops new messages from being delivered to that address.
Is an Outlook alias secure for sensitive email
Yes, provided you use two-factor authentication and manage your account securely. All aliases share the same security settings as your main Microsoft account.