Google Sheets calendar templates give you the flexibility that built-in calendar apps can’t always match. While Google Calendar is great for scheduling, sometimes you need a more customized layout, something you can format, color-code, and adapt for projects, content planning, or personal organization. That’s where Google Sheets comes in.
With just a few simple steps, you can build a reusable calendar in Sheets that works as a monthly planner, yearly tracker, family schedule, or even a content calendar. The best part? You don’t need advanced spreadsheet skills. With basic formatting and a couple of formulas, you’ll have a polished, customizable calendar you can copy month after month, or year after year.
In this comprehensive guide, I’ll walk you through building your own Google Sheets calendar from scratch. You’ll learn how to:
- Set up the base spreadsheet
- Add dates with automatic calculations
- Apply formatting and color-coding
- Customize layouts for tasks, projects, or events
By the end, you’ll have a calendar template that’s simple to reuse, works across devices, and fits right into collaborative workflows. If you’ve ever wanted more control over how your schedule looks and works, this guide is the perfect place to start.
Understanding Google Sheets as a Calendar Tool
Google Sheets is a cloud‑based spreadsheet program that supports calculations, formatting, conditional highlighting, and collaboration. At Google Sheets you’ll find documentation on its features and usage rights. A Sheets calendar gives you total control over layout. Unlike pre‑made apps, you can include columns for task status, events, deadlines, or notes. Sheets adapts to multiple screen sizes and formats. When built properly, your calendar can auto‑calculate weekdays, fill rows across months, and update based on year or month input.
Why choose Sheets over other tools? For users who need to track projects and events in a tabular format, Sheets combines numeric formulas with visual layouts. You can easily copy a completed calendar to future months. You can incorporate color coding for types of events. You can conditionally format days based on deadlines or task status. You can export or print the calendar for offline reference. It also offers version history, enabling lightweight collaboration when paired with shared drives or documents.
Creating a Sheets template lets you begin with minimal manual input: enter year and month, and the calendar populates itself. This instruction will guide you through sheet structure, formulas, formatting, and optional automation. The final result is not just a calendar, but a practical planning tool that suits personal or team use.
Setting Up Your Template Sheet
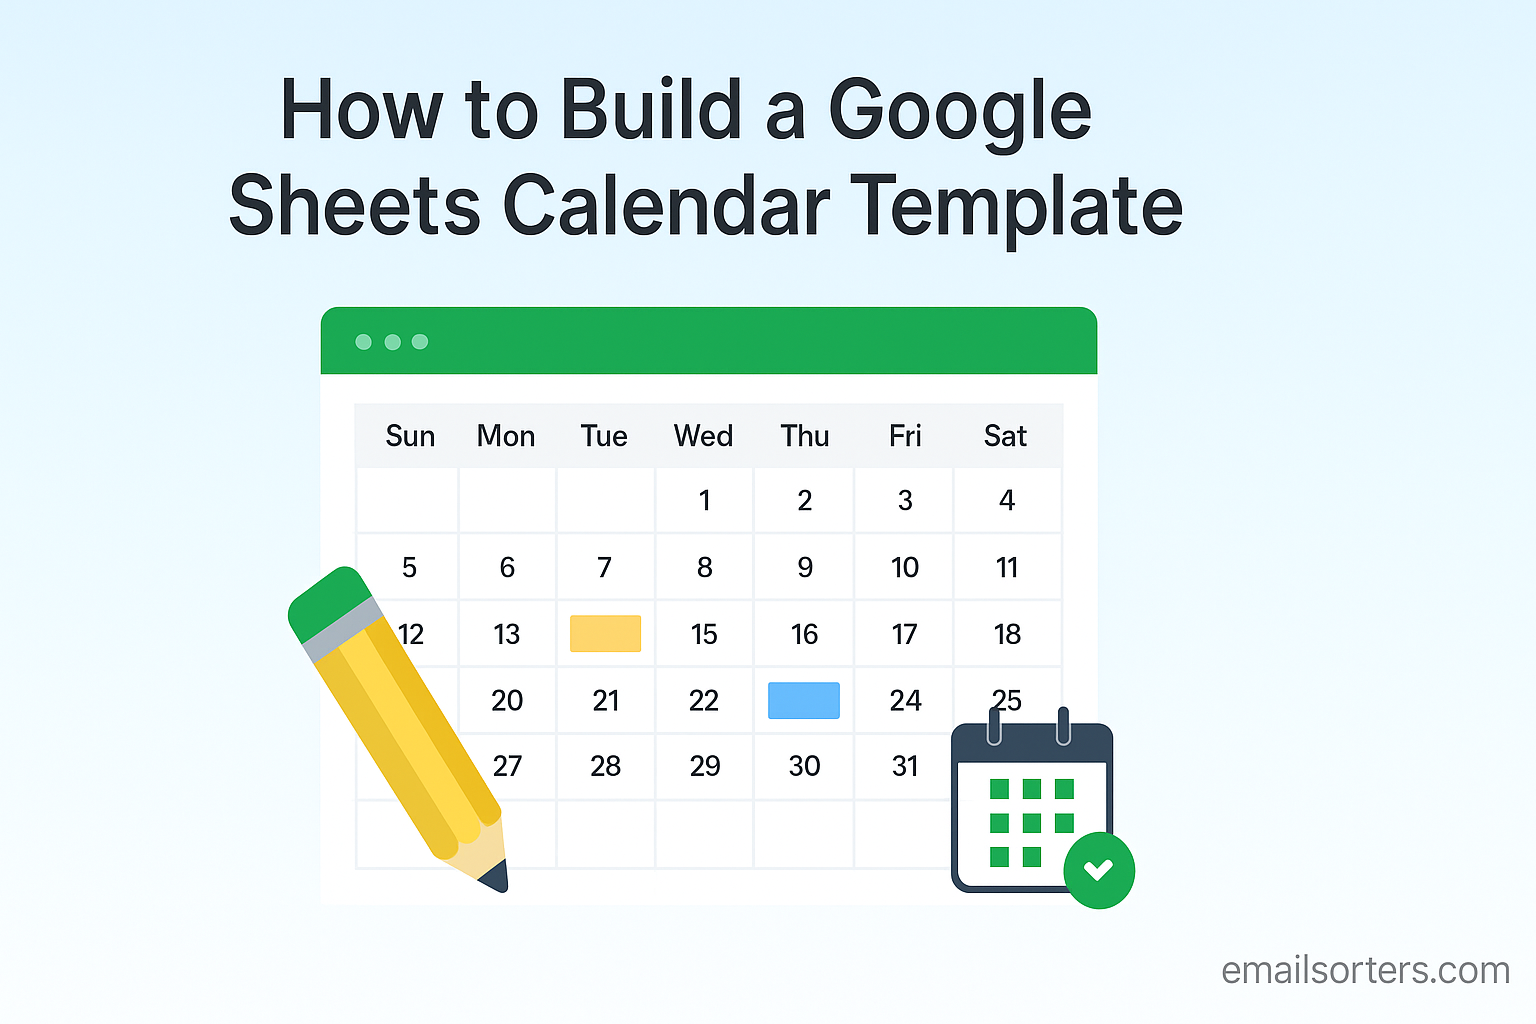
Begin by opening a new blank sheet in Google Sheets. In cell B1, enter a year, and in C1 enter a month number from 1 to 12. Label cells to make input clear: A1 might say “Year”, A2 “Month”. Next, reserve row 3 for weekday headers. In B3 through H3, type the days Monday, Tuesday, … Sunday (or Sunday through Saturday if you prefer). These labels define the header row for your calendar grid.
Next decide where the calendar grid begins. For example, start the calendar grid in row 4 and columns B through H. Each cell in that grid will represent one date. The goal is to fill the grid automatically based on the year and month you enter in B1 and C1. You will create formulas that calculate the correct date offsets and leave blank cells for days before or after the month.
Visual clarity is essential, so merge or format header cells as needed. Bold and center the weekday headers, apply borders around the grid, and resize rows so they are taller for notes. Use text wrapping if rows will include event notes or task entries. With this structure in place, you’re ready to add formulas that automate the calendar layout.
Adding Formulas for Automatic Dates
To populate the date grid, use a formula that calculates each date based on the first day of the selected month. In cell B4, enter a formula that finds the offset: something like =IF( ( (DATE($B$1,$C$1,1)) + (COLUMN()-2) – WEEKDAY(DATE($B$1,$C$1,1),2) ) < DATE($B$1,$C$1,1), “”, DATE($B$1,$C$1,1) + (COLUMN()-2) – WEEKDAY(DATE($B$1,$C$1,1),2) ). Drag across to column H. In row 5 through row 9 (or however many weeks your calendar needs), you can repeat each row with an offset of +7 for subsequent weeks. This energy might seem technical at first, but once copied down and across, the calendar automatically adjusts dates based on your year and month inputs. Blank cells appear before the first of the month and after the last day.
By locking year and month references (using $B$1 and $C$1), the grid updates whenever you change those inputs. As long as you set up enough rows to cover all possible weeks (usually 5 or 6), your calendar works for any month. You can add conditional formatting later to gray out blank cells or highlight weekends or holidays.
This formula‑driven approach means no manual date entry happens each month. Once the template is built, creating a new monthly calendar is as simple as copying the sheet or changing the year and month fields.
Formatting and Enhancing the Calendar Design
A clean design improves readability and usability. Start by adding borders around the calendar grid. Apply light shading to header row days, and to weekend columns. Use centered alignment for dates, and allow cell text wrapping if you intend to write multiple events or notes in each day.
Consider conditional formatting. For instance, you can gray out blank date cells so they don’t distract. Use a rule that if date is blank, apply light fill color. You can also highlight weekends in pale gray or designate public holidays by listing them in another sheet and referencing them to highlight matching dates.
To add a title, consider merging cells above the calendar grid to display “Month Year” dynamically. For example, cell B2 can contain =TEXT(DATE($B$1,$C$1,1),”mmmm yyyy”) and span across B2:H2. Format it with a larger font and center alignment to visually anchor the template.
If you want to include spaces for notes, consider adding rows under the grid labeled “Notes” or “Tasks” that span the calendar width. You can also freeze the input row with year and month so it stays visible when scrolling. This optimizes user experience when editing or reviewing longer-suited layouts.
Formatting consistency across months is important. If you plan to duplicate the sheet for each month, control styles and cell sizes so copying retains structure. Using built-in sheet duplication ensures consistent formatting without manual adjustments each time.
Optional: Adding Task Columns or Status Indicators
You may want to integrate basic task or event tracking directly into your calendar. One simple way is to attach adjacent columns for each date column. For example, next to the calendar grid, use columns I through O to mirror each weekday column. In each cell, you can type a short note or task for that day.
Alternatively, you can add status indicators using conditional formatting. For example, use a legend where you input “✓” or “X” in each day cell to mark task completion. Format these indicators with colored fills or icons. This can serve as tracking for personal habits, project milestones, or daily events.
The optional extra structure helps turn your Google Sheets calendar into more than a date grid; it becomes a planning tool. Keep formulas simple so updates don’t break. Design cells to accommodate brief text or abbreviations. Keep layout minimal for easy copying and freeform notes.
Streamlining and Copying the Template
Once your sheet is fully formatted, tested, and ready, saving as a template is simple in Google Sheets. Use the sheet’s tab menu to Duplicate the month. To build multiple month calendars in one file, duplicate your base sheet for February, March, and so on.
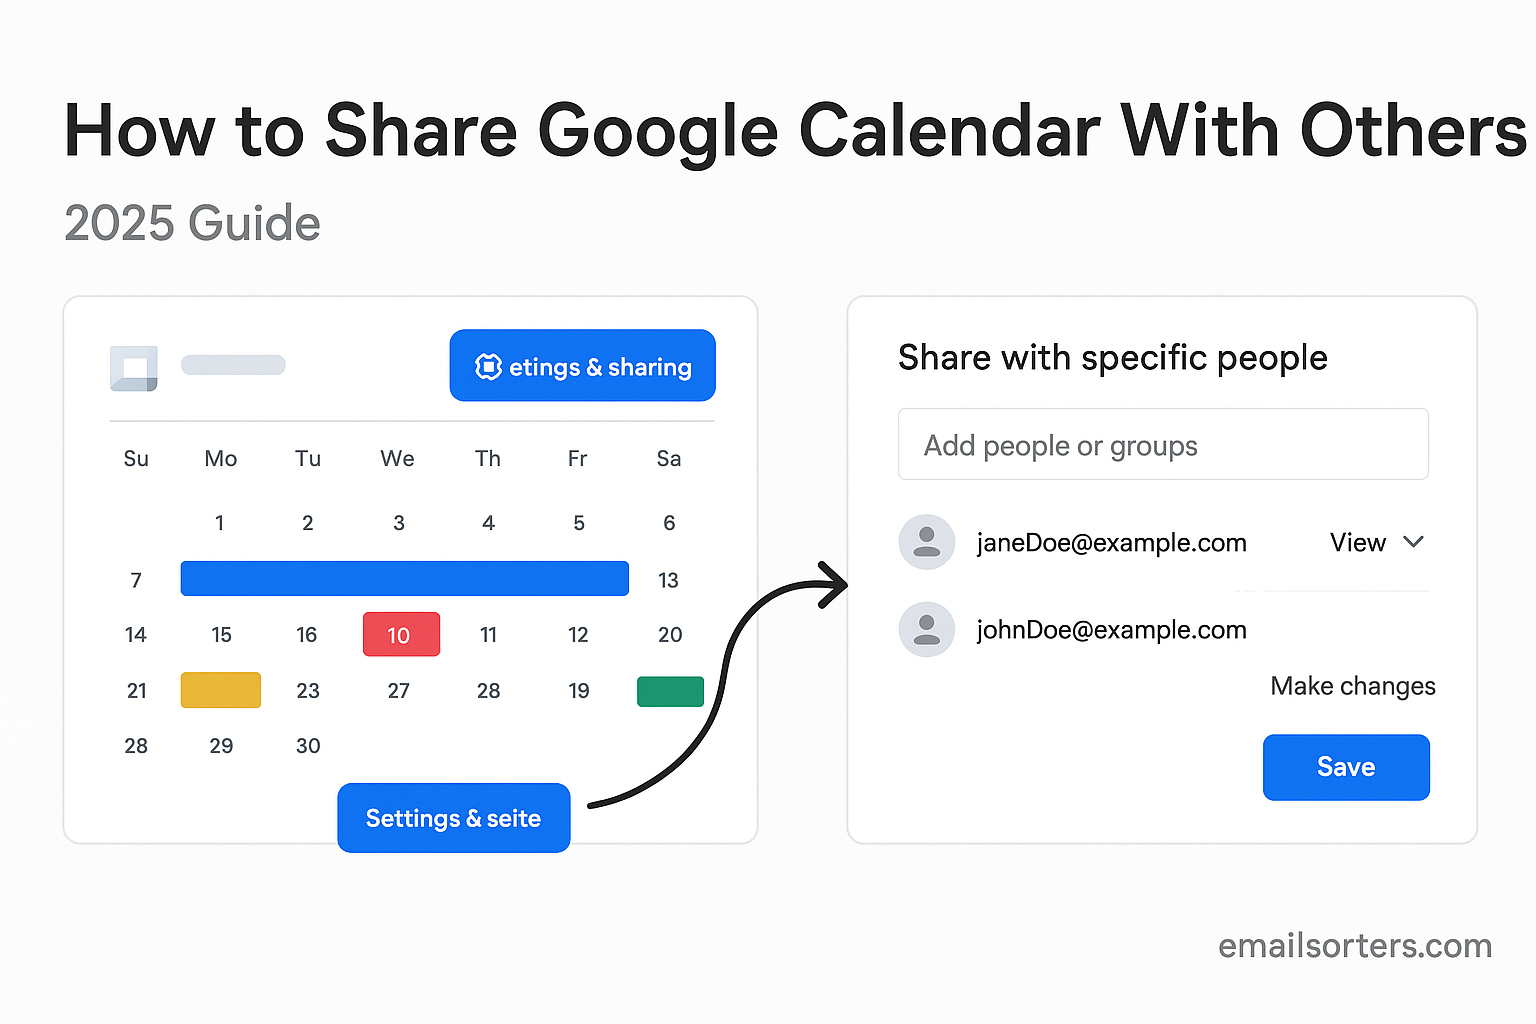
Alternatively, you can use Make a copy at the file level to reuse in the future. This way, you enter new year and month inputs when needed, and formulas re-populate the grid. Use Google Sheets sharing settings to allow others to view or edit this template collaboratively.
If you need to export your calendar to PDF or print it, use the File > Print option. Choose landscape orientation, scale to fit all columns, and include gridlines for clarity. You can also export as CSV to import into other scheduling tools if needed.
This flexible system means you can build separate sheets for different purposes: team planning, editorial calendar, family scheduling, while maintaining a consistent layout and functionality. If you’re combining this with digital collaboration or sharing, you might integrate with a shared calendar to distribute events generated in Sheets. Or connect your family calendar concept with a family calendar for cleaner coordination. And if the calendar is part of a broader effort to tidy your digital life, aligning it with practices from digital organization ensures your approach remains sustainable.
Collaboration and Integration Tips
Google Sheets supports real‑time collaboration. Share the template with your team members or family, control edit or view permissions, and watch updates happen instantly. If you plan to use it regularly with others, use Google Drive folder organization, and control version history. Use comments or notes within cells to communicate about specific dates or tasks. Shared access means multiple people can contribute to the same calendar without needing separate copies.
For deeper integration, you can manually export events from Google Sheets into Google Calendar. Use CSV export formats compatible with calendar imports. While not automatic, this process lets you plan in Sheets and share in Calendar..
Effective digital organization comes from combining systems that align. A well‑built calendar sheet works best when it links to broader routines of file naming, folder structure, reminders, and habit logs.
Conclusion
Building a Google Sheets calendar template empowers you to plan with precision and flexibility. This method gives you full control over layout, automation, and collaboration. Once created, your template can serve for months or years, saving time and reducing manual entry.
Throughout this article, you learned how to set up the sheet, insert date formulas, format visually pleasing layouts, and add optional planning structure. You also have guidance on copying templates, collaborating with others, and combining with Google Calendar for broader sharing.
As you use the template, adapt it to your workflows; customize colors, automate holiday highlights, or add team task columns. If storage or digital clutter is part of your goal, consider tying it into a larger strategy of clearing unused apps or limiting mental overload through intentional design.
With this sheet-based calendar in hand, you can track events, deadlines, tasks, or family plans more clearly. And because Google Sheets is browser- and cloud-based, it works just as well across devices and team environments.
Extra Section (With Bullet Layout for Quick Review)
- Enter Year and Month in labeled cells to drive calendar automation.
- Formulas calculate each date cell and auto-adjust if year or month changes.
- Format weekdays and weekends with different colors or shading.
- Add a title row that dynamically displays the month and year using TEXT and DATE formulas.
- Duplicate the month sheet or make whole-file copies to create multiple months or reuse in future.
- Share with collaborators using Google Drive sharing settings.
- Export to PDF or CSV for use in print or import into external calendars.
- Combine with Google Calendar by importing CSV and applying sharing methods outlined elsewhere.
FAQs
What if I need a weekly template instead of monthly?
You can adjust the grid to cover one week across columns and add multiple rows for tasks or hourly slots. Copy the structure to cover other weeks. Use similar formulas based on week start.
Can I highlight weekends or holidays automatically?
Yes. Use conditional formatting rules referencing the weekday or a separate holiday list. For holidays, place dates in another sheet and apply a formatting rule matching those dates.
Is it possible to link Sheets data to Google Calendar automatically?
Not natively. You can export a CSV and import it into Google Calendar. For automated syncing, you’d need third-party tools or scripts, which are outside beginner-friendly design.
Will this work if I duplicate sheets into a new file?
Yes. All formulas reference only year and month input cells. Copying into a fresh file preserves those formulas. Just update the inputs to generate new calendars.
Can my family or team fill out their events directly in the template sheet?
Absolutely. Share the file with edit permissions and designate who adds what. The layout allows multiple contributors to update dates or notes together.


