Capturing leads with Google Forms is a breeze, but manually transferring that data to your CRM can be a drag. It’s time-consuming, error-prone, and takes your focus away from what really matters—converting those leads into customers. The good news? You can automate this process, ensuring leads flow seamlessly from Google Forms straight into your CRM. In this guide, we’ll walk you through how to set it up, step by step, so you can save time and boost efficiency.
Why Route Google Forms Leads into a CRM?
Before we dive into the how, let’s quickly cover the why. Routing leads from Google Forms to your CRM offers several key benefits:
- Save Time: No more copying and pasting data, which reduces errors and frees up your schedule.
- Faster Follow-Up: Leads are instantly available in your CRM, so your sales team can reach out quicker.
- Improved Organization: All your lead data is centralized, making it easier to track and manage.
- Advanced Features: Take advantage of CRM tools like lead scoring, tagging, and tracking for better insights.
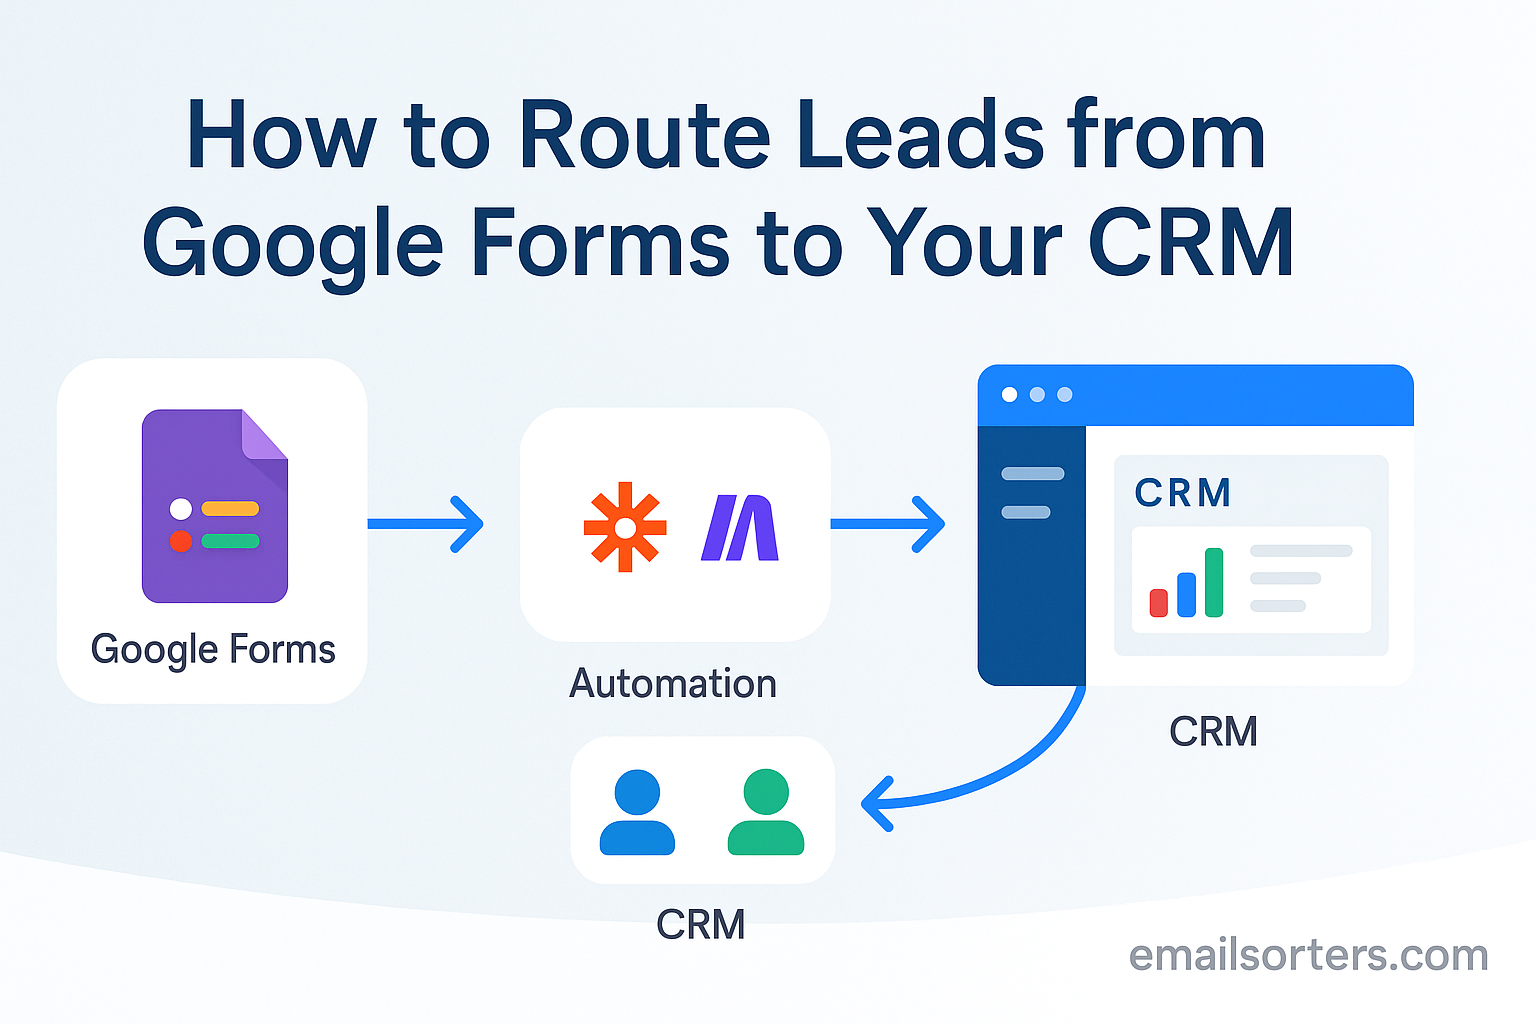
Automation is the key to making this happen, and tools like Zapier can simplify the process. For more on how automation can transform your sales workflow, check out our sales automation platforms comparison.
What You Need Before You Start
Before you begin, make sure you have the following in place:
- A Google Form: Already created and ready for lead capture.
- Access to Your CRM: Whether it’s HubSpot, Salesforce, Zoho, Pipedrive, or another CRM, ensure you have the necessary permissions.
- A Third-Party Integration Tool: Tools like Zapier or Make (Integromat) are essential for connecting Google Forms to your CRM. We’ll use Zapier as our example since it’s user-friendly and widely supported.
- Optional: Google Sheets: If you’re not already using it, Google Sheets can act as a bridge between your form and CRM.
Step-by-Step: Route Leads from Google Forms to Your CRM
Now, let’s get into the nitty-gritty of setting up the automation. We’ll use Zapier as our integration tool, but the process is similar for other platforms.
Step 1: Connect Google Forms to Google Sheets
Google Sheets serves as a temporary storage for your form responses, making it easier to automate the transfer to your CRM.
- Open your Google Form.
- Click on “Responses” at the top.
- Click “Create” or “Link” to create a new Google Sheet for your form responses.
This step is crucial because most automation tools, like Zapier, can easily pull data from Google Sheets.
Step 2: Choose Your Integration Tool
While there are several tools available, Zapier is a popular choice for its ease of use and extensive app integrations.
- Zapier supports thousands of apps, including most CRMs.
- For a deeper dive into Zapier’s capabilities with Google Forms, check out their Google Forms integration guide.
Step 3: Set Up Your Workflow in Zapier
This is where the magic happens. We’ll create a “zap” (Zapier’s term for an automated workflow) that triggers when a new form response is added to your Google Sheet and then creates a new lead or contact in your CRM.
- Create a New Zap:
- Go to Zapier and log in.
- Click “Make a Zap” and choose “Build from scratch.”
- Set Up the Trigger:
- Search for “Google Sheets” and select it as your trigger app.
- Choose the trigger event “New Spreadsheet Row.”
- Connect Your Google Account:
- Authorize Zapier to access your Google account.
- Select the spreadsheet and worksheet where your form responses are stored.
- Set Up the Action:
- Search for your CRM (e.g., HubSpot, Salesforce, Zoho) and select it as your action app.
- Choose the action, typically “Create Contact” or “Create Lead.”
- Connect Your CRM Account:
- Authorize Zapier to access your CRM account.
- Map Fields:
- Match the fields from your Google Sheet to the corresponding fields in your CRM. For example:
- Map “Email Address” from the sheet to “Email” in the CRM.
- Map “First Name” and “Last Name” accordingly.
- You can also add custom tags, set the lead source, or assign a lifecycle stage if your CRM supports it.
- Match the fields from your Google Sheet to the corresponding fields in your CRM. For example:
- Test the Zap:
- Test the trigger and action to ensure everything is connected correctly.
- Turn On the Zap:
- Once tested, turn on the zap to start automating lead routing.
Step 4: Test Your Integration
- Submit a test response through your Google Form.
- Check your CRM to see if the new lead appears.
- Verify that all fields are correctly mapped and there are no errors.
Step 5: Activate and Monitor Your Automation
- Ensure the zap is active.
- Periodically check for any errors or data mismatches.
- Track improvements in lead response times and overall efficiency.
CRM-Specific Setup Tips
While the general process is the same, here are some tips for popular CRMs:
| CRM | Setup Tips |
| HubSpot | Use HubSpot’s built-in workflows to automate follow-up actions. Direct integrations like the “Form to HubSpot” add-on are also available. |
| Salesforce | Leverage Salesforce Flow for advanced automation, such as assigning leads to specific reps. |
| Zoho CRM | Utilize Zoho’s automation tools to tag leads or trigger emails based on form data. |
| Pipedrive | Set up Pipedrive’s automation rules to handle new leads and assign them to team members. |
| Monday Sales CRM | Use Monday’s automation features to route leads to specific boards or team members. |
For more on how these CRMs can enhance your sales process, revisit our sales automation guide.
Common Mistakes and How to Avoid Them
Even with automation, things can go wrong if you’re not careful. Here are some common pitfalls and how to avoid them:
- Incorrect Field Mapping: Double-check that fields are correctly matched between Google Sheets and your CRM.
- Duplicate Entries: Set up rules in your CRM to merge or flag duplicates.
- Not Testing Thoroughly: Always test with multiple entries to catch any issues.
- Forgetting to Activate: Make sure your zap is turned on after setup.
- Not Notifying the Team: Use your CRM’s notification features to alert the right people when a new lead arrives.
Bonus: Add Smart Lead Routing Rules
Take your automation a step further by using the data from your Google Form to route leads intelligently:
- Assign Based on Criteria: Use fields like location, service type, or budget to assign leads to the right rep or team.
- Automate Tags and Stages: Set up rules to tag leads or move them through lifecycle stages automatically.
- Trigger Additional Actions: Create tasks for sales reps or send welcome emails directly from your CRM.
For example, a home services company could route quote requests to regional reps based on the location field in the form, ensuring faster and more relevant follow-ups.
Final Thoughts
Automating the routing of leads from Google Forms to your CRM is a game-changer. It saves time, reduces errors, and ensures your team can focus on what they do best—converting leads into loyal customers. With tools like Zapier, setting up this automation is straightforward and doesn’t require any coding knowledge.
Ready to streamline your lead capture process? Start by integrating Google Forms with your CRM using Zapier today. Want to scale your lead flow even further? Explore our guide on sales automation platforms to find the best tools for your business.
Mini-FAQ
- Can I route to multiple CRMs?
Yes, you can set up separate zaps for each CRM, but ensure you manage lead distribution to avoid duplicates. - What if my CRM doesn’t support direct integration?
Most popular CRMs are supported by Zapier. If yours isn’t, consider using webhooks or APIs, or explore alternative integration tools like Make (Integromat).


