Clean iPhone storage fast and get your device running smoothly again. Running out of space doesn’t happen overnight, it builds up slowly. Suddenly, you can’t save new photos, apps start crashing, or that important iOS update won’t download. Whether you’re on a newer iPhone with plenty of storage or an older model with less capacity, space fills up quickly if you don’t manage it.
Photos, apps, videos, cached files, and hidden system data all compete for room. Much of it piles up quietly in the background, eating storage without you noticing. The good news? You can free up significant space with a few simple steps, no third-party apps or advanced skills required.
In this guide, I’ll walk you through how to clean iPhone storage quickly using tools already built into iOS. You’ll learn how to find what’s taking up the most space, clear hidden downloads, manage bulky apps, and keep your phone optimized. For anyone aiming for digital minimalism or just a faster device, these tips make a big difference.
Let’s start by breaking down what’s really using your storage and how iOS categorizes it.
Understanding iPhone Storage Categories
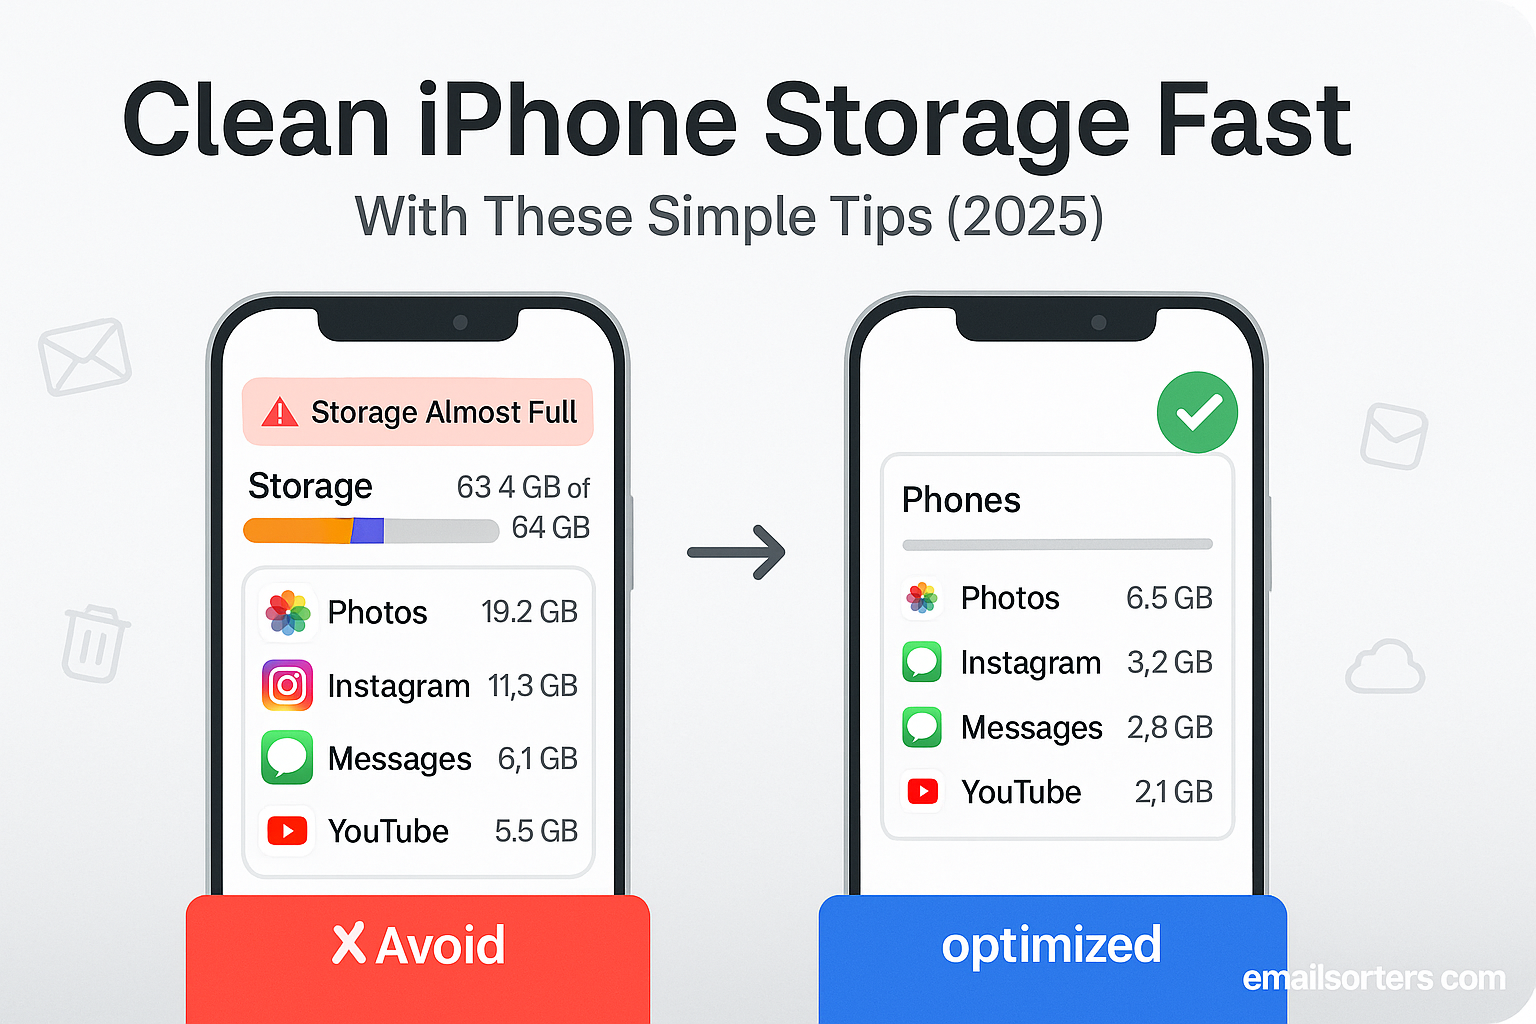
Before you begin deleting anything, it’s useful to see how your iPhone storage is divided. To do this, go to Settings > General > iPhone Storage. This screen gives you a clear, visual overview of what’s taking up space. Categories usually include Apps, Photos, Media, Mail, Messages, and System Data. These labels are more than cosmetic; they help you identify which types of content are most demanding on your device.
Apps include both the app itself and any local data it stores. Some apps are small but save massive amounts of content over time, such as streaming apps that cache video or social media apps storing photos. Photos refer to your camera roll, including videos and screenshots. If you shoot in high resolution or 4K, those files are significantly larger than standard formats.
Media covers downloads from apps like Apple Music, Podcasts, or third-party music and video apps. If you’ve downloaded albums, audiobooks, or offline videos, they’re likely eating into your storage under this section. Messages include both the iMessages themselves and any attachments; photos, videos, stickers, or shared documents.
System Data, often labeled as “Other,” can be mysterious. It includes temporary files, logs, app caches, Siri voices, and more. This category is harder to control directly, but we’ll discuss how to reduce it later.
By understanding these sections, you gain clarity about what to target. You may not need to delete hundreds of photos if your Podcasts app is storing 10 GB of old episodes. Or maybe you discover that a single app you rarely use is taking more space than everything else combined.
This overview sets the foundation for smart cleanup, helping you prioritize your actions rather than guess.
The Role of “Other” or “System Data” in Storage Usage
The “System Data” or “Other” section in iPhone storage is a catch-all category that stores data not associated with specific apps. This includes Safari cache, logs, Siri data, app caches, temporary files, and update remnants. Over time, this can grow into several gigabytes; even on brand-new devices; and many users find it difficult to reduce.
Unfortunately, there’s no one-click method to clear this category. Apple manages it dynamically, which means it should shrink as needed. But in reality, this data can accumulate and stay longer than necessary.
The first step to managing this section is regular phone restarts. Every time you restart your device, iOS clears many temporary files. It’s a subtle fix, but when combined with other strategies, it helps reduce bloat.
Next, clear Safari cache by going to Settings > Safari > Clear History and Website Data. This action deletes website history, cookies, and cached content that often fall under the System Data umbrella. If you rarely use Safari, this data may have built up unnoticed.
Another way to reduce System Data is by deleting and reinstalling certain apps. Apps like Instagram or Facebook can accumulate large caches over time. Removing them and then reinstalling clears that cached data entirely. Just be sure to note login info and backup any unsaved content before doing this.
In extreme cases, backing up your iPhone and performing a factory reset will purge System Data. This is a more involved solution and not necessary unless storage is critically low. After the reset, restore only essential data rather than everything, which avoids bringing back the clutter.
While System Data is a bit of a black box, small steps taken regularly will keep it from growing too large and interfering with your phone’s performance.
Step 1: Review Large Apps and Files
The easiest and fastest way to free up space is to identify which apps and files are taking up the most room. Open Settings > General > iPhone Storage, and wait for the system to load the data. This list shows all installed apps, sorted by the amount of space they use, including their app size and associated documents or data.
You might be surprised. Apps you haven’t used in months could be taking up gigabytes, not because the app itself is large, but because it stores photos, videos, or cached content. Tap on any app in the list to view more details. You’ll usually see two options: Offload App or Delete App.
Offloading removes the app itself but keeps its data on your device. If you reinstall later, you’ll pick up where you left off. Deleting removes the app and all its data. If you’re sure you don’t need the app anymore, choose Delete.
This is also the best place to spot unnecessary file buildup. If a notes app or reading app shows several hundred megabytes of data, open the app itself and clean out what you no longer need.
Repeat this process every few weeks, and you’ll stay ahead of storage problems without needing to scramble every time your phone alerts you about low space.
Step 2: Clear Safari Cache and Website Data
Safari stores data from every site you visit; history, cookies, images, and content to help pages load faster the next time. But over time, this data accumulates and takes up space. Clearing it regularly improves both storage and browser performance.
To do this, go to Settings > Safari and scroll down to tap Clear History and Website Data. Confirm when prompted. This removes browsing history, cookies, and cached files.
If you don’t want to clear everything, go to Settings > Safari > Advanced > Website Data, where you can delete site-specific data. This is useful if a few websites are taking up most of the space.
While clearing Safari data logs you out of most websites and removes history, it doesn’t affect bookmarks or saved reading lists. For users focused on privacy or those noticing sluggish Safari performance, this step serves double duty; freeing space and speeding things up.
Step 3: Manage Photos and Videos
Photos and videos are often the single largest contributors to storage issues on iPhones. With high-resolution cameras and 4K video recording, it’s easy to fill up storage fast without realizing it. If you’re running low on space, this is one of the first areas to review and optimize.
Begin by opening the Photos app and reviewing your media. Delete anything unnecessary; duplicate images, blurry shots, or outdated screenshots. Then head to the Recently Deleted album and empty it. Until you clear this album, deleted photos continue to occupy space for up to 30 days.
Next, enable Optimize iPhone Storage by going to Settings > Photos. This setting stores full-resolution images in iCloud while keeping smaller, compressed versions on your device. When space is needed, iOS automatically manages local copies. It’s an effective way to enjoy your media without eating up your phone’s storage.
You should also consider reviewing videos specifically. These files are much larger than images. Inside the Photos app, go to Albums > Videos, and remove anything you no longer need or can move to cloud storage.
Another useful section is the Hidden album. While not visible by default, hidden photos and videos still use space. Enable this album in Settings > Photos, check its contents, and delete anything unnecessary.
Be sure to explore the Live Photos feature as well. Each Live Photo is a short video clip that uses significantly more space than a standard photo. You can convert Live Photos to stills, or disable the feature altogether when taking new pictures to reduce file size going forward.
By managing media storage smartly; deleting what’s unnecessary, enabling optimization, and reviewing hidden files; you’ll free up space quickly and improve your iPhone’s overall performance.
Step 4: Delete Unused or Redundant Apps
Apps can be easy to overlook during cleanup, especially when they’re no longer used regularly. Over time, many users download apps for a single purpose; a trip, a project, or a temporary need; and then forget about them. These apps sit unused, still taking up space in both the system and storage.
Begin by revisiting your Home Screen and App Library to identify apps you haven’t opened in weeks or months. Ask yourself whether you truly need each one. If not, remove it.
To simplify this process and get detailed help on how to identify and remove these apps efficiently, delete apps. That guide explains how to assess app relevance, manage app settings, and even set usage limits that help you make smarter deletion choices.
Many apps also store data that can build up over time. Social media apps, for example, save cached images and video, while streaming platforms may keep downloaded media. Even after deletion, fragments of this data can remain in storage unless the app is fully removed through Settings > General > iPhone Storage.
If you’re not ready to permanently delete some apps, use the Offload App option. This removes the app but retains its documents and data. It’s a useful middle ground if you plan to use the app again in the future.
Regularly reviewing and deleting unused apps not only clears space; it also helps reduce distractions and supports a minimalist digital environment.
Step 5: Find and Remove Hidden Apps
Sometimes, apps don’t appear on your Home Screen or in folders but are still installed on your device. These hidden apps take up space and may even run background processes. If you’ve previously offloaded apps, changed Home Screen layouts, or enabled restrictions, you could have apps you don’t even realize are still on your phone.
To identify and remove these hidden apps, refer to this full walkthrough delete hidden apps. It covers how to search your App Library, use Spotlight Search, reset Home Screen layouts, and check Settings for app visibility.
A common example is apps that were hidden via Screen Time restrictions or moved off the Home Screen but not deleted. These apps won’t appear where you expect them, but they still occupy space and might be active behind the scenes.
You can also check Settings > General > iPhone Storage to view a complete list of all installed apps. From here, you can delete even those that don’t appear on your Home Screen.
By taking the time to locate and remove hidden apps, you reclaim not just storage, but also control over what’s really installed and running on your iPhone.
Step 6: Clear iMessage and Text Attachments
Over time, iMessage and other messaging apps can accumulate a surprising amount of data. Photos, videos, GIFs, documents, and even voice memos sent through text can sit in your device’s memory for years unless manually removed. These files are stored locally and often missed during casual storage reviews.
To manage this, go to Settings > General > iPhone Storage > Messages. You’ll see a breakdown of the categories using the most space, including Photos, Videos, GIFs and Stickers, and Documents. Tap each category to review and delete items.
You can also clear entire message threads in the Messages app, especially those with heavy media sharing. Long conversations, particularly group chats, can be the source of gigabytes worth of storage usage.
Another helpful setting is Keep Messages under Settings > Messages. Set this to 30 Days or 1 Year instead of Forever to automatically remove older messages and their attachments over time.
If you use third-party messaging apps like WhatsApp or Telegram, be sure to review their storage settings as well. These apps often include media auto-download features that save every file you receive. Disable auto-download where possible, and clear chat media regularly to free up space.
Message attachments can fly under the radar, but when cleaned up, they often result in immediate and significant storage gains; especially for users who send and receive media-rich texts daily.
Step 7: Use Offload Unused Apps Feature (When It Helps)
One of the more convenient storage-saving features built into iOS is the ability to offload unused apps. This feature automatically removes apps that haven’t been used in a while, but it retains the app icon on your Home Screen and all associated data. If you ever need the app again, simply tap the icon and your iPhone will reinstall it; bringing back all of your previous settings and files.
To activate or review this feature, go to Settings > App Store, then toggle on Offload Unused Apps. You can also manually offload specific apps by visiting Settings > General > iPhone Storage, selecting an app, and tapping Offload App.
Offloading can be particularly useful if you tend to download large games or apps you only use seasonally; like travel or event apps. These can take up hundreds of megabytes, or even gigabytes, without contributing anything to your daily device usage.
However, it’s important to understand the trade-offs. Offloading does not free up as much space as full deletion. While the app itself is removed, all associated documents and data are retained locally. This means if you’re trying to reclaim maximum space, deletion is the better route.
Another limitation is that offloading can’t be controlled per app in an automated way; iOS decides which apps to offload based on usage frequency and available space. So while it’s helpful, it’s not a complete solution on its own.
Offloading is best used in combination with the other methods mentioned in this guide. Enable it for passive, background cleanup, but rely on manual deletion and reviews for serious storage management.
Step 8: Clean Up Files in the Files App
The Files app is often overlooked during iPhone cleanups. It acts as a central hub for all your documents, downloads, iCloud Drive content, and local files. Over time, documents you downloaded from Safari, PDFs from email, and random files from messaging apps can pile up and take up valuable space.
Open the Files app and tap Browse > On My iPhone. This section shows files that are saved directly to your device rather than the cloud. Tap into folders like Downloads, Pages, Numbers, or any app-specific folders that appear. Delete anything outdated, duplicate, or unnecessary by long-pressing and selecting Delete.
Don’t forget to empty the Recently Deleted section within Files after you’ve cleared out documents. Until you do, these files still consume space; just like with Photos and Notes.
If you use iCloud Drive or another cloud service (like Google Drive or Dropbox), make sure you’re not downloading large files to your phone unintentionally. Streaming or previewing files is fine, but tapping “Download” on a big PDF or media file can leave a local copy that lingers until manually removed.
The Files app is especially important for professionals or students who handle lots of digital documents. Cleaning it once every few weeks ensures that your device doesn’t carry around unnecessary files behind the scenes.
Step 9: Delete Old Podcasts and Music Downloads
Media apps like Apple Music, Spotify, and Podcasts offer download options for offline access. While convenient, these downloaded files can quietly accumulate, especially if you forget to remove old episodes, albums, or playlists.
Start by opening the Podcasts app and navigating to Library > Downloaded. Review each episode or show and swipe left to delete those you no longer need. If you’ve subscribed to multiple podcasts, episodes may be downloaded automatically. To stop this, go to Settings > Podcasts, then adjust Download Episodes to Off or change it to only the latest episodes.
In the Music app, go to Library > Downloaded, where all offline music is stored. You can remove entire albums, playlists, or individual songs by long-pressing and selecting Remove > Remove Download.
If you use third-party apps like Spotify, Amazon Music, or Audible, check their in-app settings for downloaded content. Most of these apps include storage management tools that allow you to delete downloaded content quickly.
Many users are surprised by how much space media files occupy; especially if they listen to podcasts daily or download music for travel. These files are easy to overlook because they’re hidden behind app menus, but deleting them can reclaim gigabytes of space in minutes.
Step 10: Restart Your iPhone to Clear Temporary Files
This step might sound too simple to be effective, but restarting your iPhone can free up valuable space; especially in the “System Data” category. When your device runs for long periods without a reboot, it collects temporary files, background processes, and cache fragments that can occupy memory.
A restart triggers iOS to clean up many of these leftovers automatically. It’s like giving your phone a short reset that clears out digital cobwebs. You won’t see it listed in your storage breakdown, but users often report a noticeable drop in System Data size after restarting.
To do this, press and hold the side button and either volume button, then slide to power off. Wait 10–15 seconds before powering the device back on. Alternatively, go to Settings > General > Shut Down if the physical buttons are unresponsive.
For best results, restart your iPhone after clearing caches, deleting apps, and managing large files. This gives the system a chance to refresh itself and ensure your cleanup efforts are reflected accurately in the storage stats.
While restarting isn’t a replacement for deeper cleaning, it’s a simple and effective final step in the cleanup process. Adding it to your regular maintenance routine helps keep your iPhone running smoothly and efficiently.
Extra Tip Section (With Bullet Points)
Sometimes the small changes make a big difference. While the previous steps tackle major storage hogs, these quick tips help maintain your iPhone’s performance and prevent storage from filling up again too quickly. Try these practical actions:
- Disable Auto-Download for Media in Messages: Go to Settings > Messages and turn off Auto-Download for audio and video messages to stop unnecessary media from being saved.
- Turn Off HDR Video Recording: HDR videos take more space. Visit Settings > Camera > Record Video and select a lower resolution or disable HDR to reduce file size.
- Delete Voicemails: In the Phone app, navigate to Voicemail and delete old or saved messages. Then scroll down and clear the Deleted Messages to remove them completely.
- Clear App Store Cache: Open the App Store and tap any of the bottom menu icons 10 times quickly. This clears the App Store cache and may help free up temporary data.
- Reduce WhatsApp Media Storage: Go to WhatsApp > Settings > Storage and Data > Manage Storage to delete videos, images, and forwarded files in bulk.
- Trim Down Email Attachments: In the Mail app, attachments are stored locally. Delete old emails with large attachments or move them to cloud-based services.
- Use Shared Albums Instead of Sending Full Photos: Sharing photos via Shared Albums uses less storage than sending them via iMessage or storing duplicates across apps.
- Limit App Background Refresh: Go to Settings > General > Background App Refresh and turn it off for apps that don’t need constant updating. This can reduce cached storage use.
These tweaks may not individually free up gigabytes, but together they keep your phone clean and efficient, especially if applied regularly.
Preventing Future Storage Problems
Cleaning up your iPhone is only part of the process. The other part is keeping it clean. Many users repeat the same storage struggles every few months because they haven’t adjusted how their device handles data. Fortunately, a few changes in usage habits and settings can go a long way.
First, enable Optimize iPhone Storage for both Photos and Music. This automatically manages local content and prioritizes cloud-based access for high-resolution media. It prevents your phone from storing multiple full-quality copies of files unless needed.
Next, limit media-heavy habits. For instance, disable automatic downloads in Podcasts, Apple TV, and Music unless you specifically want to save something offline. This ensures you don’t accumulate gigabytes of unused media by accident.
Check your iCloud settings and make sure your device is syncing efficiently. iCloud backups can help you store your most important data without clogging up physical space. Set iCloud Drive to manage document backups and avoid duplicate file storage across apps.
It’s also helpful to schedule monthly or quarterly cleanups. Set a reminder to review storage, delete old messages, and clean out the Files app. Regular maintenance takes less time than emergency cleanups when you’re out of space and can’t install updates or take photos.
Finally, reconsider how you use your phone. Digital overload not only affects storage but also impacts mental clarity and productivity. If you’re interested in aligning storage management with a broader goal of simplifying your digital life, read this guide on digital detox. It explores how reducing app usage, decluttering your phone, and changing screen habits can create a more intentional digital experience.
By making these preventative changes, you’ll not only save storage; you’ll also maintain a smoother, faster, and more focused relationship with your iPhone.
Conclusion
Keeping your iPhone storage clean doesn’t have to be a complicated or stressful task. With just a bit of awareness and a few smart settings, you can avoid the most common issues; like running out of space at the worst possible time. Whether you’re cleaning out old photos, removing hidden apps, or managing downloaded media, each step adds up.
Start with the biggest space users; apps, photos, and media; and then work your way through the subtler storage drains like Safari cache, message attachments, and temporary system files. Don’t forget to restart your phone and apply preventative measures so you don’t end up back in the same situation a month later.
More than just saving space, these strategies support a more focused and intentional use of your iPhone. They help you create a digital environment that works for you, not against you. Whether you’re a power user or someone just looking to free up room for more photos, this guide gives you everything you need to manage storage efficiently and stay in control of your device.
FAQs
What is the “System Data” section in iPhone storage?
System Data (formerly called “Other”) includes temporary files, caches, logs, Siri voices, and other non-removable system files. It can grow over time but often shrinks after a restart or by clearing caches and reinstalling bloated apps.
Will offloading apps delete my data?
No. Offloading removes the app itself but keeps its documents and data. When you reinstall the app, your previous data is restored automatically.
Can I reduce photo storage without losing quality?
Yes. Enable Optimize iPhone Storage in Settings > Photos to keep smaller local copies and store the originals in iCloud. You can access full-resolution files anytime from iCloud.
How often should I clear my Safari cache?
Clearing Safari cache every 2–4 weeks is enough for most users. Frequent clearing helps free up space and maintain browser performance.
Is it safe to delete iMessages or message attachments?
Yes. Deleting old messages and attachments will not affect device functionality. If you need to keep certain items, consider saving them to Notes or Files before deleting.


