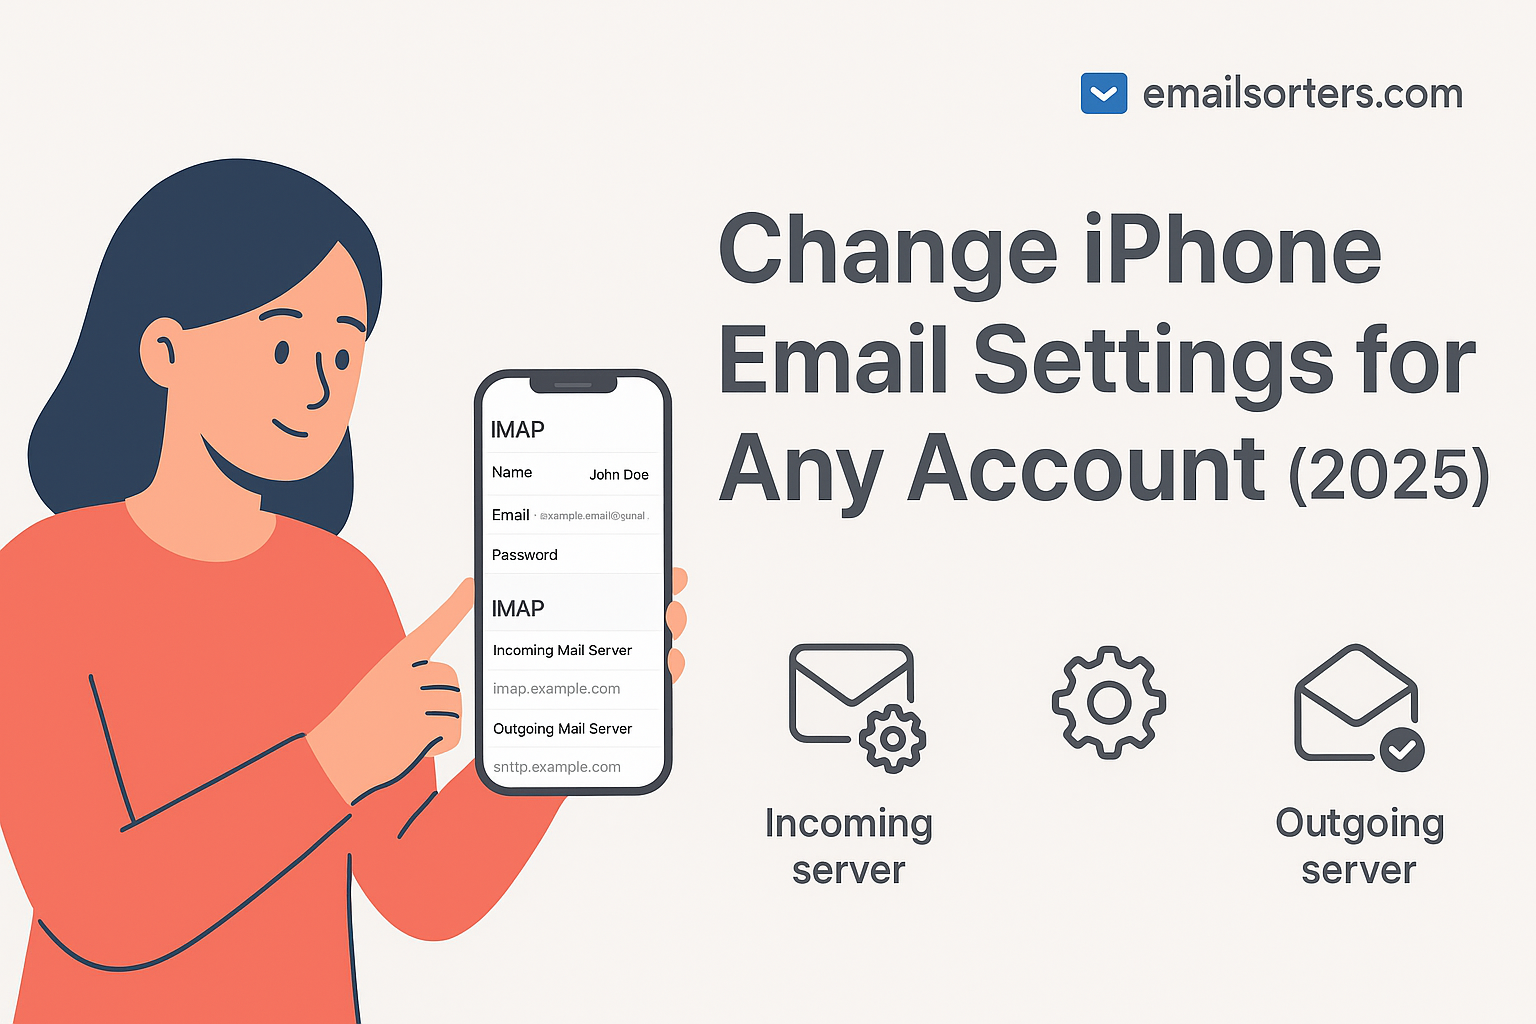
The change iPhone Email Settings will continue to be one of the most popular devices for managing both personal and professional email accounts. While the Mail app usually auto-configures most accounts, there are many situations where you need to manually adjust settings. Without the right configuration, you could face problems like emails not syncing across devices, messages stuck in your outbox, or repeated password prompts.
Updating email settings ensures that your messages are sent and received reliably. It also improves security, especially when you enable encryption through SSL or TLS. Email protocols evolve over time, and providers occasionally change their server addresses, ports, or authentication requirements. If you don’t update your iPhone settings to match these changes, your account may stop working properly.
Common Scenarios When You Need to Change Settings
There are several times when changing your iPhone email settings becomes necessary. One of the most common scenarios is when you change your email password. If the iPhone Mail app still uses your old password, it will repeatedly prompt you to log in until you update it. Another situation is when your provider updates server settings, such as switching from non-secure to secure ports.
You might also need to change settings if you switch from POP3 to IMAP to enjoy better synchronization across devices. Business professionals often need to update settings when they change their company’s custom domain email or migrate to a new email hosting provider.
Finally, troubleshooting email issues often requires adjusting settings manually. If your emails aren’t arriving or if you can receive but not send, checking and updating your incoming and outgoing mail server details is the first step.
Overview of Email Protocols (IMAP, POP3, SMTP)
To understand iPhone email settings, it helps to know the three main protocols used for email communication. IMAP, or Internet Message Access Protocol, is the modern standard because it syncs your emails across all devices. If you read or delete an email on your iPhone, the change is reflected instantly on your laptop and other devices.
POP3, or Post Office Protocol 3, is older and downloads emails to your device, often removing them from the server unless you enable the option to leave a copy. It’s useful if you want to save storage space on the server, but it’s less convenient for users who check emails on multiple devices.
SMTP, or Simple Mail Transfer Protocol, is used exclusively for sending emails. While IMAP and POP3 manage incoming mail, SMTP ensures your outgoing messages are delivered securely to the recipient’s server. On iPhones, you’ll need both incoming (IMAP or POP3) and outgoing (SMTP) settings configured correctly for your email to work flawlessly.
Accessing Email Settings on iPhone (iOS 18 and Beyond)
Step-by-Step Guide to Access Mail Settings
In iOS 18, the Mail app and system settings have been streamlined, but the process to access your email settings remains similar to previous versions. To begin, open your iPhone and go to the Settings app. Scroll down and tap Mail, then select Accounts. You’ll see a list of all email accounts currently added to your device. Choose the account you want to edit.
Inside the account settings, you’ll find sections for both incoming and outgoing mail servers. If you want to update your password, you can do it here. For more advanced settings such as ports and SSL, tap the account name again and go to Advanced Settings. From this section, you can adjust IMAP or POP3 details, authentication, and SSL/TLS preferences.
Understanding the Difference Between Manual and Automatic Setup
When you add a new email account to your iPhone, the Mail app tries to configure it automatically using Apple’s mail database. For popular providers like Gmail, Outlook, Yahoo, and iCloud, this works seamlessly. However, if you’re using a custom domain, a business account, or a provider like Rackspace or CenturyLink, you may need to set it up manually.
Automatic setup saves time, but it doesn’t always apply the most secure settings. Manual setup gives you full control, letting you ensure that SSL/TLS is enabled and that the correct ports are used. In 2025, many providers enforce encrypted connections by default, so if your account fails to connect during automatic setup, switching to manual mode and entering the details yourself often fixes the issue.
When to Use Advanced Settings
Advanced settings are necessary when you need to troubleshoot persistent problems or when using an email provider not automatically supported by Apple. For example, if your iPhone can receive emails but not send them, you may need to manually change the SMTP port or enable authentication for outgoing mail.
You should also use advanced settings when switching between IMAP and POP3. Some providers still support both, but choosing IMAP is generally better for modern use. Additionally, advanced settings allow you to specify whether to use SSL, how often to sync emails, and whether to keep a copy of downloaded emails on the server.
By mastering the advanced settings section, you gain control over how your iPhone handles emails, ensuring reliability and security.
Changing Incoming Mail Settings on iPhone
Updating IMAP Settings
If your account uses IMAP, updating the settings is straightforward. After opening Settings > Mail > Accounts, tap your email account and select Account > Advanced. Under the incoming mail server section, enter the correct server address; usually something like imap.provider.com or imap.securemail.com.
Set the port to 993 and enable SSL encryption. Enter your full email address as the username, along with your updated password. After saving, return to your inbox and refresh to test if new emails arrive. If not, double-check that you’ve typed the server name correctly and that SSL is enabled.
Updating POP3 Settings
If your provider uses POP3, the process is similar. Under the incoming mail server section, set the server to pop.provider.com. The standard secure port is 995, with SSL enabled. Again, use your full email address and password for authentication.
Since POP3 downloads emails locally, you may want to enable the option Leave a copy of messages on the server. This ensures your emails remain available on other devices and through webmail. Without this setting, messages may disappear from the server once downloaded.
Troubleshooting Incoming Mail Issues
If you’ve updated your settings but your iPhone still won’t download emails, first confirm that you can access your account via webmail. If you can log in online but not on your iPhone, the problem lies in the Mail app settings.
Double-check that you’re using the full email address as your username. Many login failures happen because users only enter the part before the “@.” If you receive certificate warnings, it means SSL isn’t properly configured. Ensure SSL is enabled with the correct port.
Another common issue is duplicate or missing emails. If you’re using POP3 on multiple devices without leaving a copy on the server, emails may vanish from webmail once downloaded. Switching to IMAP usually resolves this problem.
Changing Outgoing Mail Settings (SMTP) on iPhone
Updating SMTP Server Details
Once your incoming mail is set up, you must configure the outgoing mail settings. On iOS 18 and newer, go to Settings > Mail > Accounts, select your email account, and tap SMTP under the Outgoing Mail Server section. Here you’ll see your primary SMTP server and any backups you may have added.
Tap the primary server and make sure it’s enabled. Enter the server address provided by your email host, typically in the form smtp.provider.com. For most accounts in 2025, authentication is required, so make sure Use Authentication is toggled on. Enter your full email address and password in the provided fields.
The port you choose is critical. Most providers now require 465 (SSL) or 587 (TLS). Avoid using Port 25, as many internet service providers block it due to spam prevention. After entering the correct details, save your changes and try sending a test email to confirm it works.
Enabling SSL/TLS for Security
Security should always be a priority when configuring outgoing email settings. Without encryption, your login credentials and emails can be intercepted, especially if you’re using public Wi-Fi. On the SMTP settings screen, make sure Use SSL is enabled.
If you’re using Port 465, select SSL. If you’re using Port 587, select STARTTLS or TLS. These encryption methods secure the communication between your iPhone and the mail server, ensuring your sensitive information is protected.
If you encounter a warning that your connection is not secure, do not ignore it. Instead, go back into settings and confirm you’re using the correct port and that SSL is enabled. In some cases, you may need to update your iPhone to the latest iOS version to ensure compatibility with modern security protocols.
Fixing Common Sending Errors
When you’re able to receive emails but not send them, the culprit is usually the SMTP configuration. One of the most frequent errors is “Cannot Connect to SMTP Server.” This can be solved by confirming the server address, using the correct port (465 or 587), and ensuring SSL/TLS is enabled.
Another common issue is authentication failure. This happens when users forget to enable the “Use Authentication” option or enter only their username instead of the full email address. Always enter the complete email address as your login.
Emails getting stuck in the outbox may indicate either a weak internet connection or a blocked port. Switching from SSL on 465 to TLS on 587 often solves the problem, as some networks may restrict one of the ports.
If you’re still having trouble, try removing the account and re-adding it manually with the correct details. This refreshes the connection and resolves most configuration issues.
Configuring Popular Email Providers on iPhone
Gmail Settings for iPhone
Gmail integrates seamlessly with iOS 18, but you may still need to adjust settings manually if you encounter syncing problems. For incoming mail, use imap.gmail.com on Port 993 with SSL enabled. For outgoing mail, use smtp.gmail.com on Port 465 (SSL) or 587 (TLS). Authentication must be enabled with your full Gmail address and password.
If you have two-factor authentication enabled, you’ll need to generate an App Password from your Google Account security settings and use that instead of your main password. Without this step, Gmail may block your login attempt for security reasons.
Outlook/Hotmail Settings for iPhone
For Microsoft accounts like Outlook, Hotmail, or Live, the incoming mail server is outlook.office365.com using IMAP on Port 993 with SSL. The outgoing mail server is smtp.office365.com on Port 587 with TLS. As with Gmail, authentication requires your full email address and password.
If you’re using a work or school account managed by Microsoft 365, you may also need to approve the login via the Microsoft Authenticator app. Be prepared to complete this extra security step.
Yahoo Mail Settings for iPhone
Yahoo Mail uses imap.mail.yahoo.com on Port 993 with SSL for incoming mail and smtp.mail.yahoo.com on Port 465 (SSL) or 587 (TLS) for outgoing mail. Authentication is required for SMTP, and like Gmail, Yahoo also enforces two-factor authentication for many accounts. If enabled, you’ll need to create an App Password in your Yahoo account security settings.
iCloud Mail Customization
If you’re using Apple’s iCloud Mail, most of the settings configure automatically when you sign in with your Apple ID. However, if you need to check or change them manually, the incoming server is imap.mail.me.com with Port 993 (SSL). The outgoing server is smtp.mail.me.com with Port 587 (TLS). Authentication is required, using your full iCloud email address and password.
For accounts with two-factor authentication, you may need to generate an App-Specific Password from your Apple ID settings to use with iPhone Mail.
Custom Domain or Business Email Accounts
For custom domain emails or business accounts hosted on providers like Rackspace, Bluehost, or Google Workspace, you’ll need to enter the server details provided by your hosting company. Typically, the incoming mail server uses IMAP on Port 993 with SSL, and the outgoing server uses SMTP on Port 465 or 587 with SSL/TLS.
If your business account requires specific security protocols, check with your IT department or hosting provider for the exact settings. In 2025, most business accounts require encrypted connections by default, so enabling SSL/TLS is essential.
Troubleshooting Email Problems on iPhone
Password Prompts and Authentication Failures
If your iPhone keeps asking for your email password, the most likely reason is that the password was recently changed on another device. Update it in Settings > Mail > Accounts. If you’re using Gmail, Yahoo, or iCloud with two-factor authentication, make sure you’re entering an App Password instead of your main account password.
Authentication failures also occur when you forget to enable SMTP authentication. Double-check that “Use Authentication” is on for outgoing mail.
Emails Not Sending or Stuck in Outbox
If emails stay stuck in your outbox, first check your internet connection. If that’s fine, the problem is likely with your SMTP settings. Switch between Ports 465 and 587, ensuring SSL/TLS is enabled.
Another issue may be that your provider blocks Port 25. Always use the secure ports recommended by your provider to avoid this. If necessary, remove and re-add your account manually with fresh settings.
Missing or Duplicate Emails
When you notice missing or duplicate emails, the root cause is usually related to POP3. If multiple devices access the same account using POP3 without leaving a copy on the server, emails may disappear from webmail. Switching to IMAP fixes this problem since IMAP syncs emails across all devices.
Duplicate emails can also occur if your account was added more than once to the iPhone Mail app. Check Settings > Mail > Accounts and remove any duplicates.
Security and Privacy Best Practices for iPhone Mail
Enabling Two-Factor Authentication (2FA)
By 2025, most major email providers strongly recommend or even require two-factor authentication to protect user accounts. On your iPhone, enabling 2FA adds an extra layer of security by requiring a code; usually sent via SMS, app, or hardware token; in addition to your password. For Gmail, Yahoo, Outlook, and iCloud, you can enable 2FA through your account’s security settings.
When you enable 2FA, your regular password may no longer work with the iPhone Mail app. Instead, you’ll need to generate an App Password from your email provider’s account dashboard. This unique password allows the Mail app to connect securely while keeping your main account credentials safe. While it adds one extra step, the protection it provides against unauthorized access is invaluable.
Using SSL/TLS for All Accounts
If two-factor authentication is your bodyguard, SSL/TLS encryption is the armored car transporting your emails. On your iPhone, always make sure SSL or TLS is enabled for both incoming and outgoing servers. Without it, your emails; including sensitive attachments and personal data; are transmitted in plain text, which can easily be intercepted on unsecured Wi-Fi networks.
In your email settings, check the incoming mail server port. IMAP should use Port 993 with SSL, and POP3 should use Port 995 with SSL. For SMTP, use Port 465 (SSL) or 587 (TLS). If you see a warning about an insecure connection, don’t ignore it; go back and confirm the encryption settings.
Recognizing Phishing Emails
Even with strong authentication and encryption, phishing emails remain one of the biggest threats to iPhone users. These are fraudulent messages designed to trick you into providing personal information, clicking malicious links, or downloading malware.
Common signs of phishing emails include poor grammar, urgent warnings such as “Your account will be suspended,” or suspicious links that mimic legitimate websites. On your iPhone, always check the sender’s email address carefully; scammers often use domains that look similar to trusted providers.
If you receive a suspicious email, never click on links or download attachments. Instead, delete it immediately or mark it as spam. If the email claims to be from your provider, log in directly through the official website rather than through the email link. Staying alert is your best defense against phishing attacks.
Best Practices for Managing Email on iPhone
Organizing Folders and Labels
A cluttered inbox makes it easy to miss important emails. On your iPhone, take advantage of IMAP folder syncing to keep your email organized. You can create folders such as Work, Personal, and Receipts directly in your client or webmail, and they will sync across all devices.
Many providers also support filters or rules. For example, you can automatically send newsletters to a “Subscriptions” folder or invoices to a “Finance” folder. This reduces inbox clutter and makes it easier to find important messages quickly.
Reducing Email Storage Usage
With today’s high volumes of digital communication, storage space can quickly run out. Even though providers like Gmail and iCloud offer generous storage, attachments can fill up your quota. On iPhone, you can reduce email storage usage by enabling Mail Days to Sync under account settings. This allows you to keep only recent emails on your device while older ones remain accessible through webmail.
You can also periodically delete large attachments or move them to cloud storage solutions like iCloud Drive, Google Drive, or Dropbox. Archiving older emails rather than keeping everything in the inbox also improves performance.
Backing Up Important Emails
While IMAP ensures your emails stay on the server, it’s wise to have backups of important correspondence. You can export critical emails from webmail and save them as PDF files in iCloud Drive. Another option is to forward important messages to a secondary email account for safekeeping.
For business users, consider integrating your iPhone Mail with backup services that automatically store emails in the cloud. This ensures that even if your primary account is compromised, your valuable communication history remains safe.
Conclusion
Changing iPhone email settings in 2025 is simpler than ever, yet still essential for smooth, secure, and reliable communication. Whether you’re using Gmail, Outlook, Yahoo, iCloud, or a custom business email, ensuring that your IMAP/POP3 and SMTP configurations are correct will keep your inbox flowing without interruption.
With SSL/TLS encryption, two-factor authentication, and careful monitoring for phishing attempts, you can protect your personal information and maintain professional communication without worry. By following best practices; organizing your inbox, managing storage, and backing up important emails; you ensure that your email experience on iPhone remains efficient and stress-free.
If you ever run into issues, remember that most problems can be solved by revisiting your settings, verifying ports and security options, and updating passwords across devices. With the right configuration, your iPhone will remain the ultimate tool for managing email in 2025 and beyond.
FAQs
Q1: Can I use multiple email accounts on iPhone Mail?
Yes, iOS supports multiple accounts from different providers, all accessible in the Mail app. You can view them separately or in a unified inbox.
Q2: Why does my iPhone keep asking for my email password?
This often happens after a password change or when authentication is misconfigured. Make sure you’re entering the correct, updated password; or an App Password if using 2FA.
Q3: How do I switch from POP3 to IMAP on iPhone?
You cannot directly switch. You must delete the POP3 account and re-add it using IMAP settings provided by your email host.
Q4: What is the maximum attachment size I can send from iPhone Mail?
This depends on your provider. Most allow up to 25 MB per email. For larger files, use cloud services like iCloud Drive or Google Drive.
Q5: Can I use a custom business email on iPhone?
Absolutely. Just enter the IMAP and SMTP details provided by your host manually during setup. SSL/TLS encryption is strongly recommended for security.


