Add email to Mac Mail and manage all your accounts in one place without juggling browsers or third-party apps. The Mail app on macOS integrates directly with your system, giving you quick access to your inbox, calendar, and contacts across devices.
Whether you’re setting up Gmail, Outlook, Yahoo, iCloud, or a work account, adding it to Mac Mail is straightforward. In just a few steps, you can connect multiple accounts and streamline how you check messages every day.
In this guide, I’ll walk you through how to add an email account to the Mac Mail app step by step, plus share a few tips for managing multiple accounts smoothly.
Why Add an Account to Mac Mail?
Centralized Inbox Management
With all your accounts in one place, you don’t have to jump between browser tabs or separate apps. Mac Mail gives you a unified view of your inboxes, plus the ability to search and filter across all accounts.
Native macOS Integration
Adding an email account to Mac Mail means you get full system integration; notifications, search in Spotlight, and sync with macOS apps like Calendar, Contacts, and Notes.
Support for Multiple Email Providers
Mac Mail supports Gmail, iCloud, Yahoo, AOL, Outlook, and custom IMAP or POP accounts. Whether it’s personal or professional email, you can link them all.
Before You Begin
Information You’ll Need
- Email address
- Password (or app-specific password if 2FA is enabled)
- Incoming and outgoing server settings (for custom domains or manual setup)
Compatible Email Services
- Gmail / Google Workspace
- Outlook / Microsoft 365
- Yahoo Mail
- iCloud
- AOL
- Any custom IMAP or POP3 account
Internet Account vs Manual Setup
macOS can set up most popular email services automatically through System Settings > Internet Accounts. If you’re using a less common provider or a custom domain, you may need to enter settings manually.
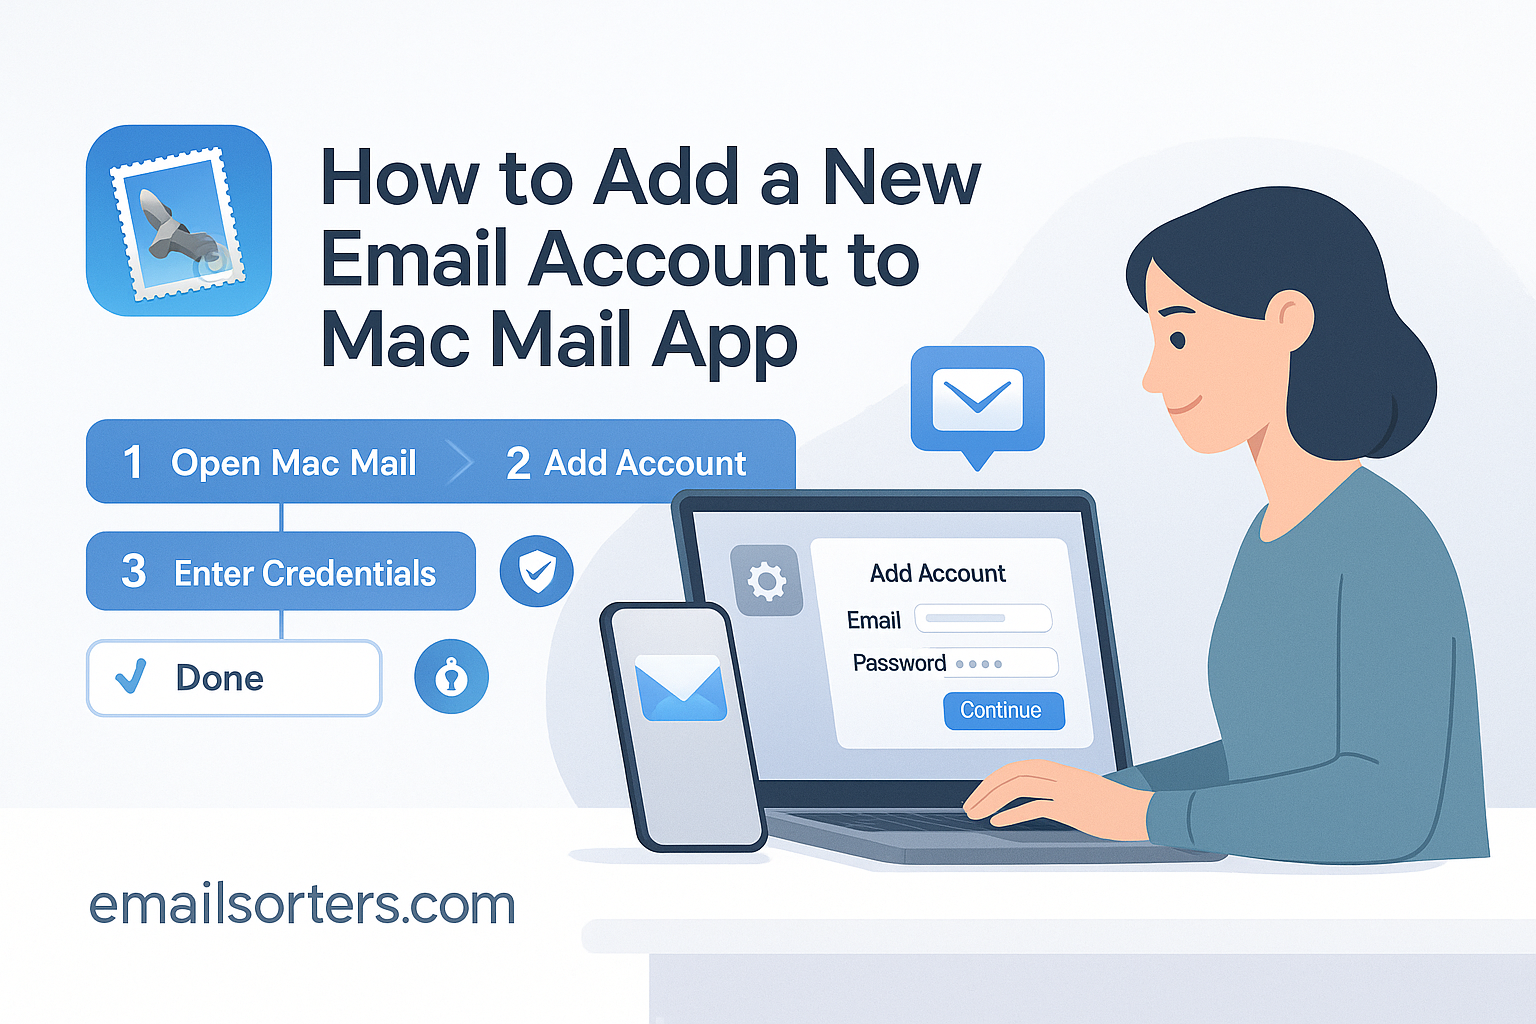
How to Add a New Email Account in Mac Mail (Step-by-Step)
Option 1: Using System Settings (Recommended for Most Accounts)
- Open System Settings from the Apple menu.
- Scroll down and click Internet Accounts.
- Click Add Account.
- Choose your provider (Google, Microsoft, Yahoo, etc.).
- Sign in using your email and password.
- Select the apps you want to use with the account (Mail, Contacts, Calendars, Notes).
- Click Done.
Your email account is now added to Mac Mail and will begin syncing automatically.
Option 2: Manual Setup for IMAP/POP Accounts
- Open Mail app.
- Click Mail > Add Account in the menu bar.
- Choose Other Mail Account, then click Continue.
- Enter your name, email address, and password.
- Click Sign In.
- If automatic setup fails, enter your incoming (IMAP or POP) and outgoing (SMTP) server settings manually.
- Choose apps to sync and finish the setup.
Choosing What to Sync
After setup, you can enable or disable syncing for Mail, Contacts, Calendars, and Notes. This can be done from System Settings > Internet Accounts > [Your Email Account].
Troubleshooting Common Issues
Incorrect Passwords or Server Info
If your account won’t connect, double-check:
- The email and password are correct.
- You’ve used an app-specific password if two-factor authentication is enabled.
- IMAP/POP and SMTP server settings are accurate for your provider (found on their official support page).
- Port numbers and SSL options match the provider’s recommendations.
Sync Delays or Missing Folders
After setup, it may take a few minutes for all emails and folders to sync. If folders are missing:
- Go to the Mailboxes sidebar and click View > Show Mailbox List to refresh.
- Verify that folders are not hidden under “On My Mac” vs the actual account name.
- Check sync settings in System Settings > Internet Accounts to ensure Mail is enabled.
Fixing Offline Accounts
If an account shows as “offline”:
- Open the Mail app.
- From the top menu, click Mailbox > Take All Accounts Online.
- If the issue persists, remove and re-add the account from System Settings > Internet Accounts.
Sometimes firewall, VPN, or proxy settings can block access. Temporarily disable those and try again.
Managing Multiple Accounts in Mac Mail
Switching Between Inboxes
Each email account has its own set of folders (Inbox, Sent, Trash, etc.), but you can use the All Inboxes view to see messages from all accounts in one place. To switch views:
- Use the Favorites Bar or Mailboxes Sidebar to toggle between individual accounts.
- Search results can be limited to one account or span across all.
Customizing Notifications Per Account
macOS lets you customize notifications by account:
- Go to System Settings > Notifications > Mail.
- Choose which accounts send alerts and whether they appear as banners, alerts, or not at all.
- You can also mute notifications temporarily using Focus modes.
Folder and Rule Settings
For more control:
- Create rules via Mail > Settings > Rules to auto-sort messages based on sender, subject, or content.
- Set up Smart Mailboxes to group messages across accounts by criteria (e.g., all unread messages or emails from a specific person).
Final Thoughts
Adding a new email account to the Mac Mail app is a straightforward process that brings your communications into a single, organized space. Whether you’re juggling multiple work and personal inboxes or simply prefer the native Apple experience, Mail provides an efficient, integrated solution for managing email on your Mac.
With just a few clicks, you can link popular services like Gmail, Outlook, and iCloud; or set up custom accounts manually. Once added, Mail offers system-level integration, easy inbox switching, and useful tools like rules, folders, and smart search to keep you productive and organized.


