Cox Email is a free service offered by Cox Communications to its internet subscribers. When customers sign up for a Cox internet plan, they typically receive one or more Cox Email addresses with domains like @cox.net. These email addresses can be used for sending and receiving emails through desktop email clients, mobile apps, and Cox Webmail.
The service includes basic features like an address book, spam filtering, storage space, and access through both web and third-party email clients. It’s often used by individuals who prefer to keep their communication linked to their internet provider, especially those who have used it for years. Though some users move on to providers like Gmail or Outlook, many still rely on Cox Email for daily correspondence.
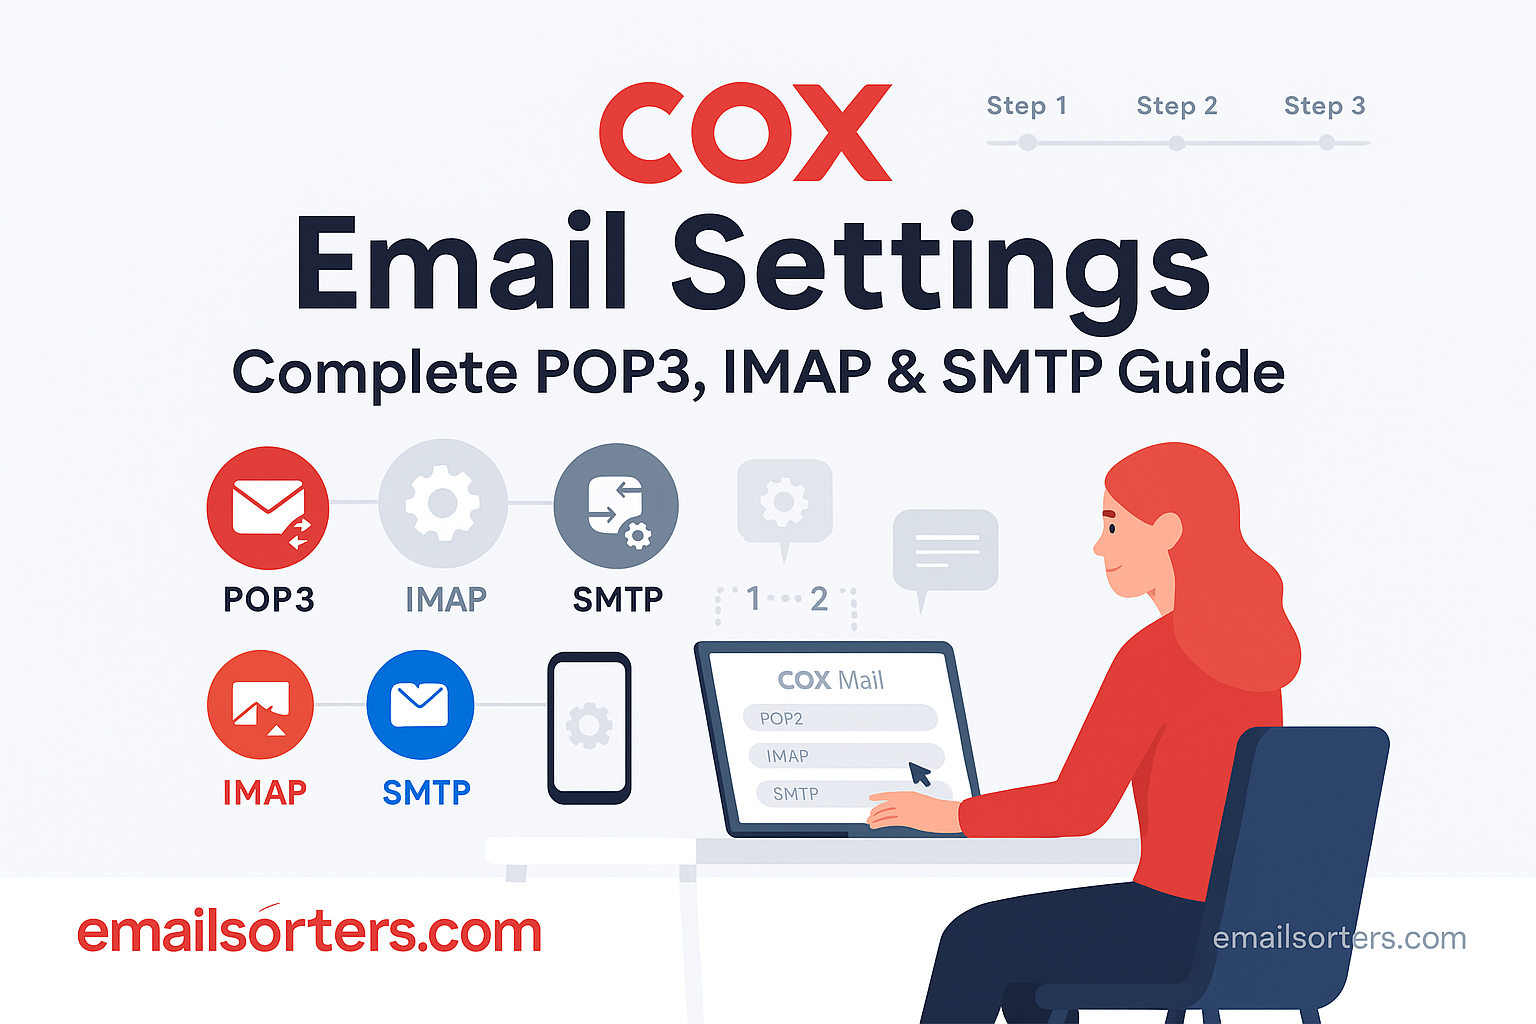
It supports standard email protocols like POP3, IMAP, and SMTP, which allow users to access and manage their emails using a variety of tools. But to make these protocols work properly, correct settings are required, and that’s where users often need help.
Why Correct Email Settings Matter
If you set up your Cox email with incorrect settings, emails may fail to send or receive. Problems such as connection errors, constant re-entry of passwords, or account lockouts often trace back to misconfigured settings.
Correct settings ensure:
- Emails sync on all devices without conflicts.
- Messages are stored either locally or in the cloud, depending on your preference.
- You avoid repeated errors or blocked access.
- Your information is transmitted securely.
In short, inputting the right POP3, IMAP, and SMTP details means fewer headaches and smoother communication.
Understanding Email Protocols: POP3, IMAP, and SMTP
What Is POP3?
POP3 stands for Post Office Protocol 3. It’s a method of retrieving emails from a mail server to a single device. When using POP3, emails are usually downloaded from the server to your device and then deleted from the server.
POP3 is useful if:
- You want to keep email storage local on your device.
- You only check your email from one place, like a home computer.
- You want to reduce server storage usage.
But there are drawbacks. If your computer crashes or your hard drive is lost, your emails could be gone too, unless backed up.
Here are the key POP3 server settings for Cox:
- Incoming Mail Server: pop.cox.net
- Port: 110 (without SSL), 995 (with SSL)
- Requires SSL: Yes (if using Port 995)
- Authentication Required: Yes
What Is IMAP?
IMAP stands for Internet Message Access Protocol. It allows you to access emails from multiple devices while keeping everything synced. If you read a message on your phone, it appears as “read” on your computer too.
IMAP is great for people who:
- Check email on phones, tablets, laptops, or multiple desktops.
- Prefer cloud storage over local storage.
- Want their email folders (inbox, sent, drafts) mirrored across devices.
Unlike POP3, IMAP does not automatically delete emails from the server after downloading. This allows for easier backup and continuity.
Cox IMAP settings:
- Incoming Mail Server: imap.cox.net
- Port: 143 (without SSL), 993 (with SSL)
- Requires SSL: Yes (if using Port 993)
- Authentication Required: Yes
What Is SMTP?
SMTP stands for Simple Mail Transfer Protocol. It’s the protocol used to send emails out to others. While POP3 and IMAP handle receiving, SMTP deals with outgoing messages.
Every time you hit “Send,” SMTP settings connect to the Cox mail server and relay your message to the recipient’s server.
SMTP Settings for Cox:
- Outgoing Mail Server: smtp.cox.net
- Port: 25 (standard), 465 (with SSL), or 587 (with TLS)
- Requires Authentication: Yes
- Requires SSL/TLS: Recommended
Key Differences Between POP3 and IMAP
| Feature | POP3 | IMAP |
| Storage Location | Local device | Email server |
| Access Devices | One device | Multiple devices |
| Email Sync | No | Yes |
| Server Management | Emails deleted by default | Emails stay on server |
| Use Case | Single device, backup | Multiple devices, syncing |
Choosing between POP3 and IMAP depends on how and where you access your emails. IMAP is better for daily users with multiple devices, while POP3 can be useful for storing email offline.
Cox POP3 Email Settings
Incoming Mail Server Details for POP3
To set up Cox Email with POP3, you need accurate server information. The incoming server handles all the emails you receive. Here are the settings in plain terms:
- Server: pop.cox.net
- Port without SSL: 110
- Port with SSL: 995
- SSL Required: If you want secure transmission, yes.
- Username: Your full Cox email address (e.g., john.doe@cox.net)
- Password: Your Cox email password
These settings go into the incoming mail section of your email client. Make sure you select “POP3” and enable authentication.
If you’re setting this up in an older email program like Outlook 2010 or Windows Mail, the software might default to port 110 without SSL. If your provider supports it, switch to port 995 and enable SSL for better security.
When to Use POP3
POP3 works well if:
- You prefer having all your emails downloaded and stored on one machine.
- You regularly back up your computer.
- You’re not concerned about syncing email on multiple devices.
Some people feel more in control when their emails are downloaded locally and removed from the server. It gives a sense of permanence and privacy, especially if you’re not reliant on webmail access.
But keep in mind, if you check email on both your phone and laptop, you may miss messages on one device if they’re removed by the other. That’s the tradeoff with POP3.
Cox IMAP Email Settings
Incoming Mail Server Details for IMAP
IMAP is the better choice for users who access their emails from multiple devices. Unlike POP3, which removes messages from the server once downloaded, IMAP keeps everything on the server. This allows for real-time synchronization across phones, tablets, and computers. When setting up IMAP for your Cox email, accuracy in the settings is important to avoid issues with syncing or message retrieval.
Start by entering the incoming mail server as imap.cox.net. If your email client asks for a port number and SSL options, use port 993 with SSL enabled. This ensures that your connection remains encrypted and secure. For clients that do not support SSL, port 143 can be used, though it is not recommended due to security risks. Make sure your full email address is entered as the username and the correct password is used.
Authentication is required, so ensure that your client is set to use your login credentials when accessing the server. If this setting is missed, you may experience repeated password prompts or connection failures. IMAP setup also allows access to additional folders such as Sent, Drafts, Trash, and Custom folders. This gives you better organization and consistency across devices.
IMAP is ideal for managing email in real time. Any action performed on one device reflects on all others. This includes reading emails, deleting them, or moving them to folders. These changes sync quickly, offering a consistent experience no matter where you’re logged in.
Benefits of IMAP for Multiple Devices
One of the main benefits of IMAP is how it handles email syncing. It’s designed for users who need to access their inbox across several platforms. For instance, you could check your Cox email on your laptop at work, respond to a message on your phone during lunch, and still see the full thread on your tablet later. All actions sync seamlessly across all devices.
This eliminates the confusion of wondering where your emails are. With POP3, you may find that an email you opened on one device doesn’t show up on another. With IMAP, everything is visible from every device because the data stays on the server.
Another advantage is that IMAP supports folder management. You can organize emails into folders such as Personal, Work, or Receipts. These folders and their contents are stored on the server and accessible from all devices.
IMAP also helps preserve messages even if a device is lost or damaged. Since emails stay on the server, they can be accessed again from a new device after login. This adds a layer of convenience and protection, which is important for users who rely on email daily.
Cox SMTP Email Settings
Outgoing Mail Server Settings
To send emails from a Cox account, SMTP settings must be properly configured. SMTP handles the process of delivering your message to the recipient’s mail server. Errors in this section will lead to messages getting stuck in your outbox or failing to send altogether.
For the outgoing server, use smtp.cox.net. The default port for unencrypted access is 25. However, to protect your messages, it’s better to use port 465 or 587 with encryption enabled. Port 465 uses SSL, while port 587 supports TLS. Both options add a security layer that protects your data during transmission.
Your full Cox email address and password are required for authentication. Some email programs may label this as “My outgoing server requires authentication.” Make sure this is checked. Without it, you may see relay errors or blocked messages.
Avoid using public or unsecured networks without encryption. SMTP settings that do not use SSL or TLS may expose your messages to interception. Always enable encryption when available, especially on mobile devices or when traveling.
Many email clients will ask whether to use the same login credentials for sending mail. Answer yes to keep things simple. This allows the program to use your existing email and password without requiring you to enter them again.
SMTP Authentication Requirements
Authentication is a necessary step for using SMTP. It prevents unauthorized users from sending spam or impersonating your email address. Without proper authentication, Cox may block outgoing emails or flag them as suspicious.
When setting up SMTP, make sure the “Require authentication” box is checked. Some clients may ask if the settings should match your incoming server configuration. Choosing this option will copy your email and password into the outgoing server settings, simplifying the process.
Authentication helps verify your identity every time an email is sent. It ensures that the Cox server recognizes your account and allows your messages through. This process runs in the background and doesn’t affect how long it takes to send an email.
Skipping authentication can lead to errors such as “550 Access Denied” or “Relaying Denied.” These messages mean the server doesn’t trust your email client to send mail on behalf of your address. Setting up authentication solves this issue and keeps your messages flowing without interruption.
How to Configure Cox Email on Desktop Clients
Microsoft Outlook
Outlook remains a common choice for handling email, especially for professionals and long-time users. Setting up Cox email in Outlook is straightforward, provided you input the right server settings. Open Outlook and go to the Add Account section. Enter your name, Cox email address, and password. Then, choose manual setup or additional server types.
For the server type, select either POP or IMAP. If you want to use POP3, set the incoming server to pop.cox.net and the port to 995 with SSL. For IMAP, use imap.cox.net with port 993 and SSL. The outgoing server, regardless of incoming protocol, should be smtp.cox.net. Use port 465 or 587 with SSL or TLS enabled.
Next, check the box for outgoing server authentication and ensure you’re using the same login details for sending mail. After you finish entering the information, Outlook will test the connection. If everything is correct, the setup will complete and your inbox will load.
Outlook allows advanced options like custom folder syncing, rules for filtering messages, and archiving. These features give users better control over how their emails are organized and stored.
Mozilla Thunderbird
Thunderbird is another popular desktop email client. It is free and often used by people who want more customization. Setting up Cox email in Thunderbird is quick. Open the program, click on the menu, then go to Account Settings. Choose “Add Mail Account” and enter your name, Cox email address, and password.
Thunderbird tries to auto-detect the correct server settings. You can adjust these if needed. For IMAP, the server should be imap.cox.net with port 993 and SSL. For POP3, use pop.cox.net and port 995 with SSL. Set the outgoing server to smtp.cox.net with port 465 or 587 and enable SSL/TLS.
Make sure authentication is enabled for both incoming and outgoing servers. This ensures smooth sending and receiving of messages. Thunderbird will verify your settings and complete the setup. If there’s an error, double-check your port numbers and encryption choices.
Thunderbird supports features like tagging, message filters, and calendar integration. These help you manage your inbox and stay organized.
Apple Mail
Apple Mail is the default email app for macOS users. It supports Cox Email and provides a simple setup interface. Open Apple Mail, click on “Mail” in the top menu, then choose “Add Account.” Select “Other Mail Account,” and enter your name, email address, and password.
When prompted for server settings, input the incoming server as either pop.cox.net or imap.cox.net. For POP3, use port 995 with SSL. For IMAP, use port 993 with SSL. The outgoing server should be smtp.cox.net using port 465 or 587 with SSL or TLS.
Ensure that authentication is turned on for both incoming and outgoing mail. Apple Mail will check your settings, then display your inbox once everything is correct. If the connection fails, you may need to go back and verify the port numbers or re-enter your password.
Apple Mail allows smooth syncing with other Apple devices, meaning any actions you take on your Mac will reflect on your iPhone or iPad if IMAP is used.
How to Set Up Cox Email on Mobile Devices
iPhone and iPad
Setting up Cox Email on iOS devices like iPhones and iPads is simple. Start by opening the Settings app. Scroll down and tap on “Mail,” then choose “Accounts.” Tap on “Add Account” and select “Other” since Cox is not listed among the default options. From there, select “Add Mail Account.”
Enter your name, full Cox email address, password, and a description like “Cox Mail.” Tap “Next,” and you’ll be prompted to enter server settings. Choose either IMAP or POP at the top, depending on how you want to manage your emails. IMAP is recommended if you plan to check email on multiple devices.
For IMAP, the incoming mail server should be imap.cox.net with port 993 and SSL enabled. For POP3, use pop.cox.net with port 995 and SSL. For outgoing mail, enter smtp.cox.net with port 587 or 465 and turn on SSL. Make sure to enter your email address and password for both incoming and outgoing servers.
Once the settings are entered, tap “Save.” The Mail app will attempt to connect to the Cox servers. If all information is correct, your mailbox will load and start syncing emails. You can now send, receive, and organize Cox emails from your iPhone or iPad.
Apple’s Mail app offers useful features like swipe gestures, flagging messages, and customizable notifications. These features can improve how you interact with your inbox on a daily basis.
Android Devices
Android users can add Cox Email using the default email app or any third-party email client like Gmail or Outlook. Start by opening your email app, then tap on “Add Account.” Choose “Other” as your account type, then enter your full Cox email address and password.
If your app offers automatic setup, it may detect IMAP or POP3 settings. If it fails, select “Manual Setup.” For IMAP, enter imap.cox.net with port 993 and SSL enabled. For POP3, use pop.cox.net with port 995 and SSL. The outgoing server should be smtp.cox.net using port 465 or 587 with SSL or TLS.
Make sure to check the “Require sign-in” option for outgoing mail and input your full email address and password again. Once complete, the app will test your settings and begin syncing messages.
Android mail apps often include settings for sync frequency, notifications, and folder customization. Adjust these according to your preferences. If you check your email often, set the sync frequency to 15 minutes or push notifications for real-time updates.
Troubleshooting on Android often involves checking SSL settings, clearing app cache, or restarting the phone if sync issues occur.
Common Cox Email Setup Errors and Fixes
Authentication Errors
One of the most common errors during setup is a failed login or repeated prompts for username and password. This usually points to incorrect login details or disabled authentication. Always enter your full Cox email address and password exactly as it appears. Check for typos or saved auto-fill information that might be wrong.
If you’re sure the login info is right, double-check that the “Require Authentication” box is selected in both incoming and outgoing server settings. Many users forget to enable this for the outgoing SMTP server, which causes send failures.
Some email clients may not support modern authentication protocols or may block logins from unknown locations. In such cases, you might need to allow access in your Cox account settings or try logging in via webmail to verify there are no account restrictions.
Connection Timeouts
Timeout errors often result from incorrect ports or SSL settings. For secure connections, IMAP should use port 993, POP3 should use 995, and SMTP should use 465 or 587. Ensure SSL or TLS is turned on in each case.
Slow internet connections or firewall restrictions can also cause timeout issues. If using a VPN, try disabling it temporarily. If you’re behind a business firewall or network filter, contact your network admin to ensure Cox server ports are not blocked.
Restarting your device or resetting the email app’s settings can sometimes clear up temporary connection issues.
Incorrect Ports
Wrong port numbers can prevent both incoming and outgoing mail functions. Always confirm the port numbers before finalizing your email setup. Many email clients default to outdated or incorrect ports, especially older versions.
If emails are failing to send, double-check that the outgoing SMTP server is not using port 25 without encryption. This port is often blocked by ISPs due to spam abuse. Switch to port 465 with SSL or 587 with TLS instead.
Similarly, POP3 should be on port 995 with SSL, and IMAP on port 993 with SSL. Using these secure ports improves reliability and protects your data from interception.
Security Settings for Cox Email
SSL and TLS Options
Email security starts with enabling SSL or TLS encryption. These protocols secure the communication between your device and the mail server. If encryption is off, your messages could be intercepted, especially on public networks.
Cox supports SSL for both incoming and outgoing servers. For POP3, use port 995 with SSL. For IMAP, use port 993 with SSL. SMTP should use port 465 with SSL or port 587 with TLS. Most email clients let you toggle these options during setup.
Always enable encryption unless your email client doesn’t support it. Without SSL or TLS, you risk sending login credentials and messages in plain text, which is a privacy risk.
Some clients label SSL and TLS differently. If one option doesn’t work, try the other. The goal is to encrypt the connection to keep your data safe.
Enabling Two-Factor Authentication
Two-Factor Authentication (2FA) adds an extra layer of security to your Cox Email. While Cox Webmail doesn’t require 2FA by default, enabling it on your Cox account helps prevent unauthorized access.
To enable 2FA, log in to your Cox account through a browser. Go to account settings, then select “Security Settings” or a similar section. Look for the Two-Factor Authentication option and follow the prompts to set it up. This usually involves linking a mobile number or an authentication app like Google Authenticator.
Once activated, you’ll need both your password and a code sent to your phone or app to access your account. This makes it harder for others to hack your email, even if they know your password.
If you use third-party email clients, they may require an app-specific password instead of your main password after enabling 2FA. This password is generated from your Cox account and used only for specific apps.
Updating Passwords and Recovering Cox Email Accounts
Password Reset Process
If you forget your Cox Email password or suspect your account has been compromised, resetting your password is the first step. Go to the Cox login page and click “Forgot Password?” You’ll be prompted to enter your Cox username or email address.
Cox will verify your identity using security questions, an alternate email address, or a mobile number on file. Follow the instructions to create a new password. Choose something strong that includes a mix of letters, numbers, and symbols.
Once reset, update your password in all your email clients and devices. Failing to do so may cause repeated errors or lockouts.
Make it a habit to change your password regularly. This reduces the risk of someone gaining access without your knowledge. Avoid using the same password across multiple services.
Account Recovery Tips
If you’ve lost access to your email account entirely, you may need to contact Cox support. Provide your account number, service address, and any other requested verification details. Support can help you regain access or reset the login credentials.
Keep your recovery information up to date. This includes your alternate email address and phone number. If these details are outdated, account recovery becomes harder.
Don’t ignore warning emails about suspicious activity. These could indicate unauthorized access, prompting a password change and review of recent account activity.
Cox Webmail Access
How to Log in via Browser
Cox Webmail provides a way to check your email using any browser without needing an email app. To access Cox Webmail, open your browser and go to the official Cox website. Click on “Sign In” at the top right corner of the homepage. Enter your Cox username and password.
Once logged in, look for the Email icon or direct link to Webmail. Clicking it will take you to your inbox. From here, you can read, reply to, and organize your emails just like you would in a desktop or mobile app. It includes tools like spam filters, folder management, and contact lists.
Cox Webmail is helpful if you’re using a public or borrowed computer. Since nothing is stored on the device, it’s safer for temporary access. Just remember to sign out completely when you’re done, especially on shared devices.
Webmail includes a search function, message filters, and the ability to block specific email addresses. You can also adjust settings like the email signature or auto-reply for vacation notices.
Features of Cox Webmail
Cox Webmail includes all the basic functions needed to manage your email. You can create folders to keep your inbox clean, delete or archive messages, and apply filters to organize mail automatically. There’s also a built-in spam folder that captures unwanted emails.
You can manage your address book directly in Webmail. This lets you save contacts, add personal notes, or group them for easier emailing. The interface is clean and simple, making it accessible for users of all experience levels.
Another useful feature is settings customization. You can set your display preferences, such as how many emails appear per page or what time zone your account uses. These small changes help tailor the Webmail experience to your liking.
If you use Webmail often, consider bookmarking the login page. It saves time and ensures you always go to the right place.
Troubleshooting Cox Email Sending and Receiving Issues
Emails Not Sending
If your messages get stuck in the outbox or show errors like “failed to send,” the problem usually lies in the SMTP settings. Make sure your outgoing mail server is set to smtp.cox.net with the correct port number. Use port 465 with SSL or port 587 with TLS.
Another common issue is failing to enable authentication for the outgoing server. If this box is unchecked in your email app, the server will block your messages. Go back to the settings and ensure your username and password are entered under the outgoing section.
Sometimes, sending issues come from internet connectivity problems or restrictions from the internet provider. If you’re on a public or mobile network, try switching to a different one or use Webmail temporarily.
Finally, check if your account has reached any sending limits. Cox may limit how many emails can be sent in a short time to reduce spam abuse.
Emails Not Arriving
When expected emails don’t show up in your inbox, start by checking your spam or junk folder. If legitimate emails are marked as spam, add the sender to your contact list or mark the message as “Not Spam.”
Verify your incoming server settings. For IMAP, use imap.cox.net and port 993 with SSL. For POP3, use pop.cox.net and port 995. Incorrect settings can stop your device from syncing with the server, even if the setup appears complete.
Storage limits can also block incoming mail. Cox Email accounts come with a set storage quota. If it’s full, you won’t receive new messages. Delete old or large emails to free up space.
Another thing to check is whether any filters or rules are moving emails to other folders. In Webmail, go to settings and review the filter list. Disable or adjust filters that might be misrouting emails.
Email Management Tips for Cox Users
Organizing Inbox and Folders
Keeping your inbox organized helps you find emails faster and avoid missing important messages. Start by creating folders based on categories such as Bills, Work, Personal, and Subscriptions. As new emails arrive, move them into the correct folders.
Set rules or filters to automate sorting. For example, emails from your utility provider can go straight to the Bills folder. You can create these filters in Webmail or in desktop clients like Outlook and Thunderbird.
Delete or archive emails you no longer need. Leaving hundreds of unread emails in your inbox not only causes clutter but can also slow down your app. Archiving keeps the message but removes it from your inbox.
Mark important emails with stars or flags. This way, they stand out and are easier to find later.
Archiving and Deleting Emails
Archiving is a smart way to clean your inbox without deleting important messages. When you archive an email, it moves out of your inbox but stays accessible. This is helpful for messages you might need later but don’t need to see daily.
Deleting emails removes them permanently after a certain period. Be cautious when deleting, especially if your account does not have a backup or recovery feature. Before removing old emails, consider downloading or printing copies of essential ones.
For emails with large attachments, save the attachment to your device or cloud storage and delete the email. This clears space without losing the content.
Switching from Cox Email to Other Services
Exporting Emails
If you decide to switch from Cox Email to another provider, like Gmail or Outlook.com, you’ll want to take your messages with you. Most email programs allow you to export messages in formats like .pst or .mbox.
In Outlook, open your account settings, find the export option, and choose the folder or mailbox to export. Save the file to your computer. You can then import it into your new email client.
For Webmail users, there may not be a built-in export tool. In this case, connect your Cox Email to a desktop app using IMAP, then export from there. IMAP keeps all your messages synced so nothing is missed during the transfer.
Forwarding to Gmail or Outlook
To forward incoming Cox emails to a new account, log in to Cox Webmail and go to settings. Look for the “Forwarding” section. Enter your new email address and choose whether to keep a copy on Cox servers. Saving a copy lets you monitor both inboxes while transitioning.
If your new provider supports email import, like Gmail does, use their import feature to pull messages directly from Cox. You’ll need to provide your Cox email address, password, and incoming server settings.
After confirming everything is working, notify your contacts about the change so they can update your email address.
Cox Email Support and Help Resources
Contacting Cox Support
If problems persist after checking settings and troubleshooting, contact Cox Customer Support. They offer help through phone, live chat, and online support pages. You’ll need to verify your identity using your account number or service address.
Support can help reset passwords, unlock accounts, fix syncing errors, and walk you through setup on different devices. Have your device and email app information ready when you call or chat for faster assistance.
Cox also has a support section on its website with setup guides, FAQs, and videos for common issues. Use the search bar to find help articles related to your problem.
Helpful User Forums and Guides
Besides official support, online forums can be a great place to find answers. Sites like Reddit, DSLReports, and email-related communities often feature step-by-step solutions from other users who faced the same issues.
Tech blogs and video tutorials can also help. Look for articles that match your device and software version to get instructions tailored to your setup.
When searching, use specific keywords like “Cox email not sending on iPhone” or “Cox IMAP Outlook setup.” This narrows down results and gives you more relevant solutions.
Conclusion and Best Practices
Using the correct Cox Email settings is important for stable and secure communication. Choose between POP3 and IMAP based on how you use email. IMAP is better for multiple devices and syncing folders, while POP3 suits single-device use and local storage.
Always enable SSL or TLS encryption for both incoming and outgoing mail. Use port 993 for IMAP, 995 for POP3, and 465 or 587 for SMTP. Don’t skip the authentication step in your email client settings.
Keep your password updated and use two-factor authentication when possible. If your email is not working, recheck server settings, ports, and login credentials. For help, use Cox support, community forums, or setup guides.
Regularly organize and back up your emails. If you plan to switch providers, export your messages and set up forwarding. With the right settings and habits, your Cox Email experience will stay smooth and reliable.
FAQs
What are the IMAP settings for Cox?
IMAP server: imap.cox.net, Port: 993 with SSL. Use your full email address and password for login.
How do I fix outgoing mail errors?
Check your SMTP server (smtp.cox.net), use port 465 or 587 with SSL/TLS, and enable authentication using your email and password.
Can I access Cox email on multiple devices?
Yes, use IMAP protocol for syncing emails across devices. It keeps folders and messages updated in real time.
Is Cox email secure?
Yes, if you enable SSL or TLS encryption during setup. Also consider enabling two-factor authentication for extra protection.
What do I do if I forget my Cox email password?
Go to the Cox login page, click “Forgot Password,” and follow the steps to reset it using your recovery info.