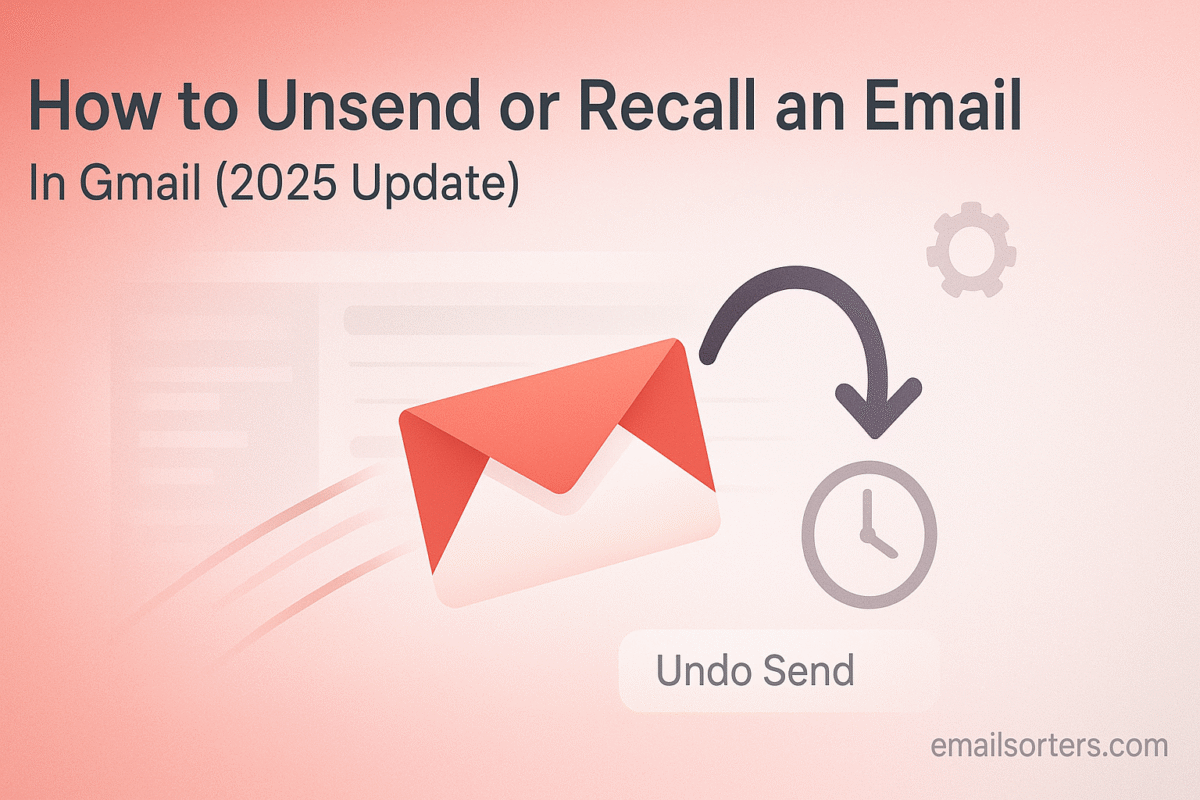
Recall email Gmail and save yourself from that dreaded “oops” moment. Maybe you hit send too quickly, noticed a typo, or sent it to the wrong person, it happens to everyone.
The good news? Gmail has a recall (or “undo send”) feature that lets you pull back your message before it actually lands in someone’s inbox. The trick is knowing how it works, and how fast you need to act.
In this guide, I’ll walk you through how to recall an email in Gmail step by step, plus share tips to avoid mistakes in the future. Ready to undo that slip-up? Let’s get started.
Understanding the “Undo Send” Feature in Gmail
It is critical to understand the technical difference between Gmail’s feature and a true recall. This knowledge helps set realistic expectations and informs how you should use the tool for maximum benefit.
How “Undo Send” Differs from a True Recall
A traditional recall feature, sometimes found in closed corporate email systems, attempts to reach into the recipient’s mail server and delete a message that has already been delivered. This process is often unreliable and can fail for many reasons. Gmail’s “Undo Send” feature is different and far more dependable. It does not try to retrieve a sent message. Instead, it simply holds your email on your own server for a predetermined amount of time (up to 30 seconds) before sending it. If you do nothing, the email is sent as normal when the timer runs out. If you click “Undo,” the sending process is canceled, and the email never leaves your control.
The History of the Feature: From Labs to Default
The Undo Send feature has a long history with Gmail. It began as an experimental option in Google Labs, a testing ground for new and innovative ideas. For years, users had to opt-in to enable it. Due to its immense popularity and usefulness, Google eventually graduated the feature and made it a standard, default setting for all Gmail accounts. This transition highlights its value as an essential tool for modern email communication.
How to Enable and Customize the Undo Send Period
While the Undo Send feature is now active by default, the standard delay is often set to just five seconds. This is a very short window to catch a mistake. The most important step any user can take is to extend this cancellation period to its maximum duration.
Step-by-Step Guide for Desktop Users
You can customize the cancellation window through Gmail’s settings on a desktop web browser. First, log in to your Gmail account. Click the gear icon in the top-right corner to open the Quick Settings panel, then click the “See all settings” button. You will land on the “General” tab. Near the top of the list, you will find the “Undo Send” option. Click the dropdown menu next to “Send cancellation period” and select your preferred time: 5, 10, 20, or 30 seconds. After making your selection, scroll to the very bottom of the page and click the “Save Changes” button. This change will take effect immediately.
Why You Should Always Choose the 30-Second Window
There is no practical downside to extending the delay to the maximum of 30 seconds. The delivery of your email is not noticeably slower to the recipient, but the benefit to you, the sender, is immense. That extra time provides a crucial buffer to reread the first line, double-check the recipient, or remember a forgotten attachment. Setting this to 30 seconds is one of the most effective preventative measures you can take to avoid email errors.
How the Feature Works on Mobile (iOS and Android)
The Undo Send cancellation period is an account-wide setting. This means that once you set it to 30 seconds on your desktop, the same delay will apply when you send emails from the official Gmail app on your smartphone or tablet. After sending an email from your mobile device, a black notification bar will appear at the bottom of the screen with the message “Sent” and a blue “Undo” button. This notification will remain for the duration you have set, giving you the same window of opportunity to cancel the message.
Using the Undo Send Feature in Practice
Activating the feature is only half the battle; you need to know what to look for and how to react in the moments after you send an important message.
The Moment After You Click “Send”
Once you click the “Send” button on a new email, your focus should immediately shift to the bottom-left corner of the screen (on desktop) or the bottom of the screen (on mobile). The “Message sent” notification will appear, accompanied by the “Undo” button. This is your visual cue that the delay timer has started. Training yourself to glance at this notification every time can build a habit that saves you from future mistakes.
What Happens When You Click “Undo”
If you realize you have made a mistake within the time limit, simply click the “Undo” button. The sending process will be instantly aborted. The email will not be sent, and it will not appear in your Sent folder. Instead, the message will reappear on your screen in its original draft form. From here, you can correct the error, add the forgotten attachment, change the recipients, or simply delete the draft altogether.
The Time Limit Has Expired: What to Do Next
The 30-second window is a powerful safety net, but it is not foolproof. There will be times when you notice a mistake a minute or an hour too late. In these situations, it is crucial to act quickly and professionally.
Accepting That the Email Cannot Be Recalled
The first step is to accept that the email has been delivered and cannot be retracted. Do not waste time searching for a non-existent recall button. Once the “Undo” notification disappears, the message is on the recipient’s server. Your focus must shift from recalling the message to managing the consequences of it being sent.
The Art of the Follow-Up Email
Sending a prompt, clear, and professional follow-up email is the best way to address a mistake. Your correction email should be concise and direct. Use a subject line that clearly indicates its purpose, such as “Correction:” or “Apology Regarding My Previous Email.” In the body, briefly state the error, provide the correct information, and offer a simple apology for any confusion. Avoid making lengthy excuses. A direct and honest correction is almost always appreciated.
When to Send a Correction vs. When to Let It Go
Not every mistake warrants a follow-up email. A minor typo or grammatical error can often be ignored, as sending a correction may draw more attention to it. However, if the error is significant—such as providing incorrect data, forgetting a critical attachment, or sending the email to the wrong person—a follow-up is essential. Use your professional judgment to assess the impact of the mistake.
Proactive Strategies to Prevent Email Mistakes
The best way to handle email errors is to prevent them from happening in the first place. Gmail offers several tools that can help you build a safer email workflow.
Using Gmail’s Scheduling Feature as a Delay Tactic
For highly important emails, the “Schedule send” feature can act as a manual Undo Send with a much longer window. Instead of sending the email immediately, you can schedule it to be sent 10 minutes or an hour in the future. This gives you ample time to review the message in your “Scheduled” folder and cancel it if you find an error.
Leveraging More Secure Sending Options
For emails containing sensitive information, a different approach may be warranted. Exploring features like Gmail Confidential Mode provides an extra layer of control. This mode allows you to set an expiration date for a message or even revoke access to it after it has been sent, offering a form of post-send control that is the next best thing to a true recall.
The “Review Before Sending” Habit
The most effective strategy is also the simplest: slow down. Before you click send, take a few seconds to perform a final review. Check the “To” and “Cc” fields to ensure the right people are included. Reread the subject line and the first sentence of the email. Confirm that you have attached the correct files. This deliberate pause is the ultimate defense against common email mistakes.
Managing Your Sent Items and Digital Trail
After a potential mistake, you may need to quickly locate the email in question or organize your communications for better tracking.
How to Find Sent Emails Quickly
If you need to find the original message to reference it in your follow-up, Gmail’s powerful search capabilities are your best asset. You can use a variety of Gmail search operators to narrow down your results. For example, typing to:recipient@email.com in the search bar will show you all the emails you have sent to that specific person.
Organizing Your Sent Mail for Better Tracking
Maintaining an organized inbox and sent folder can make managing your communications much easier. Learning how to move emails to folders in Gmail (using Labels, which function like folders) can help you keep track of important project conversations and client communications, reducing the chance of errors.
Using Third-Party Tools for Organization
For users who manage a very high volume of email, keeping everything organized can be a significant challenge. In these cases, specialized software can help automate the process. Services offered by companies like Clean Email provide advanced rules and filters to help users manage their inbox and sent items more efficiently.
How Other Email Platforms Handle Email Recalls
It is helpful to understand how Gmail’s feature compares to those of other major email providers.
The Outlook/Exchange Recall Feature
In some corporate environments using Microsoft Exchange and the desktop Outlook client, a true recall feature exists. However, it comes with many limitations. It typically only works for recipients within the same organization, and the recipient must not have opened the email yet. Success is never guaranteed.
Recall Options on Other Popular Services
Most other major webmail providers operate similarly to Gmail. A look at a Yahoo Mail overview or an AOL Mail overview shows that they generally do not offer a true recall function. Like Gmail, they focus on providing users with tools to prevent mistakes before they happen, though their specific features may vary.
A Checklist for Minimizing Email Errors
Adopting a consistent pre-send routine is the most effective way to reduce email mistakes. This checklist provides a simple framework to follow before you send any important message.
Your Pre-Send Safety Routine
Integrating these questions into your workflow can help you catch nearly all common email errors before they happen. It is a simple habit that pays significant dividends in professionalism and accuracy.
- Have you set the “Undo Send” delay to the maximum 30 seconds?
- Have you double-checked the email addresses in the “To,” “Cc,” and “Bcc” fields?
- Is the subject line clear, concise, and accurate?
- Have you proofread the body of the email for typos, grammar, and clarity?
- If you mentioned attachments, have you attached the correct files?
- For sensitive information, have you considered using a more secure sending method?
Conclusion
While Gmail does not have a magic “recall” button to retrieve a message from a recipient’s inbox, its “Undo Send” feature is a powerful and reliable 30-second safety net. By customizing this feature to its maximum delay, you give yourself the best possible chance to catch a mistake before it becomes a problem. However, the ultimate strategy is prevention. By cultivating careful habits, leveraging tools like scheduled sending and confidential mode, and knowing how to craft a professional correction when needed, you can move from a state of panic to one of empowered, confident communication.


