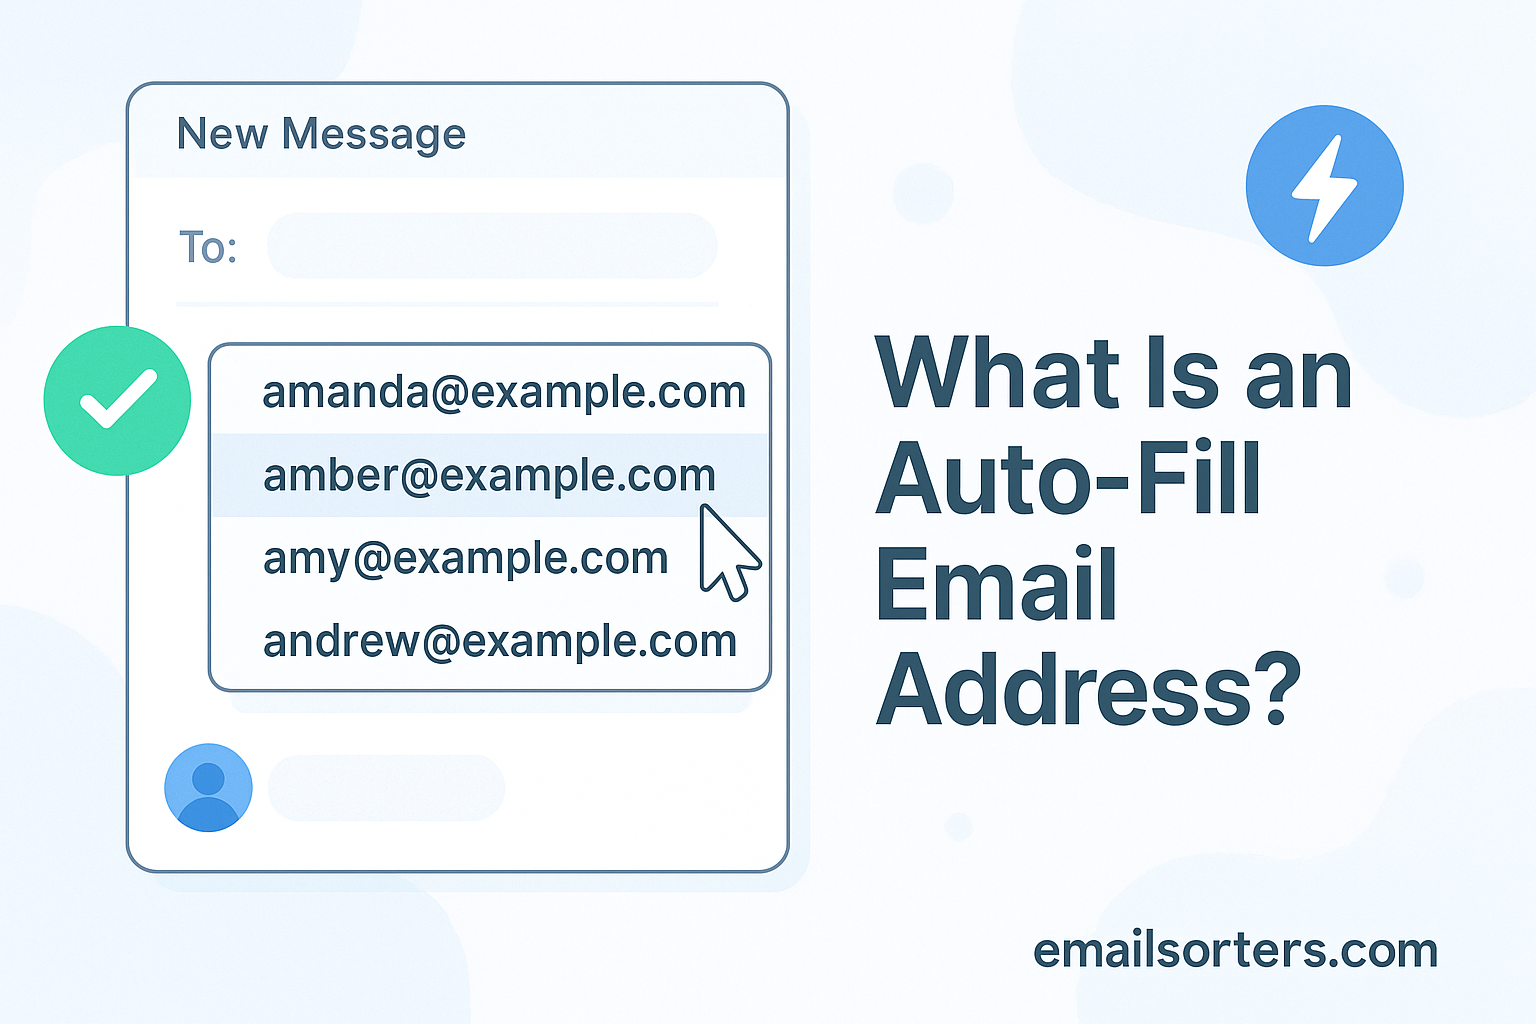
Auto-fill email addresses are one of those little conveniences that many of us take for granted, until they stop working or suggest the wrong person. You know the drill: you begin typing someone’s email, and, bam! your email app completes the rest. This is called “auto-fill,” a powerful yet often overlooked feature in most email clients. It’s essentially your device or email software remembering email addresses you’ve used before and predicting who you’re trying to reach.
Think of it like a super helpful assistant standing behind you, whispering names you’ve typed before. It’s faster, saves time, and reduces typos. But like any digital tool, it can also turn against you. Imagine typing “Sarah” and it auto-fills the wrong Sarah, the one you never intended to email again. Oops! That’s why understanding how this feature works, how to control it, and how to fix it when it misbehaves is essential.
This guide will dive deep into everything you need to know about auto-fill email addresses, how they work, how to enable or disable them across platforms, manage entries, troubleshoot issues, and even clear them all if needed. Whether you use Gmail, Outlook, iOS, or Android, you’ll find specific, practical instructions tailored to your device or app.
Let’s explore how auto-fill works, starting with a closer look at what it is and how your devices collect these email addresses.
Understanding Auto-Fill Email Addresses
Auto-fill is like your email’s memory bank. It speeds up composing emails by predicting what you’re about to type. For instance, typing “jo” might trigger suggestions like “johnsmith@gmail.com” or “jones_m@outlook.com.” These suggestions are usually based on your past interactions—emails you’ve sent or received, people you’ve replied to, or even contacts saved in your address book.
This feature reduces typing time, lowers the chance of spelling mistakes, and helps you find recipients even if you can’t remember their full addresses. It’s especially useful in workplaces or when managing a large network of contacts. Auto-fill exists in nearly every email platform—desktop and mobile—like Gmail, Outlook, Apple Mail, and more.
How It Gathers and Stores Addresses
Different platforms gather and store auto-fill email addresses in slightly different ways, but the principle remains consistent. When you send an email, the recipient’s address gets saved in your email client’s local memory or cache. In some cases, it gets stored in the cloud—especially in cloud-based services like Gmail or Outlook Web Access—making it available across devices when you’re signed in with the same account.
There are typically three sources for auto-fill entries:
- Contacts – If someone is saved in your address book, they’ll always pop up.
- Previous Recipients – Even if a person isn’t in your contacts, emailing them once usually adds them to your auto-fill list.
- Cached Addresses – Temporary storage by the app to remember recently used emails.
Now let’s look at how to enable auto-fill email addresses across different platforms, starting with Outlook.
How to Enable Auto-Fill for Email Addresses in Outlook
Outlook—whether the desktop version or Outlook Web Access—is widely used in offices and businesses. Fortunately, enabling or adjusting auto-fill settings is straightforward.
For Outlook Desktop (Windows or Mac)
- Open Outlook.
- Click on File > Options.
- Under the Mail tab, scroll to the Send Messages section.
- Ensure the checkbox “Use Auto-Complete List to suggest names when typing in the To, Cc, and Bcc lines” is selected.
- You can also click “Empty Auto-Complete List” if you want to start fresh.
For Outlook Web (Outlook.com or Microsoft 365 OWA)
- Log in to Outlook.com or Microsoft 365 Webmail.
- Click on the Gear icon (Settings).
- Search or scroll to Mail > Compose and Reply.
- Toggle on “Suggest names to mention when typing in To, Cc, and Bcc lines”.
This ensures that Outlook remembers and suggests addresses based on your history. Just note, if you’re using a work or school account, some admin policies may restrict these settings.
Whether you’re on desktop or the web, enabling this feature ensures smooth and accurate emailing. But what if you’re using an iPhone? Let’s set it up there next.
Setting Up Email Auto-Fill on iPhone
iPhones are smart—really smart. But sometimes you need to teach them how to help you better, especially when it comes to auto-fill for emails.
Using the Built-in Mail App
- Go to Settings > Mail > Accounts.
- Make sure your email account (Gmail, Outlook, Yahoo, etc.) is added and active.
- Once synced, iOS pulls in addresses from both your email history and your Contacts app.
- To enable contact suggestions:
- Go to Settings > Siri & Search > Contacts.
- Make sure “Show Contact Suggestions” is turned ON.
This allows Siri and the Mail app to suggest recipients intelligently based on usage.
Using Safari AutoFill
If you also want email addresses to auto-fill in web forms:
- Go to Settings > Safari > AutoFill.
- Turn on “Use Contact Info”.
- Select My Info and choose your contact card.
- Enable “Credit Cards” and “Names and Passwords” if needed.
Note: Safari AutoFill settings affect how your iPhone fills out email addresses in browsers, not just mail apps.
Between your contacts, Siri suggestions, and recent history, your iPhone becomes excellent at predicting who you’re emailing. But if you’re a Mac user, you might be wondering about Apple Mail. Let’s head there next.
Auto-Fill Email Address in Apple Mail (Mac)
Apple Mail on macOS is tightly integrated with the system’s Contacts and Mail databases. It’s excellent at suggesting email addresses you’ve recently used—even if they’re not saved contacts.
How to Enable or Manage Auto-Fill in Apple Mail
- Open the Mail app.
- Go to Mail > Settings (or Preferences) > Composing.
- Ensure “Automatically complete addresses” is checked.
- Go to Mail > Window > Previous Recipients to view the full list of stored auto-fill addresses.
- Here, you can add someone to your contacts or delete the entry altogether.
This “Previous Recipients” list is your best friend for managing unwanted auto-fills. For example, if you typed an email wrong once, Apple Mail may keep suggesting that typo. Simply remove it from this list to fix it.
Apple Mail syncs across devices via iCloud, so removing it on your Mac often cleans it from your iPhone or iPad too.
Managing Auto-Fill in Android Email Apps
Auto-fill behavior on Android varies depending on the email client—Gmail, Outlook, or Samsung Mail—but the general concept remains the same. Android uses both app-level memory and system-level services like Google Contacts and predictive typing to manage auto-fill.
For Gmail App on Android:
- Open the Gmail app.
- Tap the Compose button.
- Start typing an email address.
- Gmail suggests addresses based on:
- Your Google Contacts.
- Past email interactions (sent/received).
- Cached emails from synced accounts.
- Gmail suggests addresses based on:
Unfortunately, there is no dedicated “auto-fill toggle” in Gmail’s settings. It’s built into how Gmail handles email composition. However, clearing app cache or removing contacts can influence what appears.
For Outlook App on Android:
- Open the Outlook app.
- Tap Compose.
- Start typing in the To field.
- Outlook suggests previously emailed addresses and contacts synced from Microsoft 365.
To manage these suggestions:
- Go to Outlook Web App (OWA) on desktop and clear entries from the auto-complete list.
- Changes sync to your mobile app.
Managing Android Contacts:
You can influence auto-fill behavior by updating or cleaning your Google Contacts:
- Visit contacts.google.com on a browser.
- Delete outdated or incorrect contacts.
- Add nicknames or full names for easier recognition.
Most Android phones also integrate keyboard auto-fill, especially with Gboard, where it can suggest emails from your Google account. Go to Settings > System > Languages & Input > Virtual Keyboard > Gboard > Text Correction, and review “Personal Dictionary” or “Suggestions” to fine-tune inputs.
Auto-Fill in Microsoft 365 Webmail / Outlook Web Access (OWA)
Microsoft 365 (formerly Office 365) includes powerful email tools, and Outlook Web Access (OWA) gives you access to auto-fill features even when using a browser.
How Auto-Fill Works in OWA:
- Sign in to your Microsoft 365 Outlook account via browser.
- Click on New Message.
- Start typing in the To, Cc, or Bcc fields.
- Auto-fill suggestions will appear from:
- Your mailbox contacts.
- Recent recipients.
- Company-wide directory (if using a business account).
Customizing Auto-Fill in OWA:
To enable or disable auto-fill:
- Click on the Settings (gear icon).
- Scroll to or search Mail > Compose and Reply.
- Toggle on “Suggest names to mention when typing in the To, Cc, and Bcc lines”.
Managing Auto-Fill Entries:
Unfortunately, OWA doesn’t allow direct deletion of individual suggestions via the dropdown. However, here’s how to reset or manage the auto-fill list:
- Use the desktop version of Outlook to clear auto-complete.
- Or clear browser cache if incorrect suggestions are tied to local storage.
- Your organization’s admin can sometimes manage this at the policy level.
These settings are synced via cloud, so any changes reflect across desktop and mobile apps tied to the same Microsoft 365 account.
Deleting Unwanted Auto-Fill Email Addresses in Yahoo Mail
Yahoo Mail, though not as widely used today, still features a robust auto-fill function. If outdated or incorrect addresses are being suggested, here’s how to manage them.
How to Remove Contacts from the Auto-Complete List
- Go to mail.yahoo.com and sign in.
- Click Contacts or go directly to contacts.yahoo.com.
- Find the contact you want to remove.
- Click on the three dots next to their name, then Delete.
Yahoo pulls auto-fill from your contact list, so removing entries from there affects suggestions during email composition.
How to Remove Suggested Email Addresses
Sometimes, Yahoo suggests addresses that are not in your contact list. These are typically cached addresses based on previous emails.
- While composing an email, start typing the email you want to delete.
- Hover over the suggestion in the dropdown.
- Click the X or Remove icon next to it.
Yahoo Mail will stop suggesting that address in the future. Note: this doesn’t delete old emails or threads involving that address—it only removes it from the suggestion pool.
If the unwanted suggestion doesn’t disappear, try clearing your browser’s cache or switching browsers to test if the issue is local.
How to Delete Auto-Fill Email Addresses in Gmail
Gmail is notorious for holding onto every email address you’ve ever typed. While this helps with convenience, it can quickly get messy if you’re emailing the wrong “Mike” over and over. Let’s break down how to clean this up.
Removing Saved Contacts in Gmail
- Go to contacts.google.com.
- Find the contact you want to remove.
- Click the three-dot menu > Delete.
If the email address was saved manually or synced from another app, this will remove it from auto-fill.
Deleting Suggested Email Addresses
Gmail also stores auto-fill entries from your history, even if they aren’t saved contacts. Here’s how to delete those:
- Start composing a new email.
- Begin typing the unwanted email address.
- Use the arrow keys to highlight it in the dropdown.
- Press the “X” or Backspace/Delete key.
This removes that address from Gmail’s memory.
Additional Resources
- Use Google Takeout to export your contacts before cleaning.
- Sync changes across devices using the same Google account.
- Set up filters in Gmail to avoid emailing certain addresses by accident.
Glossary of Related Terms
- Auto-complete: System that suggests inputs based on history.
- Cache: Temporary memory storing data like email addresses.
- Contacts: Saved entries with emails, names, phone numbers.
- Auto-fill: General term for automatic input filling, including forms and fields.
These steps ensure you’re always emailing the right person, and never accidentally messaging an ex-coworker or an outdated contact.
How to Clear All Auto-Fill Email Addresses
There are times when a fresh start is exactly what you need—especially if your auto-fill list is full of typos, outdated addresses, or people you no longer contact. Clearing all auto-fill entries can declutter your email experience and prevent embarrassing mistakes.
Bulk Removal Methods for Gmail, Outlook, and More
Gmail:
- Visit contacts.google.com.
- Click the “Other Contacts” section—this is where Gmail stores emails of people you’ve interacted with but haven’t saved.
- Select all and click the trash bin icon to delete.
- To clear browser cache memory (temporary entries):
- Go to your browser settings > Privacy and Security > Clear browsing data.
- Check Auto-fill form data (optional).
To prevent Gmail from storing these again:
- Go to Gmail > Settings (gear icon) > See all settings > General.
- Scroll down to Create contacts for auto-complete and select “I’ll add contacts myself.”
Outlook:
- Open Outlook Desktop.
- Go to File > Options > Mail.
- Under Send Messages, click Empty Auto-Complete List.
- Confirm your choice.
For Outlook Web:
- No direct “Clear All” button.
- You must delete entries one at a time by hovering and clicking X during email composition.
Apple Mail (Mac):
- Open Mail.
- Go to Window > Previous Recipients.
- Select all entries.
- Click Remove From List.
This clears cached emails from your Mac. iCloud sync will propagate changes to your iPhone or iPad.
Yahoo:
- Yahoo does not support bulk deletion of auto-fill suggestions.
- You must manually remove contacts from contacts.yahoo.com.
These methods provide a complete reset, ensuring your auto-fill feature becomes a clean slate.
How Auto-Fill Works in Email Clients
Understanding the logic behind auto-fill helps you take better control. Different email clients operate on slightly different mechanisms, especially when distinguishing between saved contacts, cached entries, and recent suggestions.
Difference Between Cache, Saved Contacts, and Suggestions
Let’s break it down with definitions and examples:
| Type | Definition | Source | Can Be Edited? |
| Saved Contacts | Manually or automatically added contacts | Contacts list | Yes |
| Cached Addresses | Temporarily saved emails from sent/received activity | Local device memory or app | Limited |
| Suggestions | AI-generated recommendations based on typing or frequency | Typing behavior, analytics | No (unless deleted from history) |
Gmail Example:
- Saved Contacts appear automatically.
- Cached addresses show up even if they’re not in Contacts.
- Suggestions may include common names you email often, even if not saved.
Outlook Example:
- Auto-Complete List stores cached emails.
- Outlook Contacts are distinct and always available.
- Corporate directory adds names not in your personal contacts.
Understanding these distinctions helps you decide which method to use for managing or deleting data—especially if privacy is a concern.
How Auto-Fill Email Addresses Sync Across Devices
Modern email ecosystems rely heavily on cloud synchronization. This means the auto-fill data you see on your laptop may also appear on your smartphone—or vice versa—depending on the email platform.
Cloud Sync Behavior in Gmail, Outlook, and iOS
Gmail / Google Workspace:
- Auto-fill pulls from Google Contacts and recent interactions.
- Changes made on one device sync to all others using the same Google Account.
- Sync is real-time or nearly instantaneous when connected to Wi-Fi.
Outlook / Microsoft 365:
- Outlook desktop uses an offline auto-complete list (.dat file), which may not sync.
- Outlook Web and mobile apps sync auto-fill via Microsoft Exchange or Office 365.
- Deleting an entry from OWA may not reflect on the desktop version unless done manually.
Apple Mail / iCloud:
- Apple syncs contacts and some auto-fill memory across all devices via iCloud.
- Remove an email from your Mac, and it disappears on your iPhone or iPad.
- Safari’s AutoFill settings also sync via iCloud Keychain.
If you find an old or incorrect auto-fill entry showing up on one device but not others, it’s likely due to an unsynced cache. Sign out and back in, or restart your device to force sync.
Privacy Concerns with Auto-Fill Email Addresses
Auto-fill is helpful—but it can also be risky. If you’ve ever sent a confidential message to the wrong recipient because of an incorrect suggestion, you know what we’re talking about.
Risks of Auto-Fill Errors
Here are common dangers:
- Accidental Emailing – A misclick can send sensitive info to the wrong person.
- Data Exposure – On shared devices, saved addresses might pop up for others.
- Embarrassment – Sending job applications or romantic messages to the wrong contact? Not ideal.
- Spam Risks – Cached emails could be old, fake, or no longer monitored.
Privacy on Shared or Public Devices
Auto-fill can expose your private correspondence to anyone using the same computer or phone, especially if you’re signed into a shared Gmail or Outlook account.
Best Practices:
- Clear your auto-fill memory after using public or shared devices.
- Disable sync temporarily if using a borrowed device.
- Use incognito/private mode to avoid saving browser-based data.
Log out completely—don’t just close the tab or app.
Auto-fill should be a convenience, not a liability. Treat it with the same caution as saved passwords or personal documents.
Auto-Fill Not Working? Troubleshooting Tips
Sometimes auto-fill just… stops working. You’re typing, expecting suggestions, but nothing pops up. Here’s what could be going wrong—and how to fix it.
Common Causes and How to Fix Them
1. Corrupted Cache
- Fix: Clear your browser or app cache.
- In Chrome: Settings > Privacy > Clear Browsing Data > Autofill form data.
2. Disabled Settings
- Gmail or Outlook may have auto-fill disabled.
- Re-enable it in settings under “Compose” or “Mail Options.”
3. Account Sync Issues
- Ensure your contacts and email accounts are syncing correctly.
- Check account status in your device’s settings.
4. Outdated App
- Update your email client to the latest version.
5. Browser Extension Conflicts
- Some extensions (like password managers or security tools) may block autofill functions.
- Try disabling extensions one by one to test.
6. Corrupt Auto-Fill List
- In Outlook, a corrupted .dat file can cause issues.
- Delete and regenerate it via Outlook settings.
By following these steps, you’ll bring auto-fill back to life and make your emailing effortless again.
Conclusion
Auto-fill email addresses are more than just a convenience—they’re a time-saving powerhouse hidden in plain sight. Whether you’re using Gmail, Outlook, iOS, Android, or Yahoo, understanding how auto-fill works helps you control, manage, and optimize it. From setup and syncing to privacy and troubleshooting, this guide covers every angle.
Keep your auto-fill clean, up to date, and error-free, and you’ll spend less time typing and more time connecting with the right people.