Trying to create folders in your Gmail account but can’t figure out where the “folder” button is? You’re not alone, and here’s the twist: Gmail doesn’t use folders the way you think.
But don’t worry, there’s a simple workaround that keeps your inbox clean and organized without the confusion.
In this step-by-step guide, we’ll show you exactly how to use Gmail’s “labels” like folders, so you can sort, store, and find emails without the chaos.
Ready to organize your Gmail like a pro? Let’s get started!
Gmail Labels vs Traditional Folders
Gmail does not use traditional folders like Outlook or Yahoo Mail. Instead, it uses labels. Labels work similarly to folders, but with greater flexibility. In a normal folder system, an email can exist in only one folder at a time. In Gmail, you can apply multiple labels to a single email, allowing it to appear under several categories without duplication.
For example, if you receive an email about a website project for a client, you can label it under “Clients,” “Website Projects,” and “Urgent Tasks” at once. This flexibility is why Gmail labels as folders are so powerful for productivity.
Why Labels Offer Greater Flexibility
Labels help you:
- Categorise one email into multiple projects or contexts.
- Filter emails quickly using the sidebar.
- Automate inbox organisation with filters and labels combined.
- Search labelled emails faster by typing label names in Gmail search.
Understanding how to organise Gmail with folders (labels) transforms your inbox from cluttered to structured instantly.
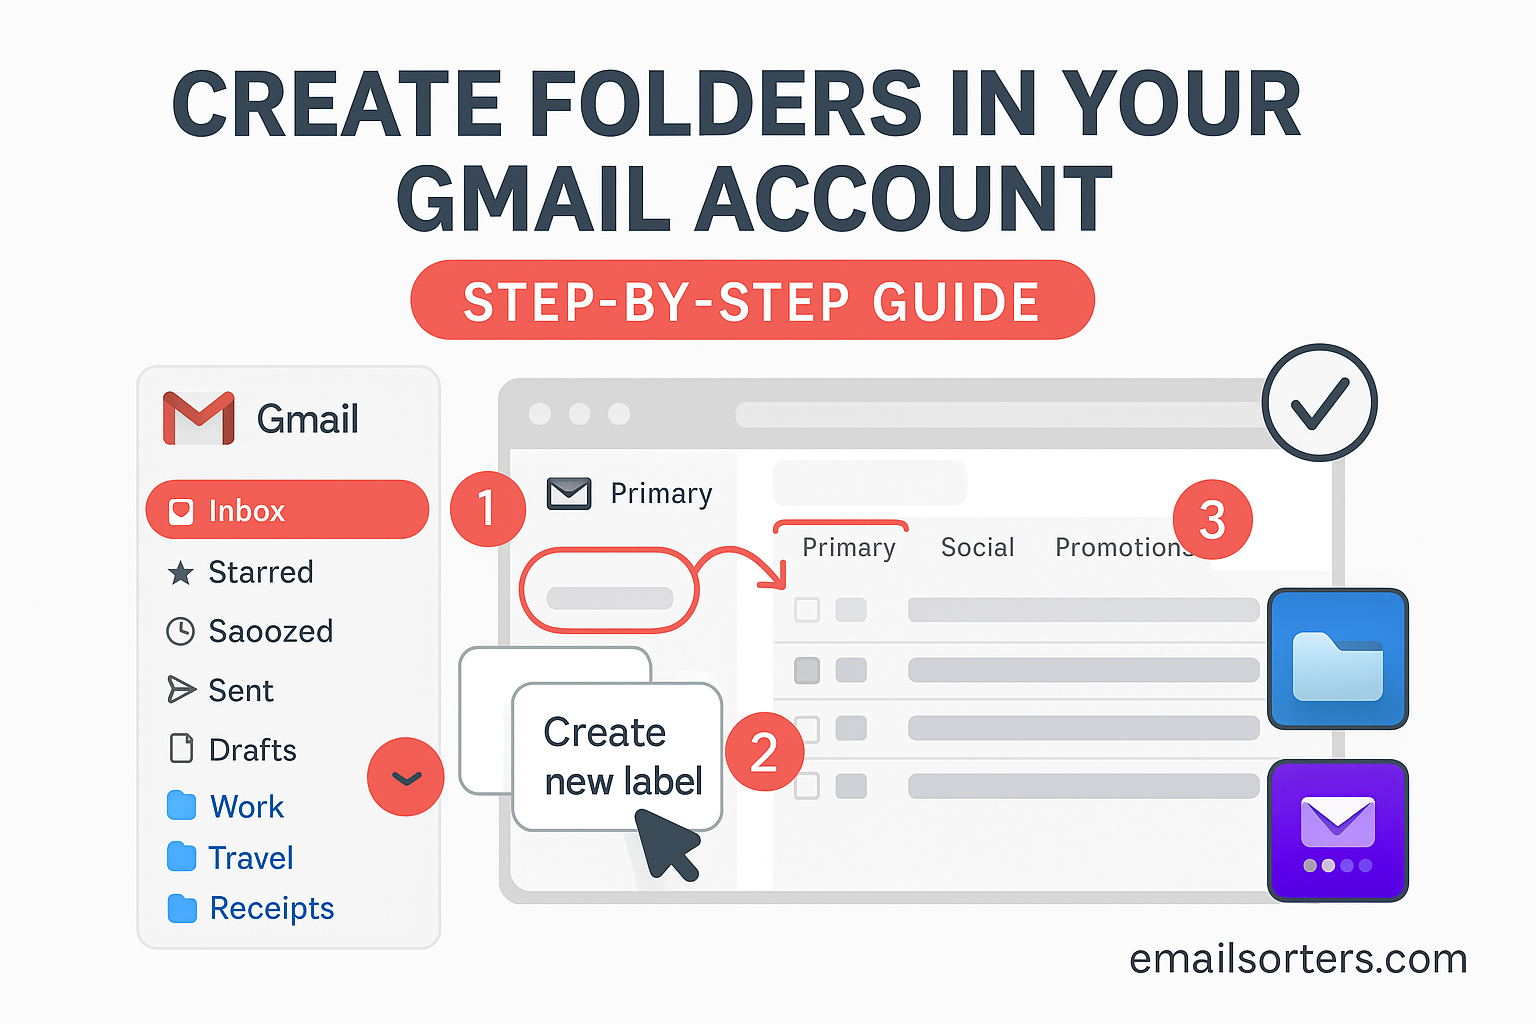
How to Create New Labels in Gmail
Creating labels is simple. Here’s how:
- Open Gmail and look at the left sidebar.
- Scroll down until you see “More”. Click it to expand the list.
- Click “Create new label”.
- A small window pops up. Enter your desired label name.
- Click “Create”.
Your new label will now appear on the sidebar. You can apply it to emails for better organisation. Refer to Google Support for official steps on label creation.
Naming Strategies for Clarity
Using clear and consistent naming strategies makes it easier to locate folders quickly. Consider these approaches:
- Project-based: e.g. Website Redesign 2025, Marketing Strategy Q3
- Client-based: e.g. Client – Johnson Group, Client – GreenTech
- Task-based: e.g. Pending Approval, Needs Response, Follow Up
- Resource-based: e.g. Invoices, Contracts, Reports
Add prefixes if you want labels grouped in order, such as “1-Clients”, “2-Projects”, “3-Resources”.
Steps to Create Folders in Gmail
Here are the clear steps summarised:
Steps to Create Folders in Gmail
- Open Gmail and click “More” on the sidebar.
- Click “Create new label”.
- Name your label clearly.
- Click “Create” to finalise it.
- Drag and drop emails into the label or apply labels from the top toolbar.
- Nest labels under parent labels if needed for hierarchy.
Applying Labels to Existing Emails
To apply a label to existing emails:
- Select the email(s) using the checkbox on the left.
- Click the label icon at the top (it looks like a tag).
- Check the label(s) you want to apply.
- Click “Apply”.
The email will remain in your inbox but will also appear under the selected labels in the sidebar.
Automatically Labelling New Emails
You can set up filters to label incoming emails automatically:
- Click the gear icon and select “See all settings”.
- Go to the “Filters and Blocked Addresses” tab.
- Click “Create a new filter”.
- Enter criteria like sender email, subject line keywords, or recipients.
- Click “Create filter”.
- Check “Apply the label” and choose the desired label.
- Click “Create filter” to save.
This ensures new emails matching the criteria are organised instantly without manual action.
Nesting Labels for Hierarchical Organisation
You can nest labels under parent labels to create a structured folder hierarchy:
- When creating a new label, check “Nest label under”.
- Choose the parent label you want.
- Click “Create”.
For example, you can have a parent label called “Clients” with sub-labels like “Clients/Johnson Group” and “Clients/GreenTech”. This keeps the sidebar tidy and logical.
Managing and Deleting Labels
To manage your labels:
- Hover over the label name on the sidebar.
- Click the three dots (More) icon.
- From here, you can change the label colour, edit its name, remove the label from emails, or delete the label entirely.
Deleting a label does not delete the emails. They remain in your inbox or other labels. You simply remove the categorisation.
Benefits of Using Labels as Folders
Using labels to create folders in Gmail provides multiple benefits:
- Improved productivity: Spend less time searching for emails and more time completing tasks.
- Better focus: Reduce mental clutter by keeping only relevant emails visible when you need them.
- Faster email retrieval: Quickly filter your inbox by clicking a label in the sidebar.
- Workflow clarity: See project and task progress at a glance.
When combined with Gmail tabs explained, you get full control over both email type categorisation and project-based organisation, optimising your Gmail for stress-free management.
Using Labels with Gmail Tabs for Maximum Organisation
Gmail tabs separate emails by type (Primary, Social, Promotions, etc.), while labels categorise them by context (project, task, client). Use tabs to reduce daily clutter and labels to create your own organisational system within those tabs.
For example, keep your “Website Redesign Project” label under Primary to focus on critical client conversations while Promotions remain untouched until later.
Advanced Usage: Labels for Automation and Delegation
Here are advanced tips to maximise your Gmail labels:
- Delegating tasks: Apply labels like “To Delegate” and create filters to label emails from certain senders automatically. Share this label with team members for seamless delegation.
- Project pipelines: Create labels like “Project A – In Progress”, “Project A – Pending Review”, “Project A – Completed” to track email-based workflows.
- Priority sorting: Use colour codes to indicate urgency, such as red for urgent tasks and green for completed items.
Explore these methods along with other Gmail tips to enhance your productivity system.
Labelled Email Forwarding
You can also combine labels with email forwarding to organise emails across accounts. For example, filter and label important invoices under “Invoices 2025” and set up email forwarding rules to send them to your accounting email automatically.
Email Backup for Labelled Emails
For offline storage or archival, you can back up labelled emails. Select all emails under a label and download them using Google Takeout or other methods explained in our email backup guide. This ensures important project data is stored securely beyond Gmail.
Common Mistakes to Avoid
While setting up Gmail folders (labels), avoid these mistakes:
- Over-labelling: Creating too many labels makes organisation harder, not easier. Keep your system minimal and purposeful.
- Inconsistent naming: Use a standard naming convention to prevent confusion later.
- Neglecting filters: Without filters, you will spend extra time manually applying labels to each email.
- Deleting labels without checking: Always ensure no workflows rely on a label before deleting it.
Final Thoughts
Understanding how to create folders in Gmail using labels transforms your inbox management. Labels provide flexible categorisation, allowing you to organise emails by project, client, task, or context with ease. By following the steps in this guide, you will keep your inbox clutter-free, retrieve important emails faster, and reduce stress each day.
Whether you’re a student tracking assignments, a professional managing client projects, or a business owner handling multiple workflows, setting up Gmail folders effectively will streamline your email productivity for 2025 and beyond.